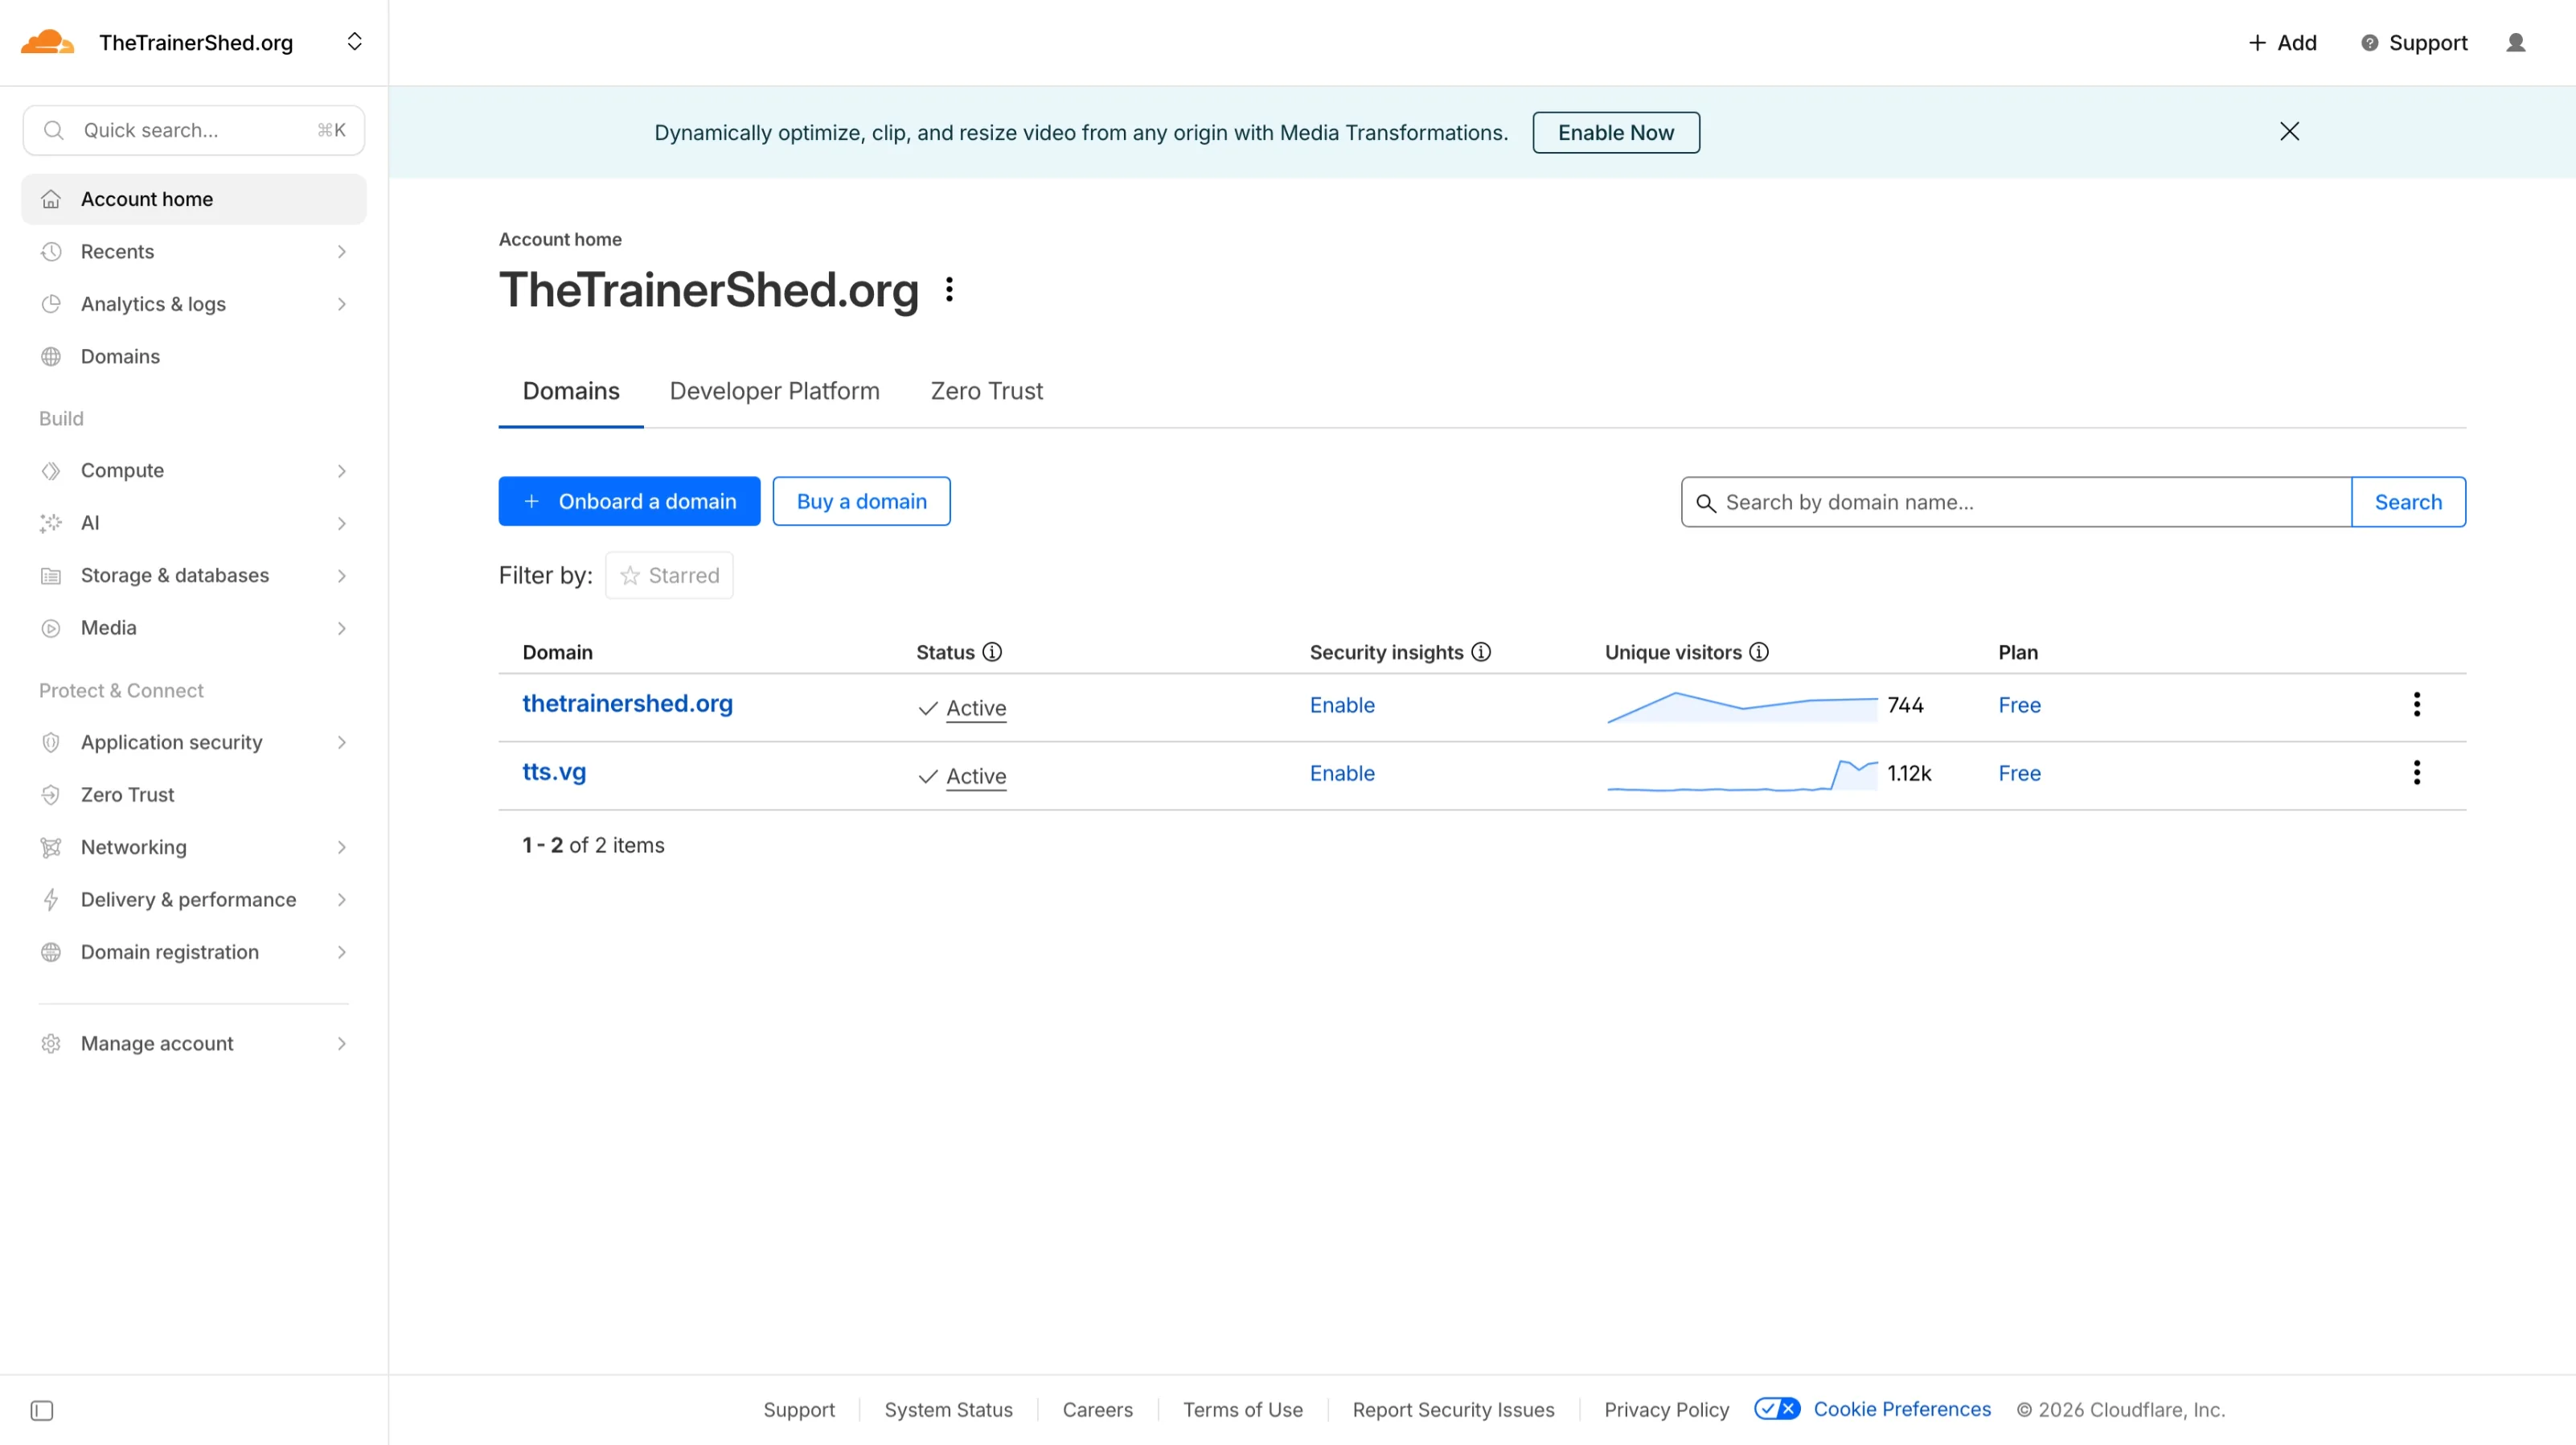
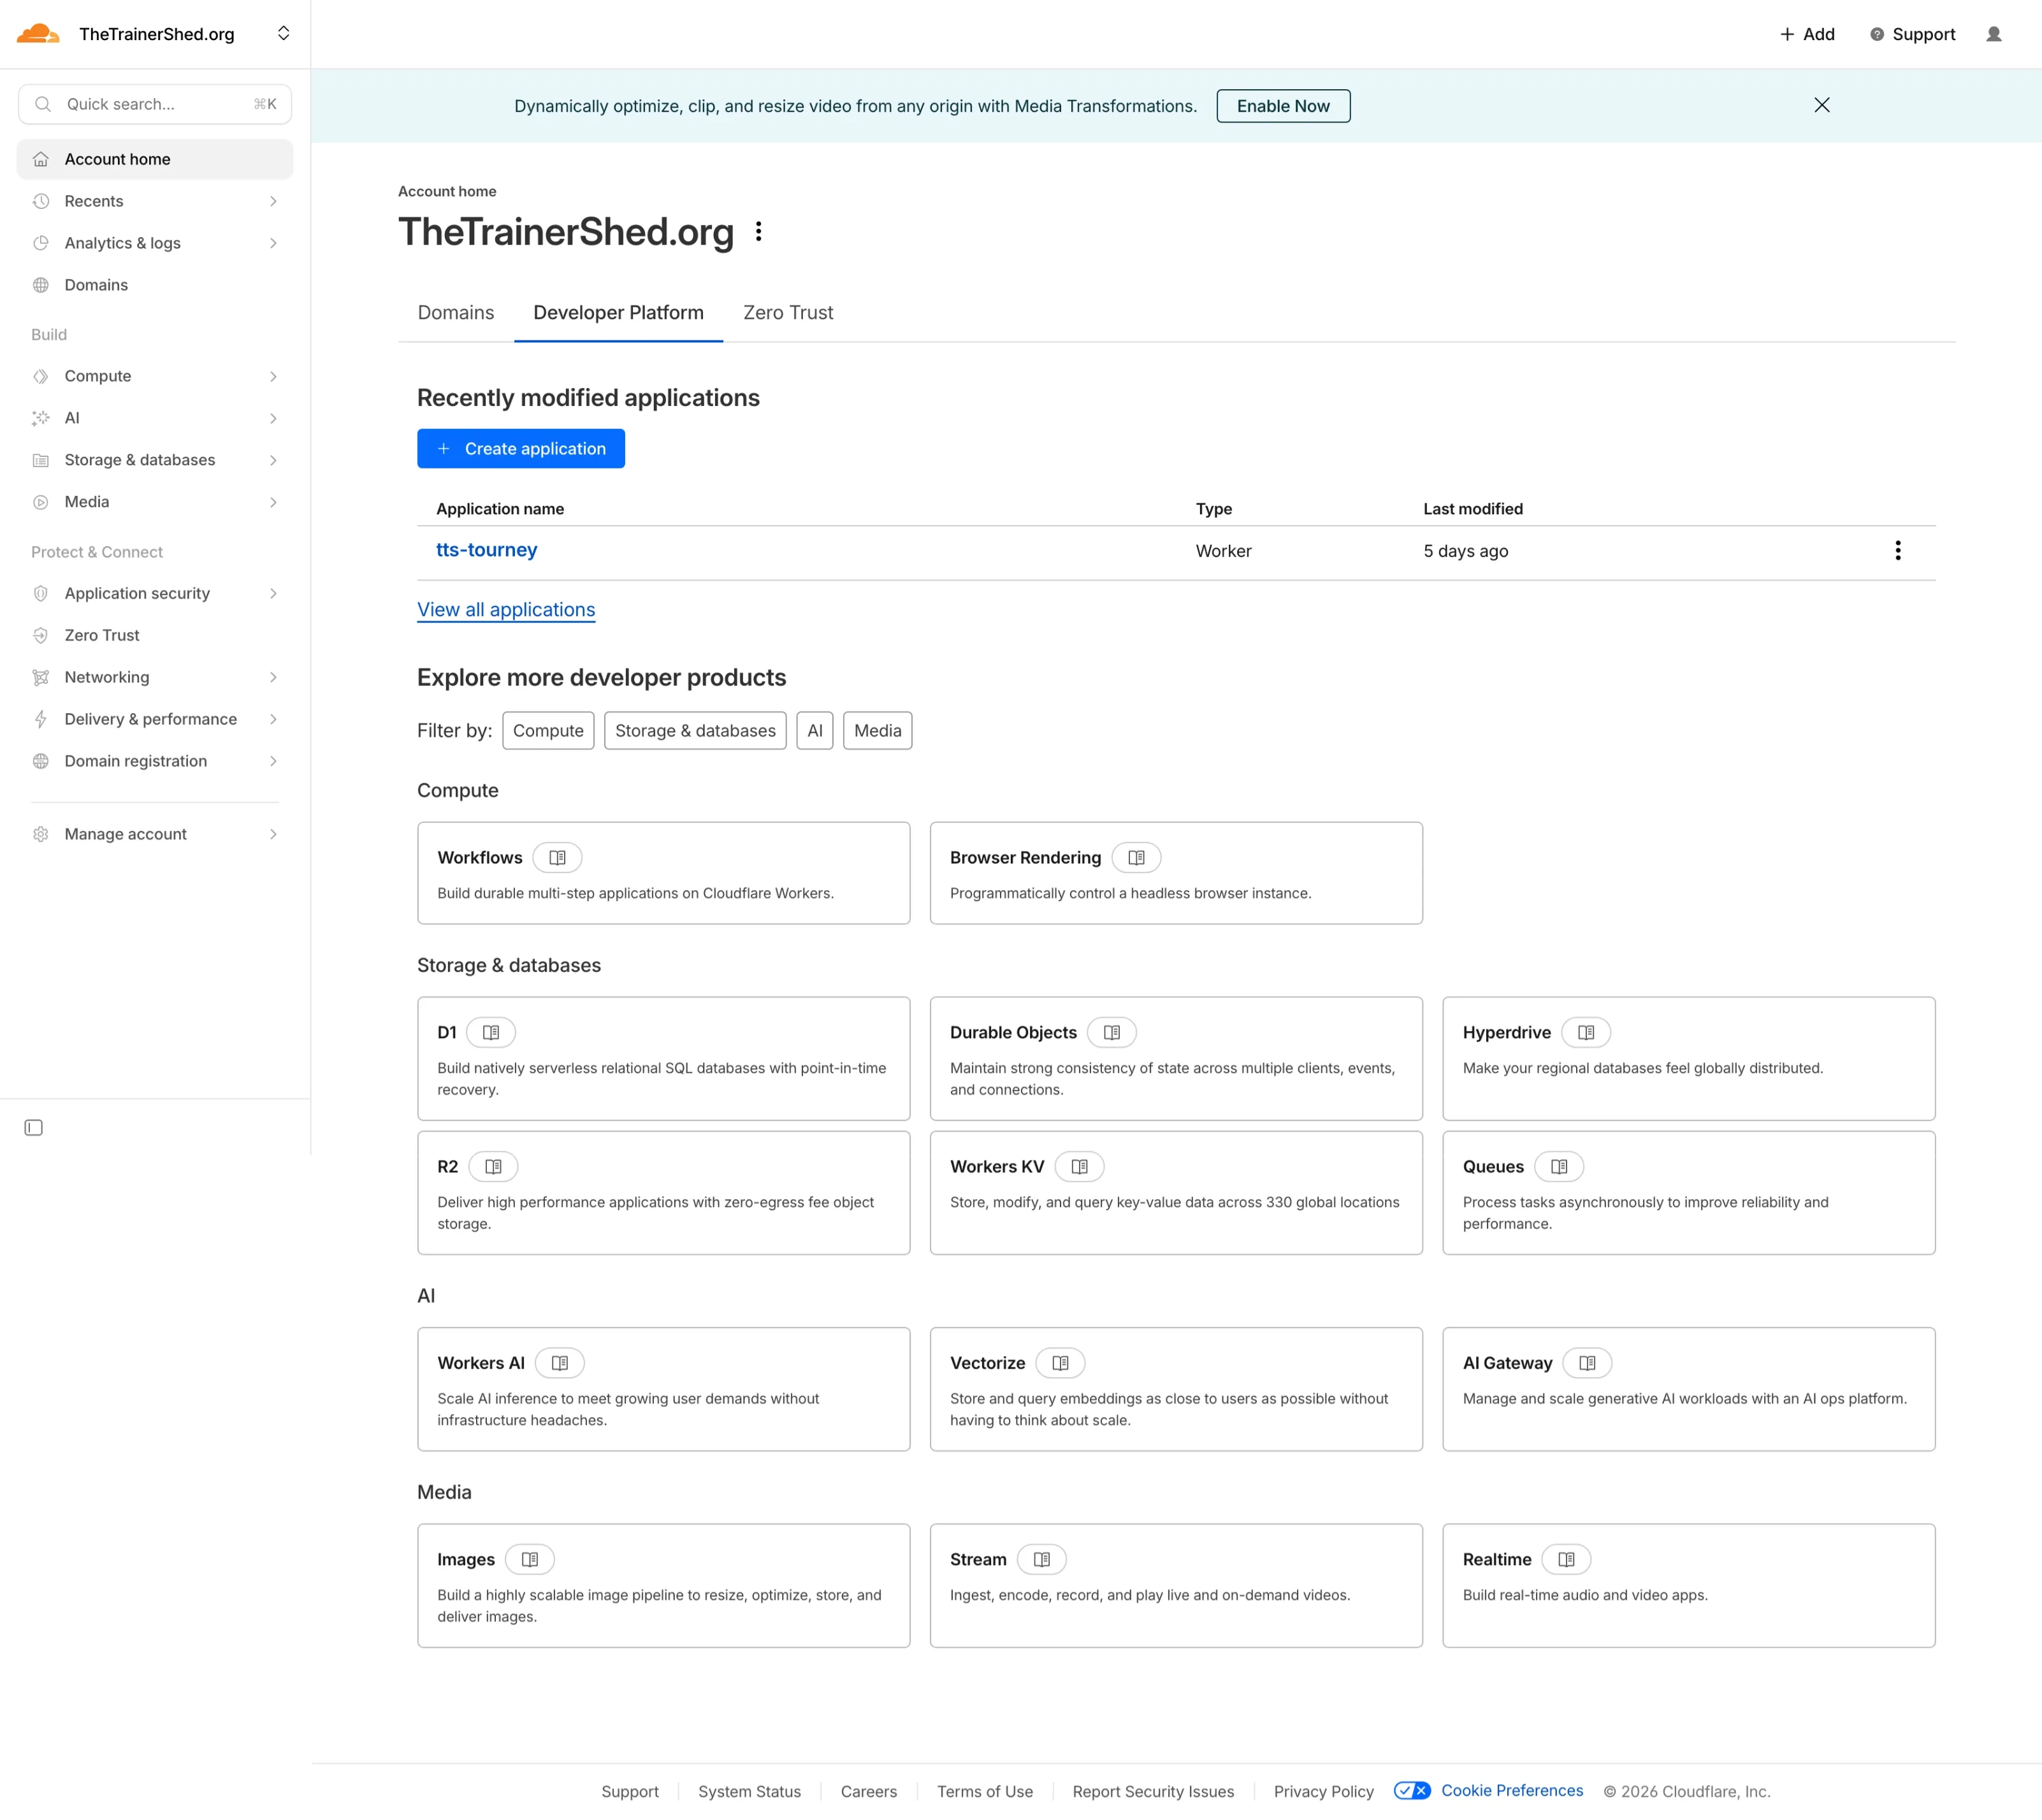
Open the Developer Platform
Create an Application
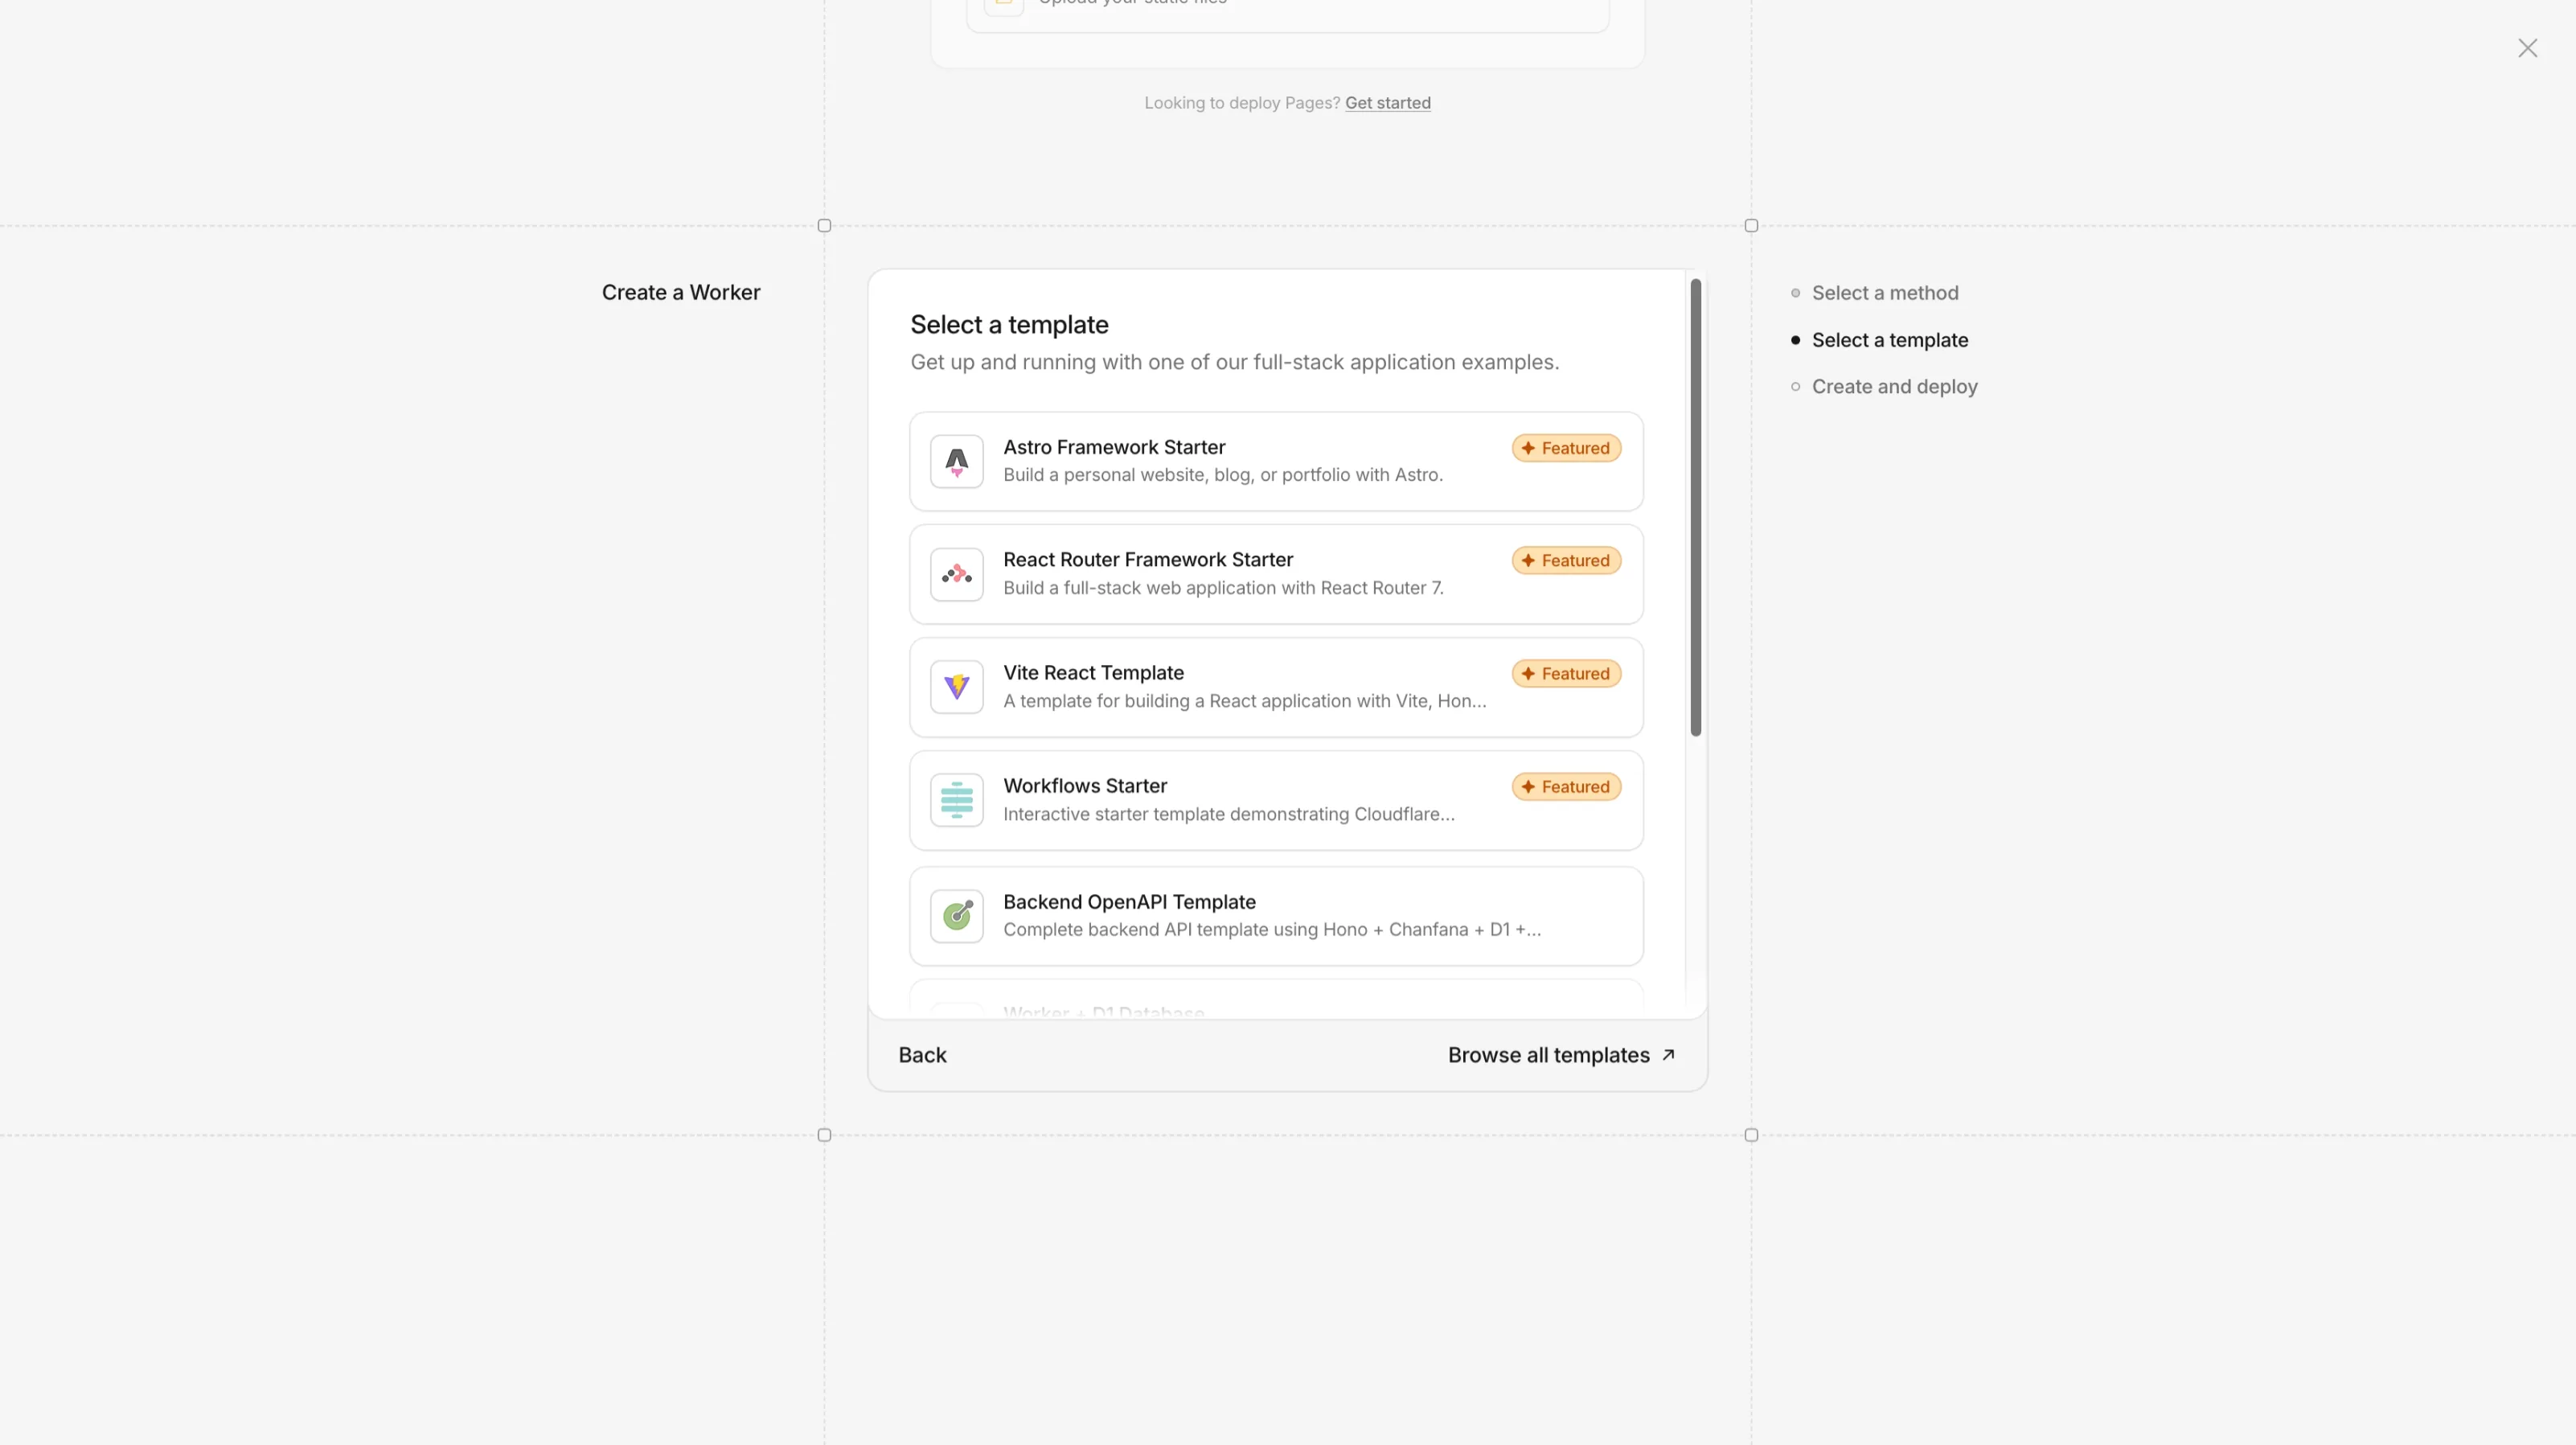
Select a Template

Choose the Astro Framework Starter
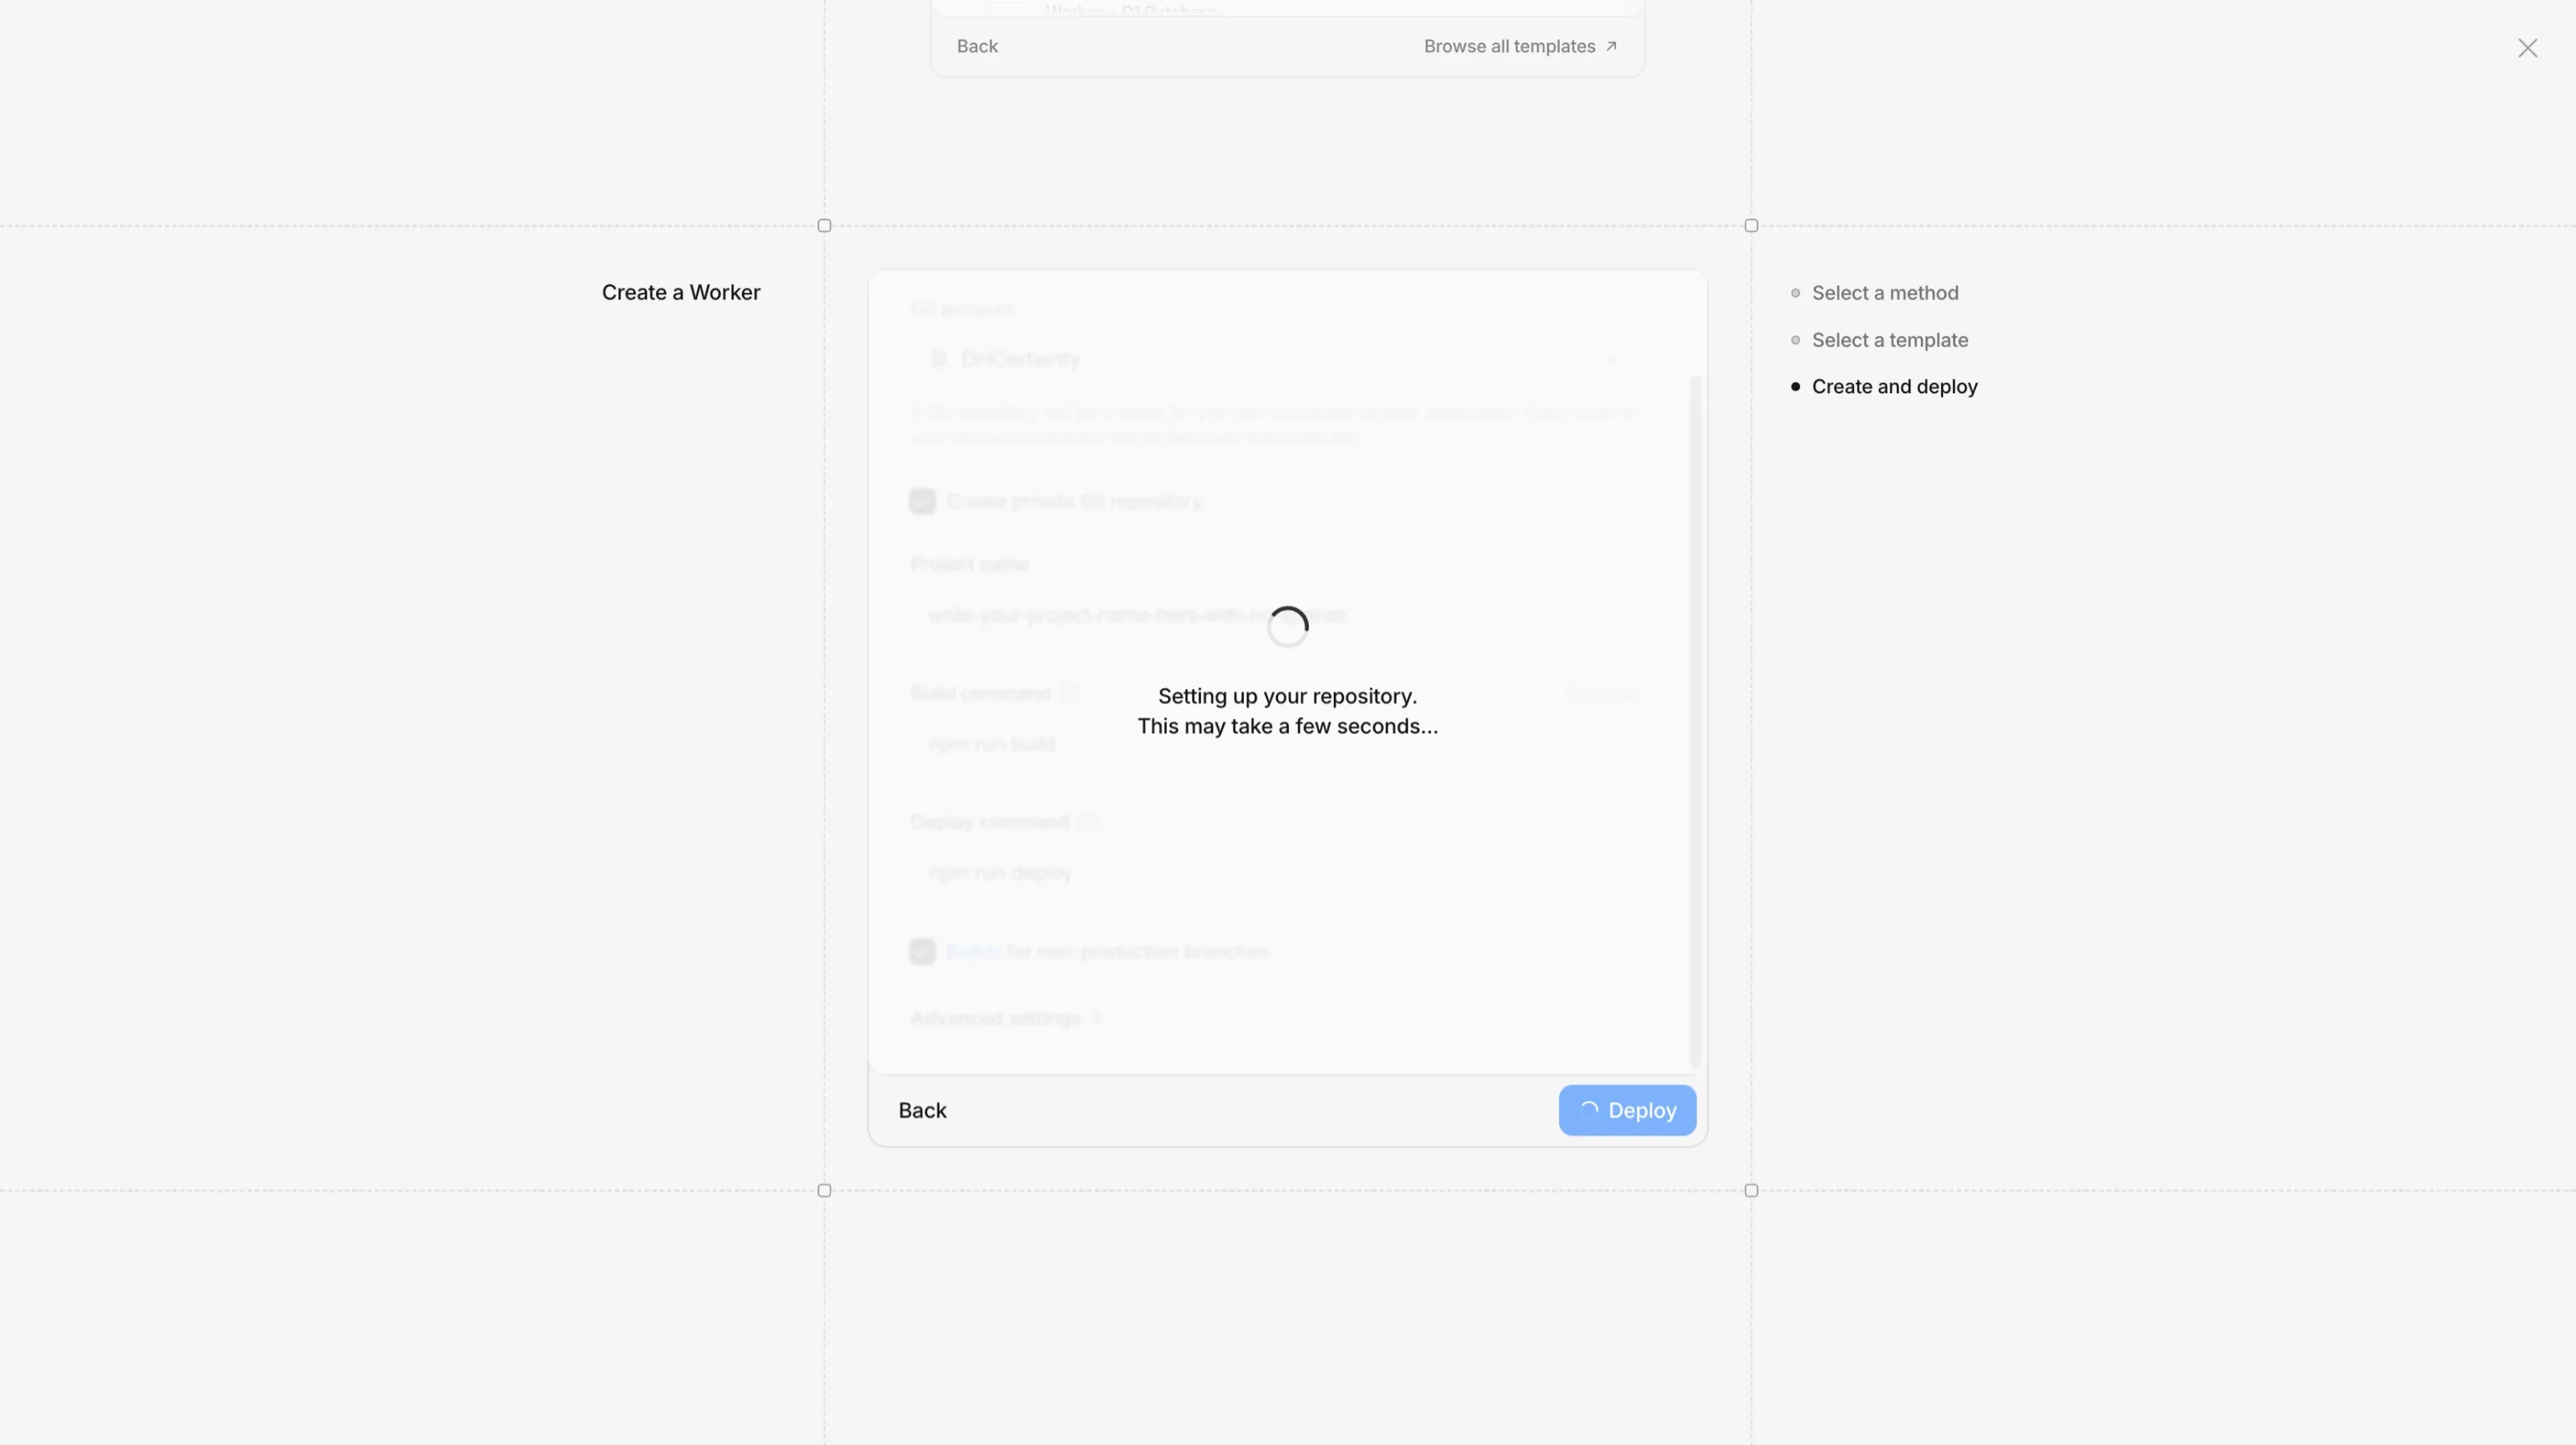
Set Up Your Application
On the "Set up your application" page, configure the following:
- Git account - Select your GitHub account or organisation.
- Create private Git repository - Keep this checked unless you want public code.
- Project name - Enter a name using lowercase letters and hyphens only (no spaces).
Once everything looks good, click the Deploy button.
my-org-website. You can always connect a custom domain later.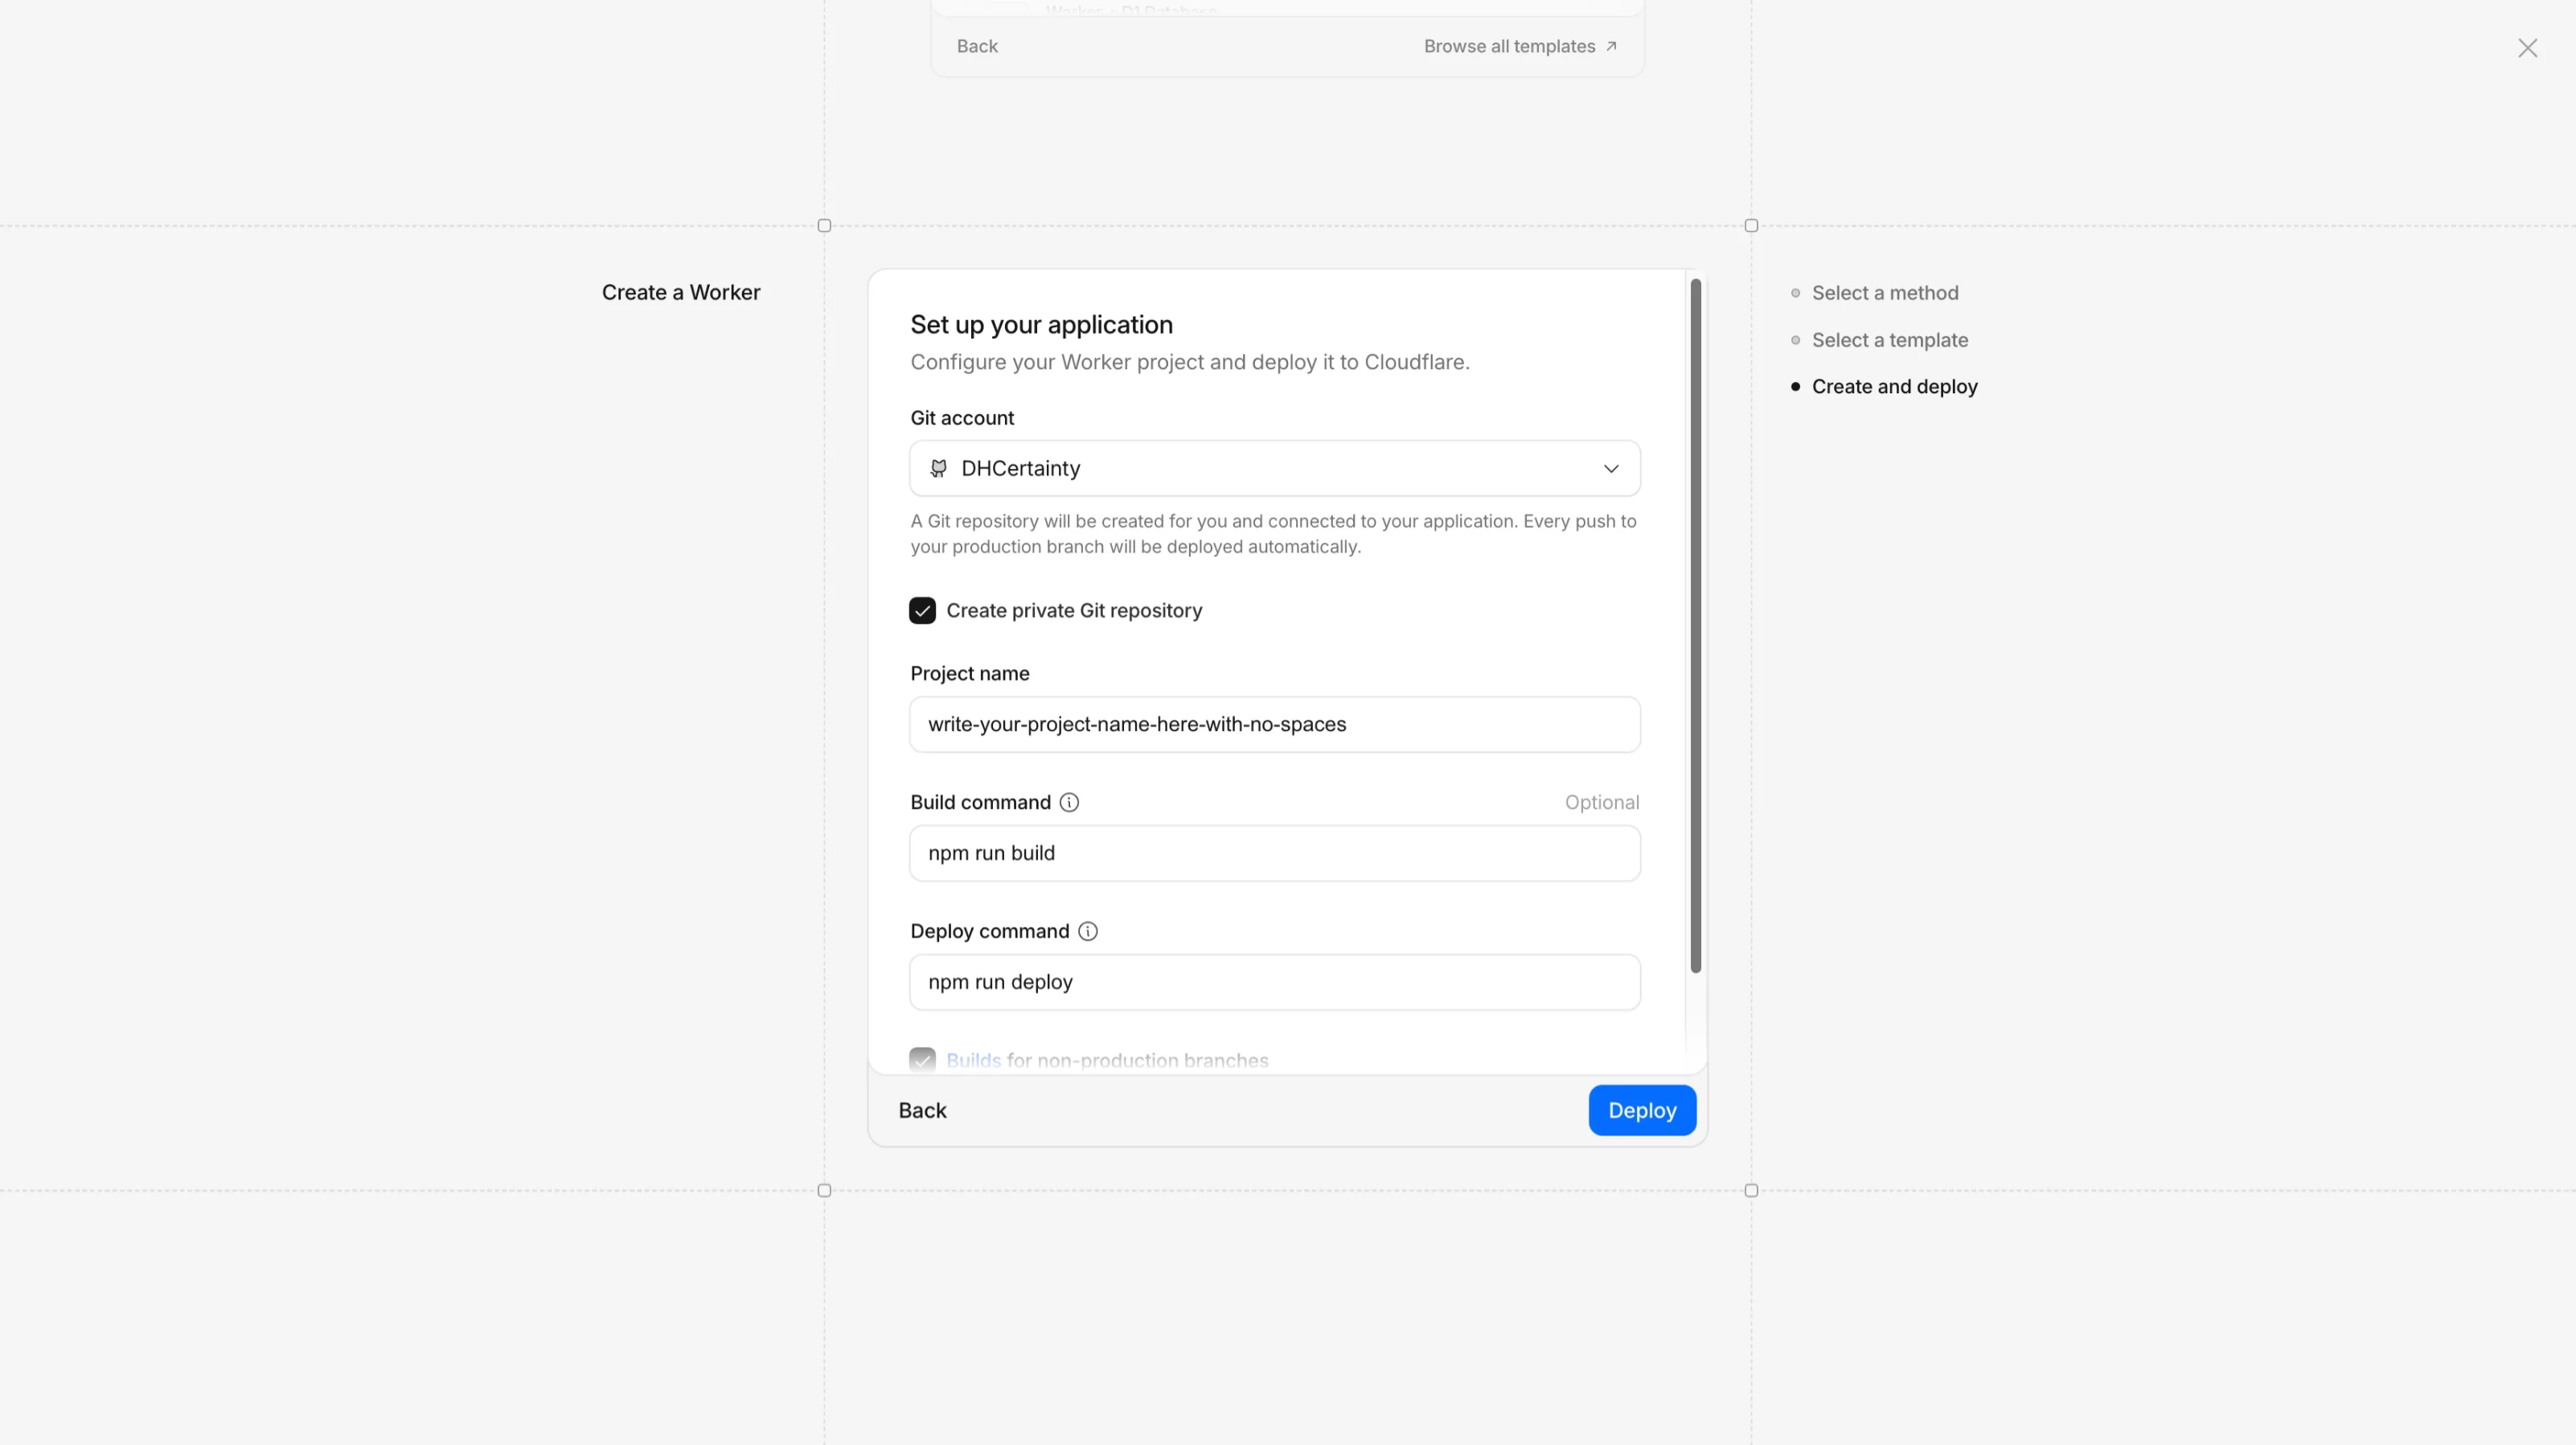
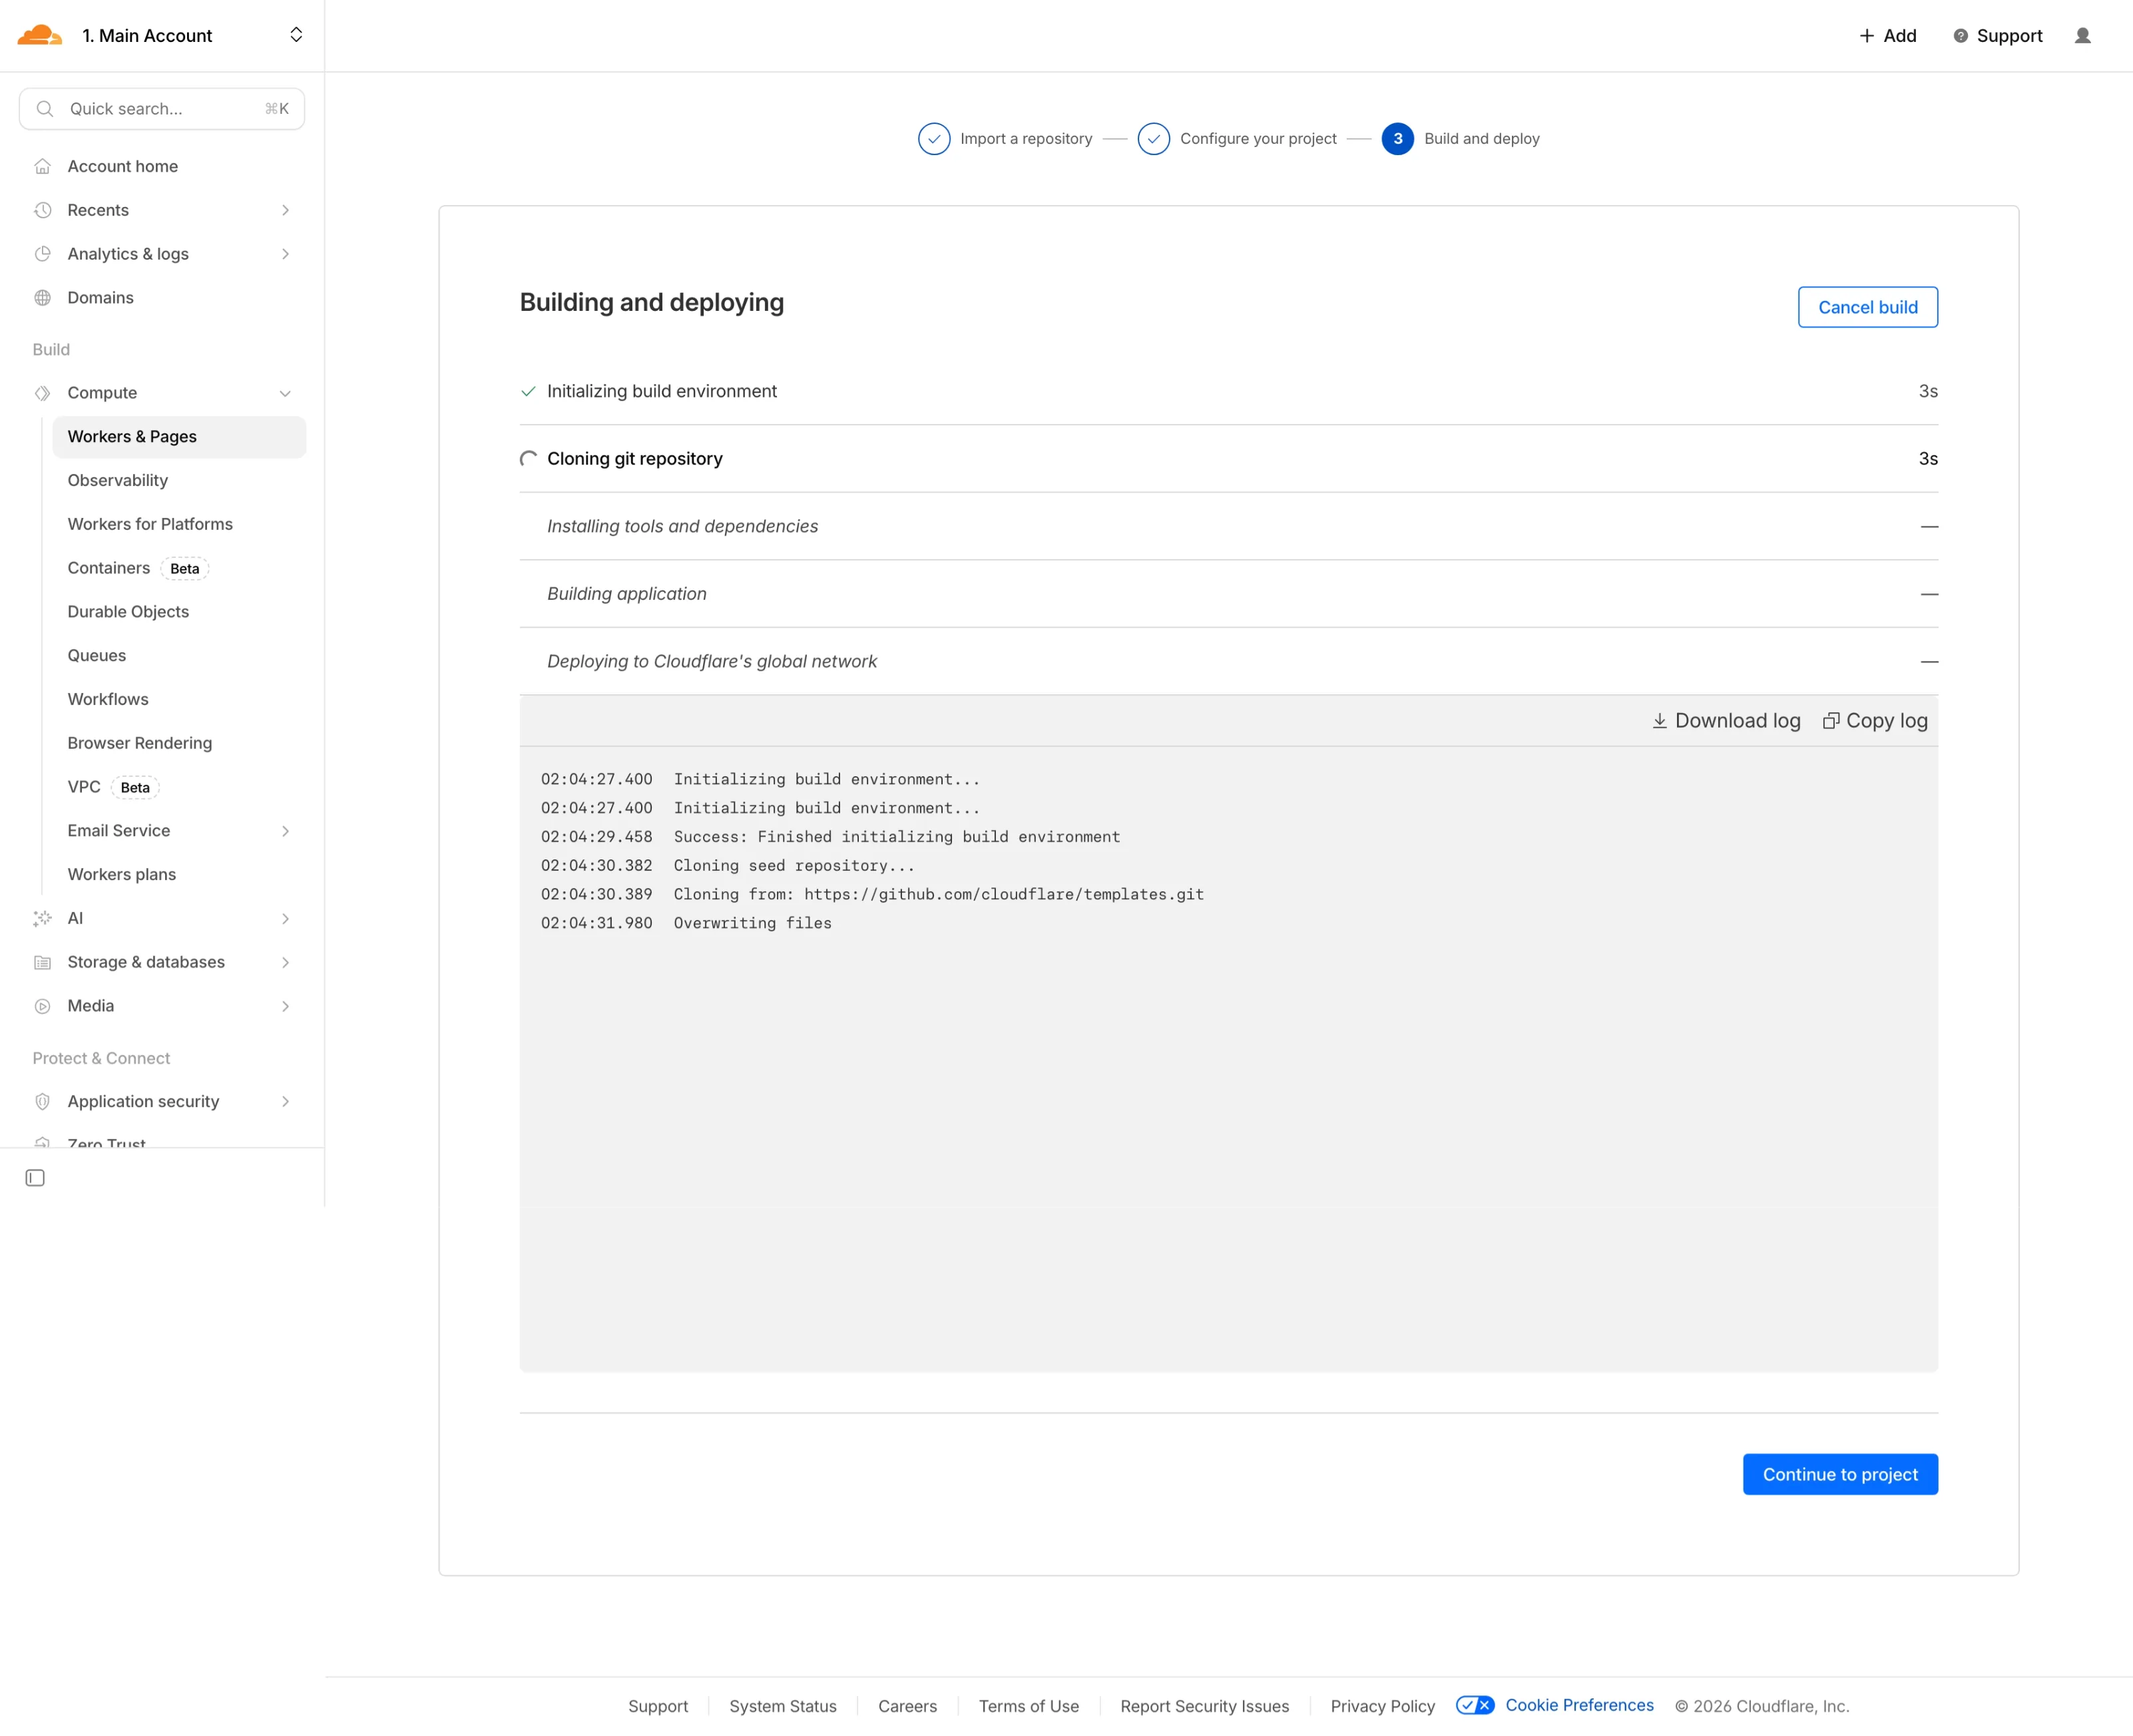
Deploying
Deployment Complete
Project Overview
.workers.dev URL at the top - this is your live site address. Click on Settings to continue.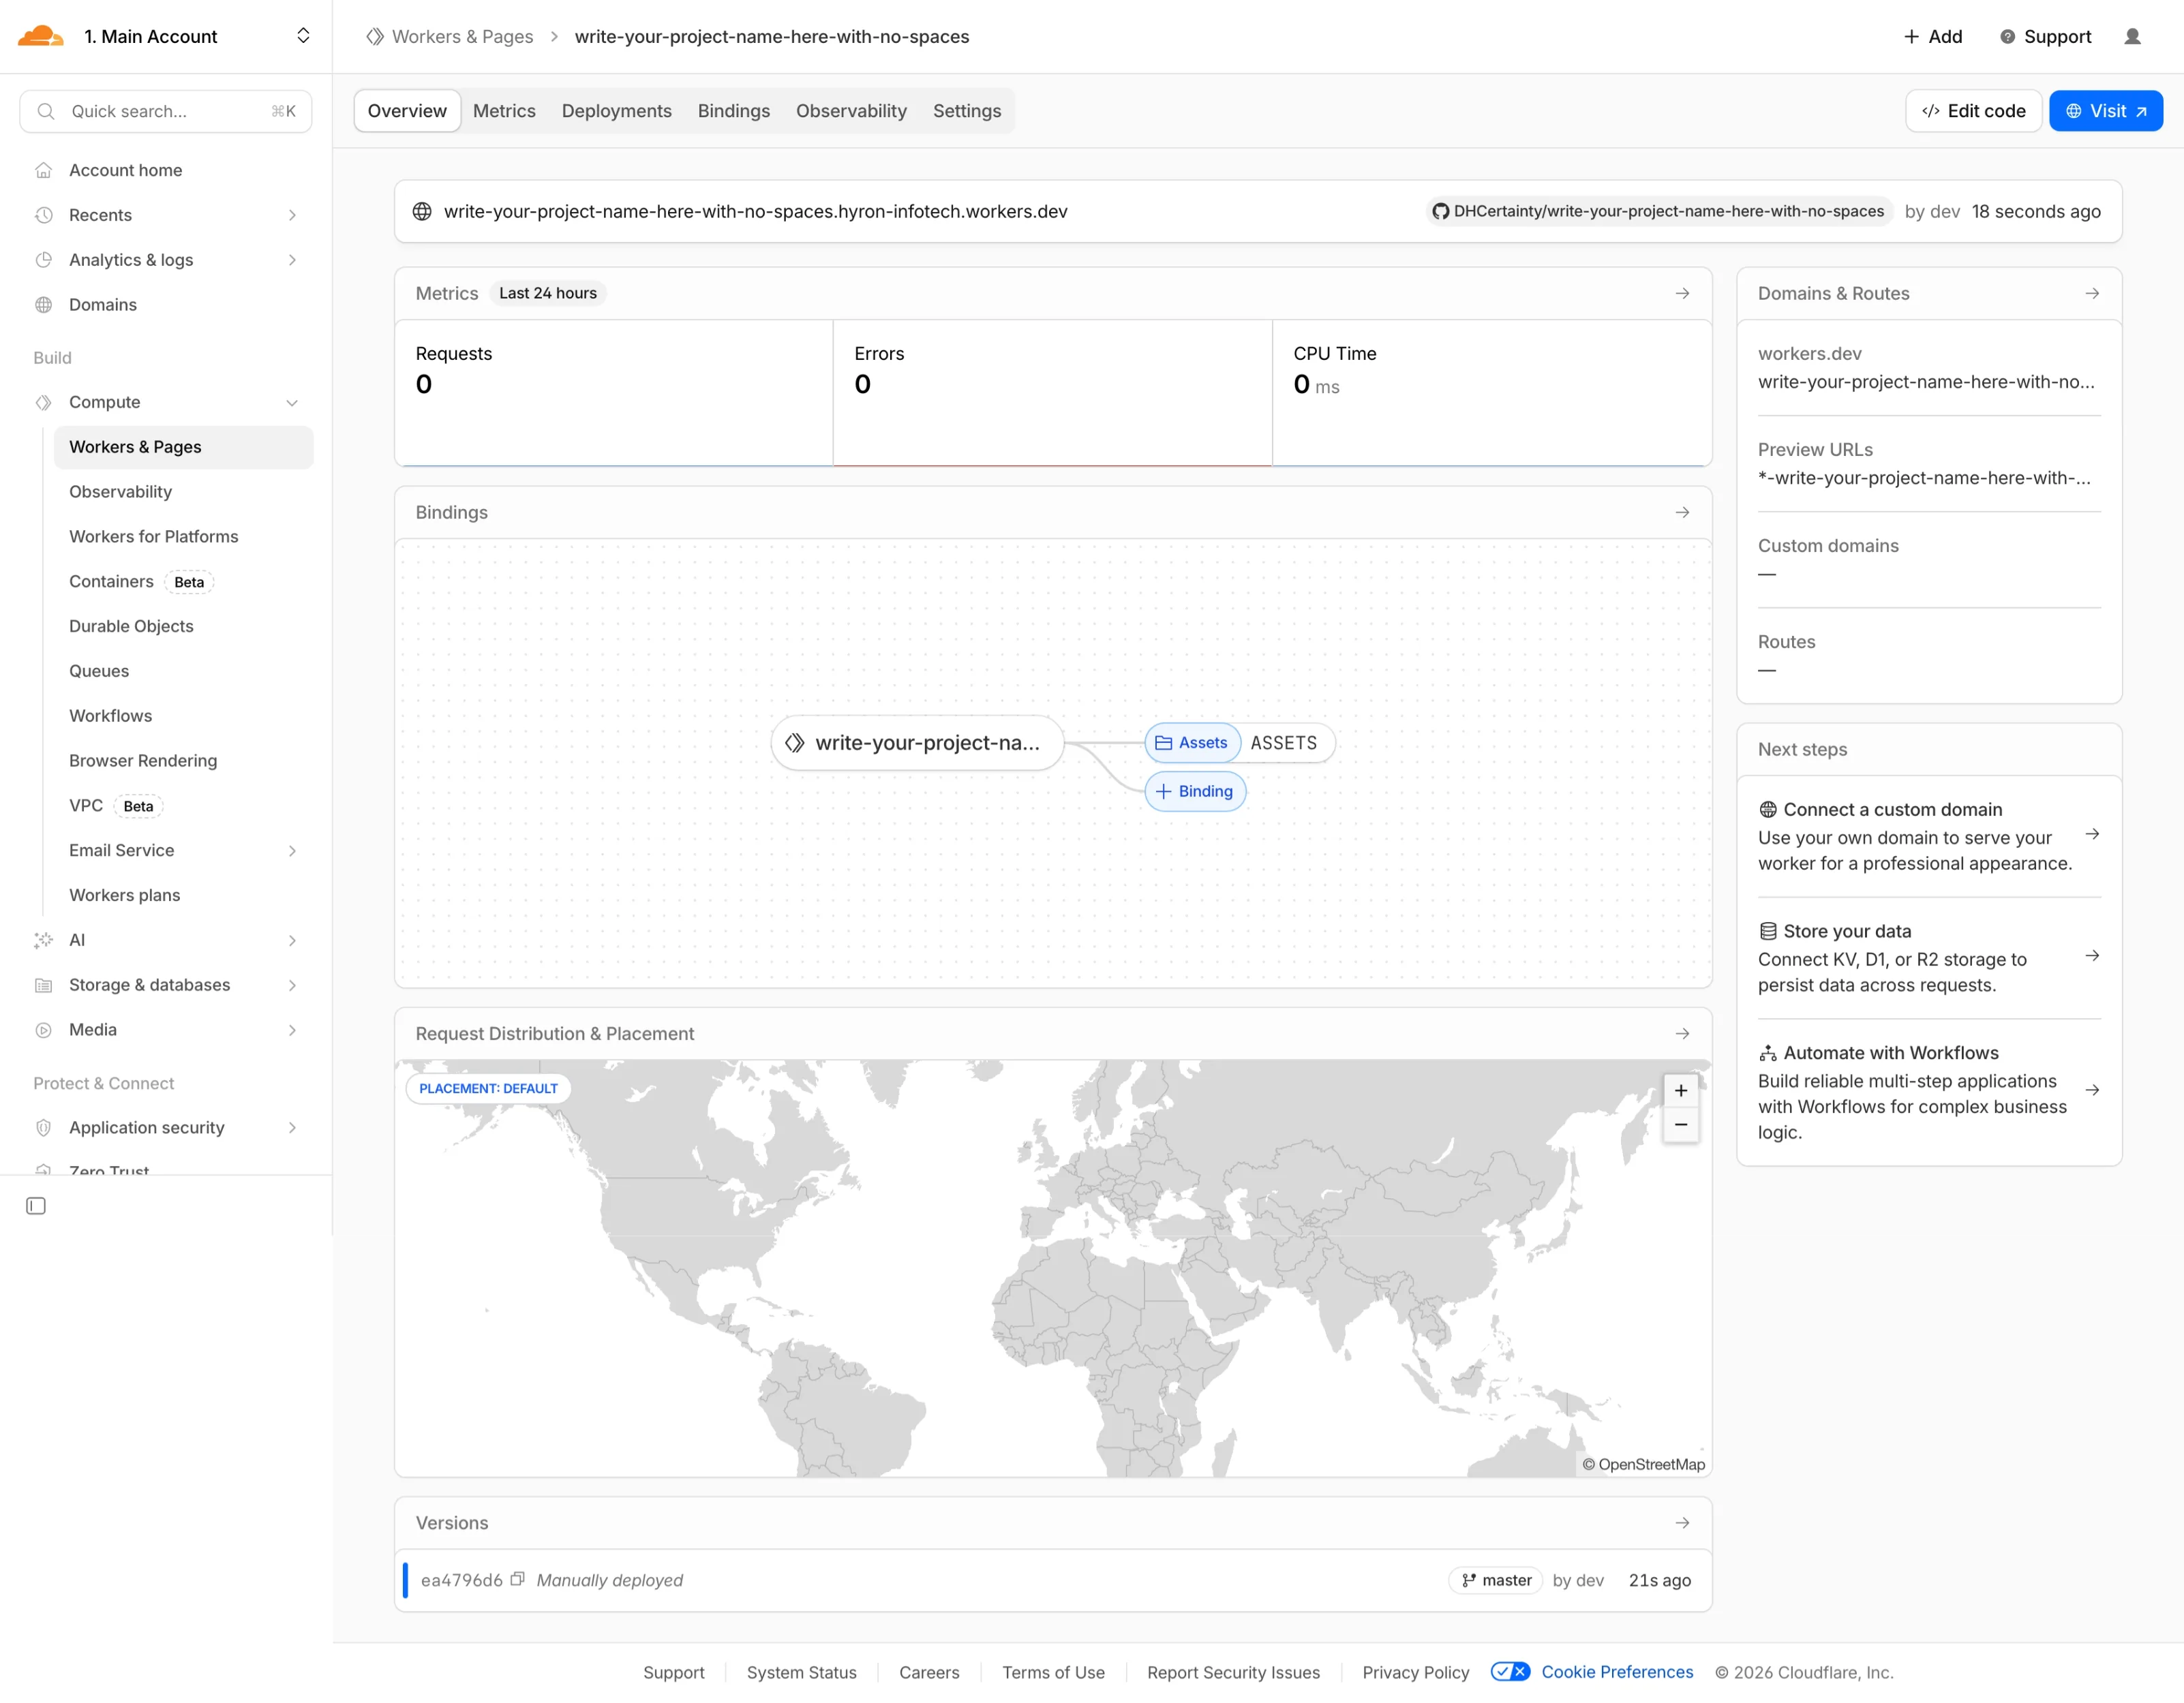
Open Domains & Routes
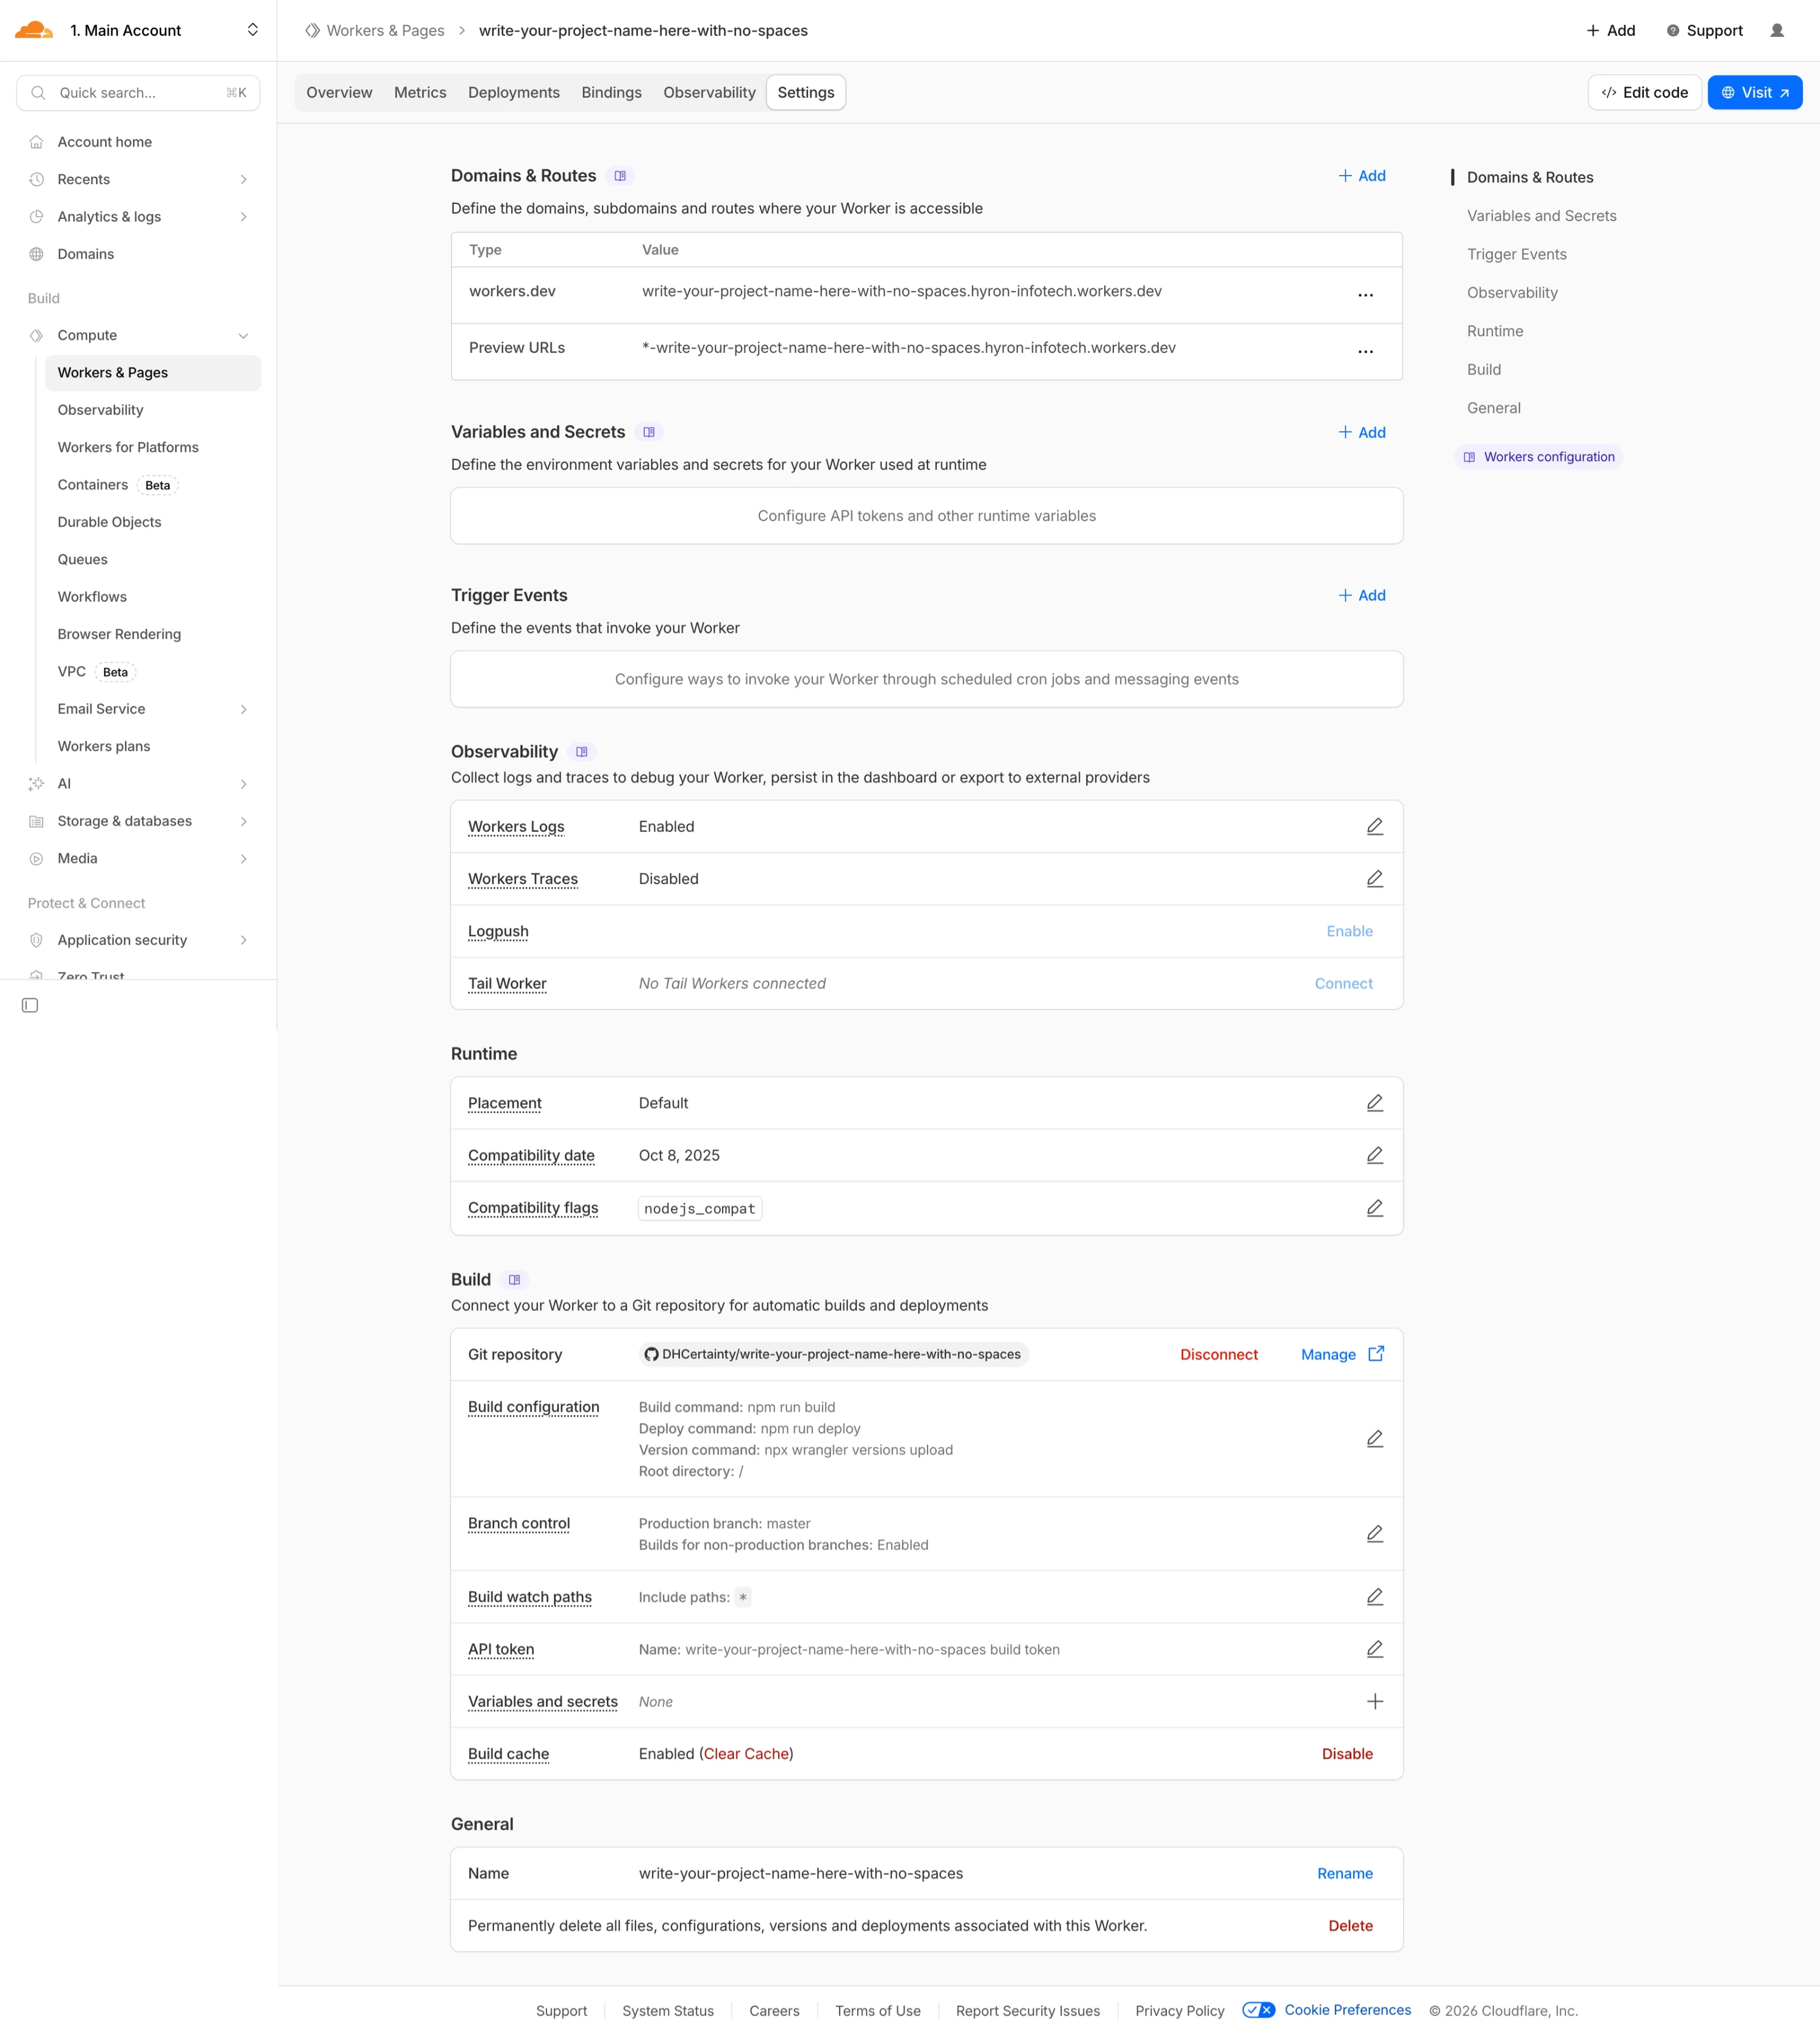
Select Custom Domain
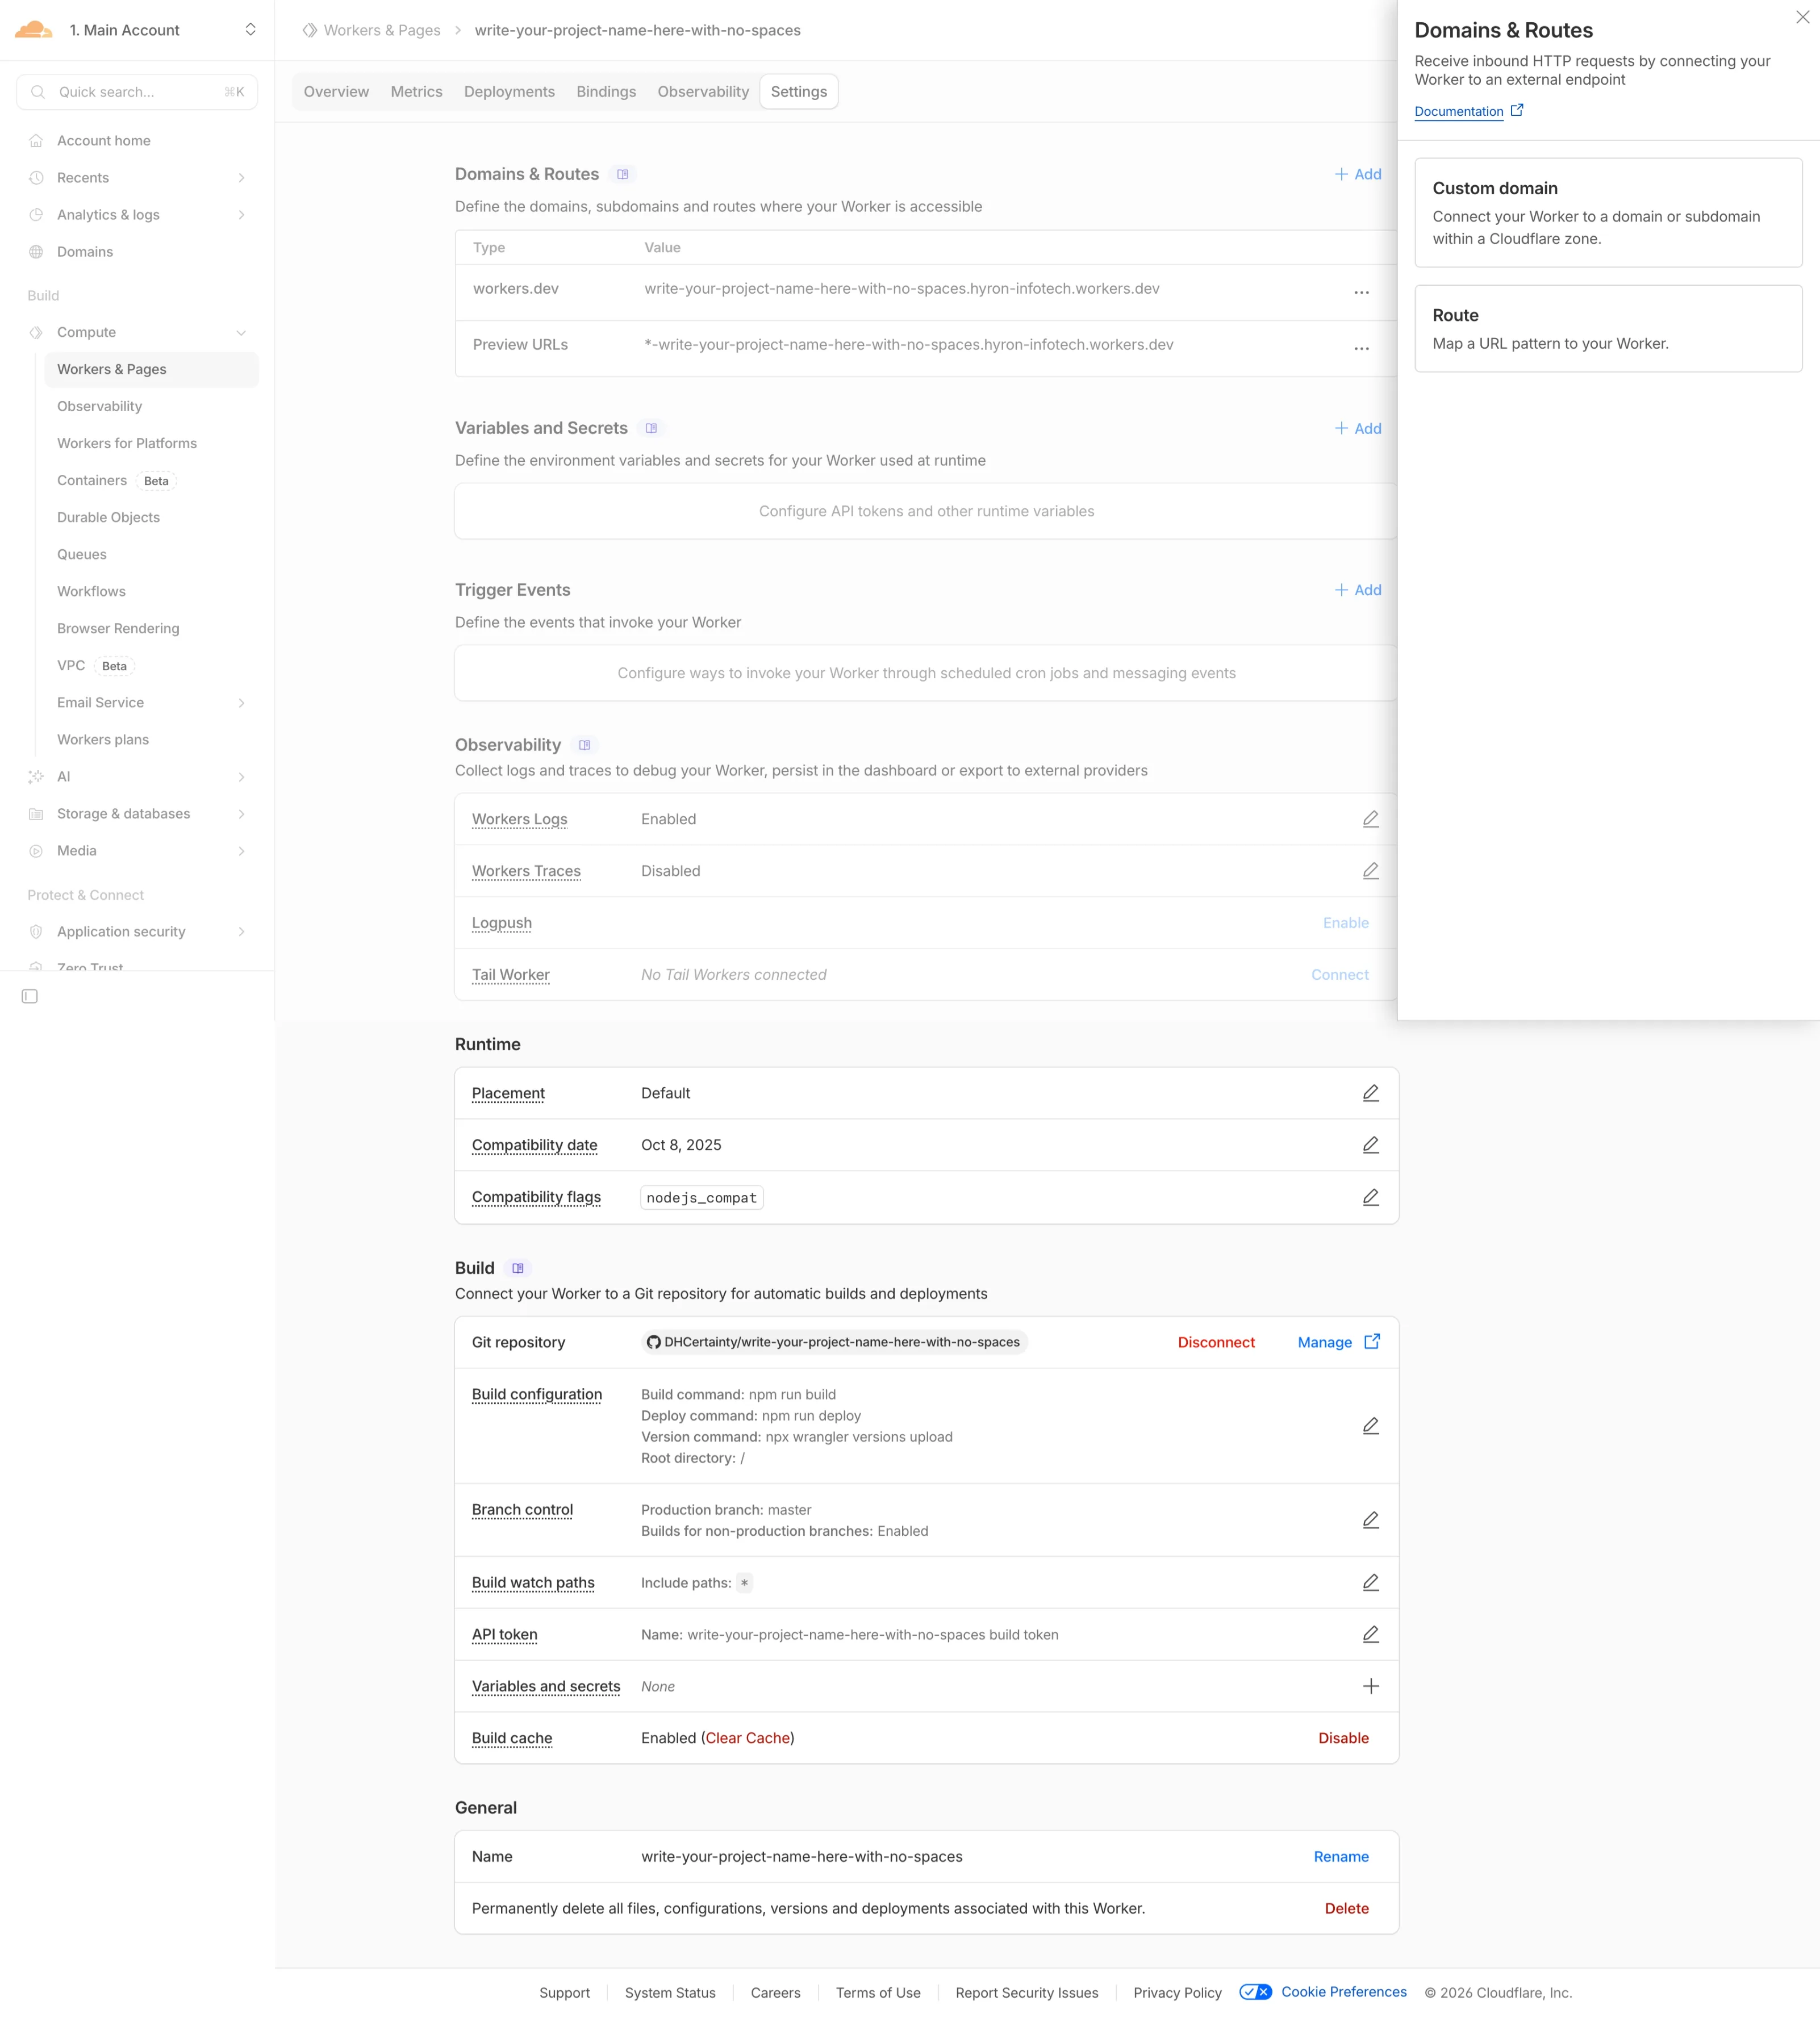
Add Your Custom Domain
choose-a-subdomain.dhcy.sg). Cloudflare will automatically configure the DNS record and provision an HTTPS certificate for you. Click Add domain to save.wrangler.jsonc file to keep your local dev environment in sync.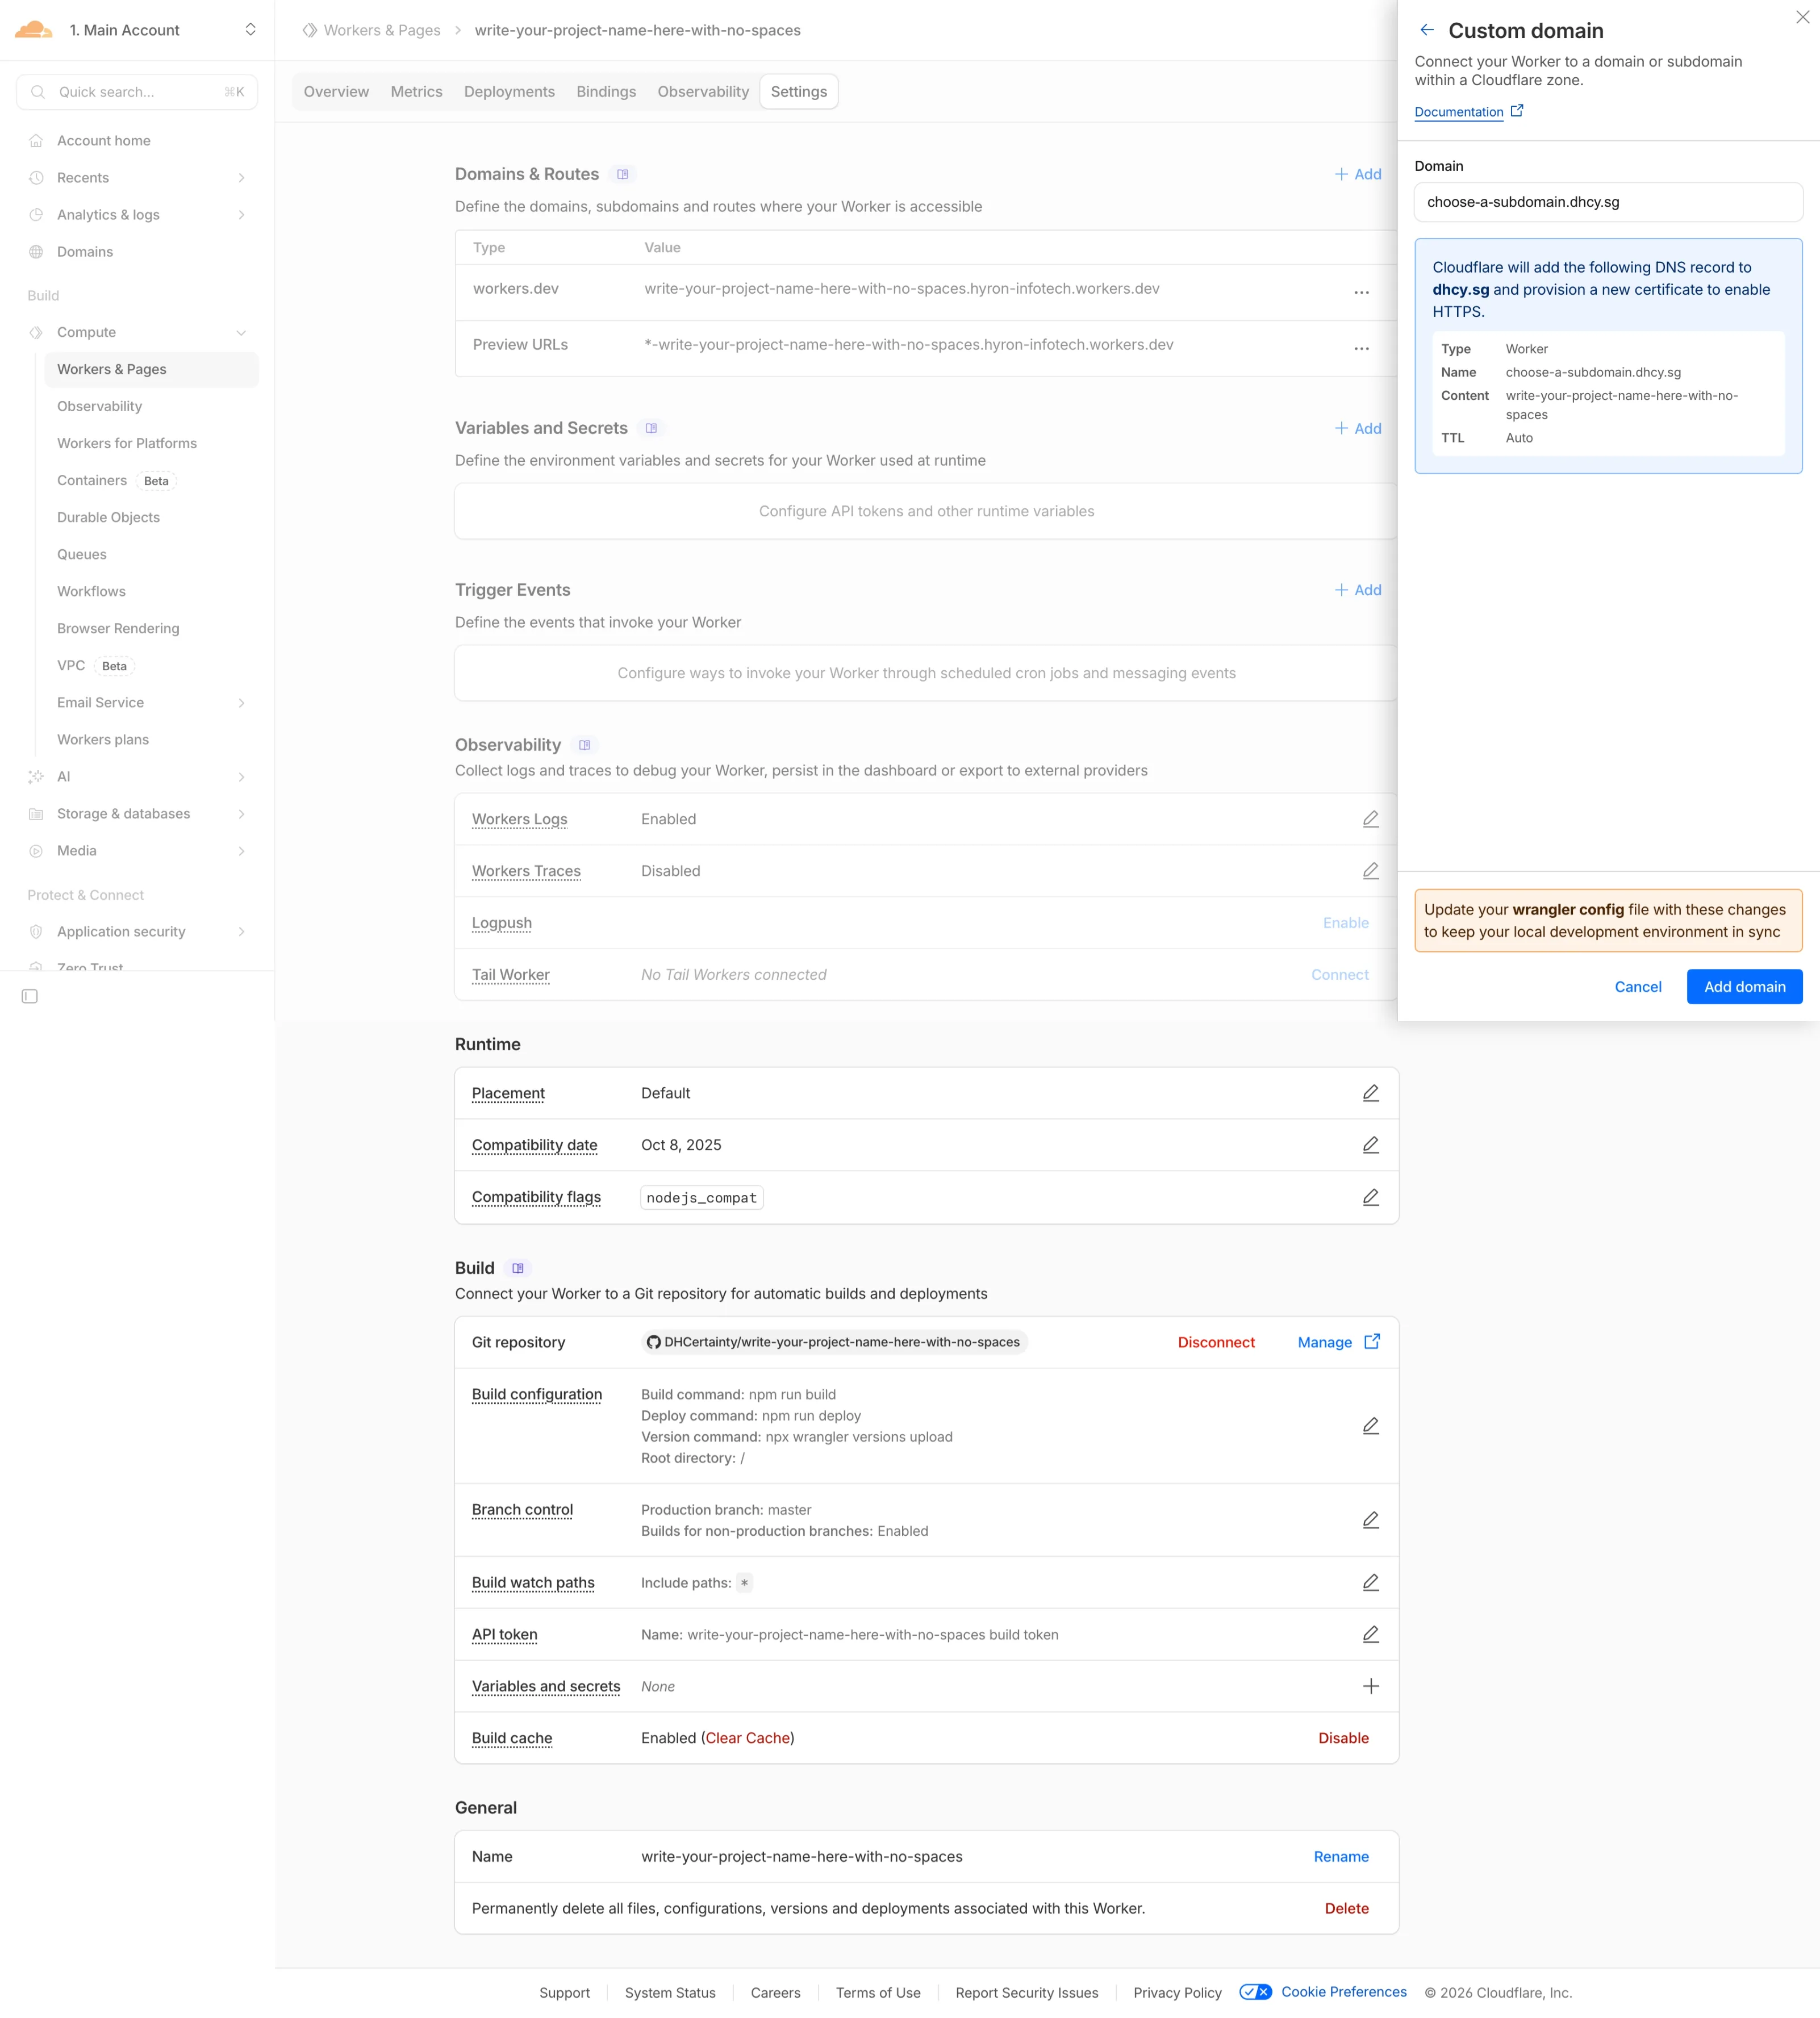
Open Your Git Repository

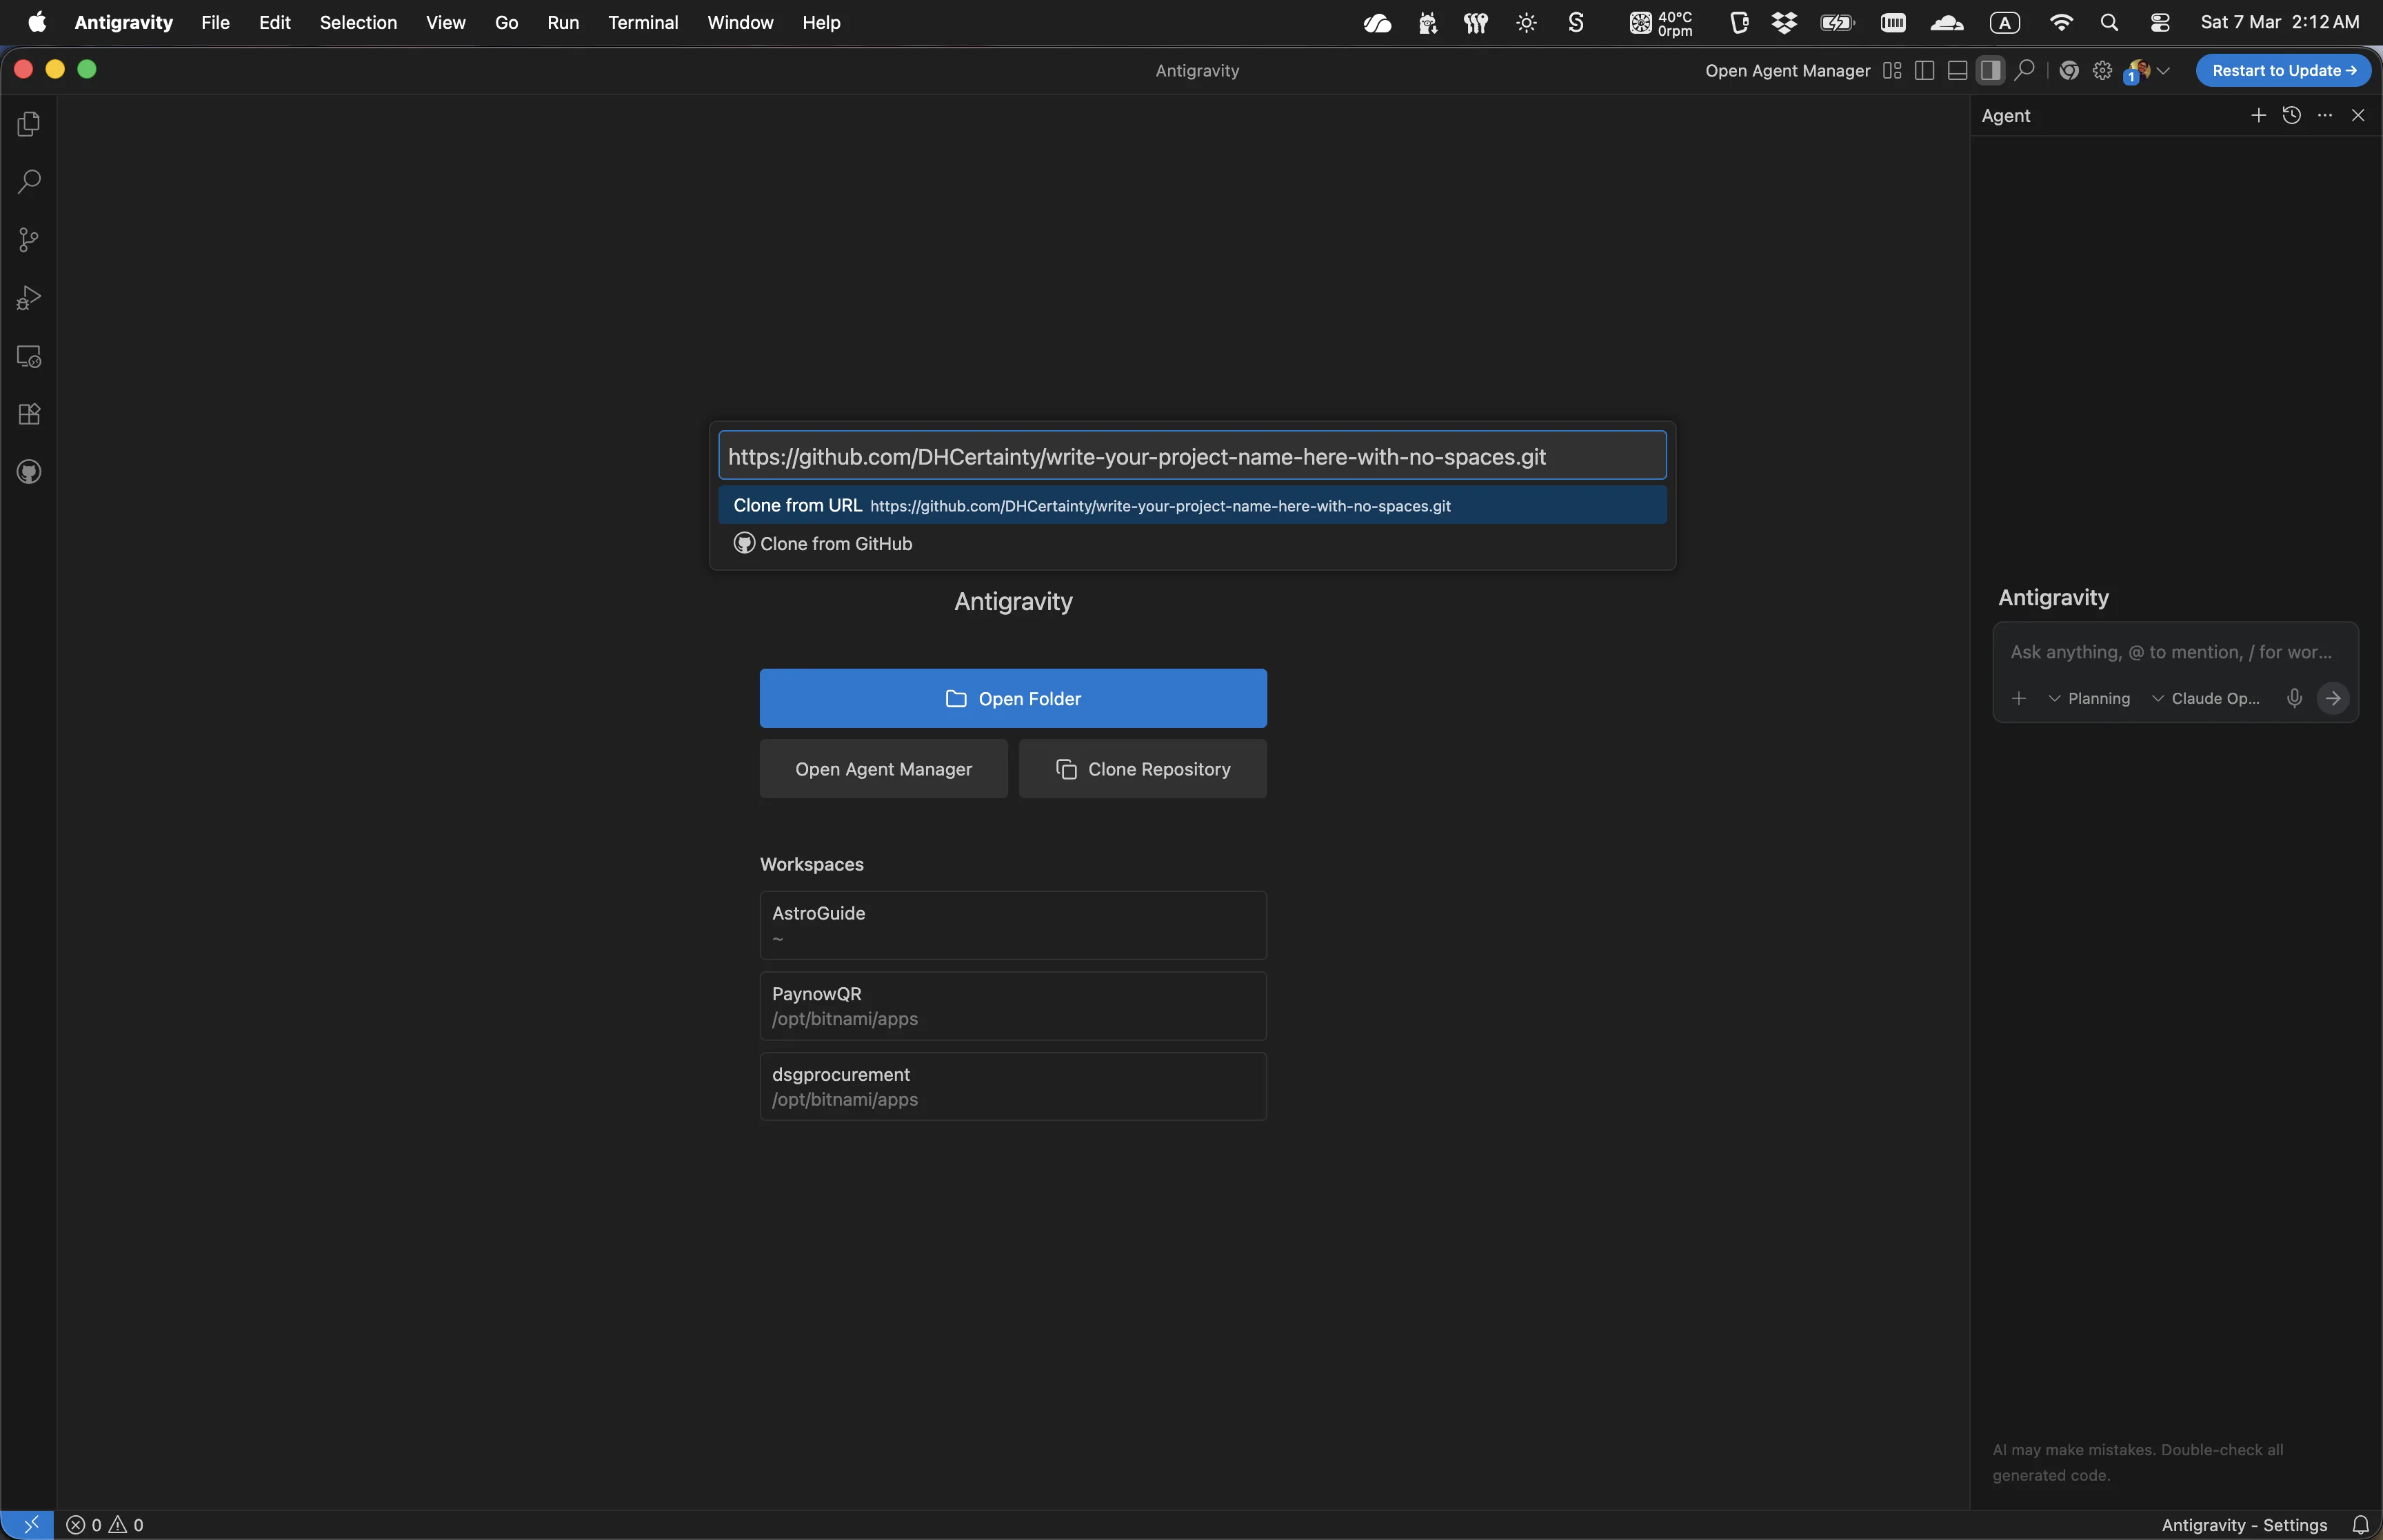
Locate the Clone URL on GitHub
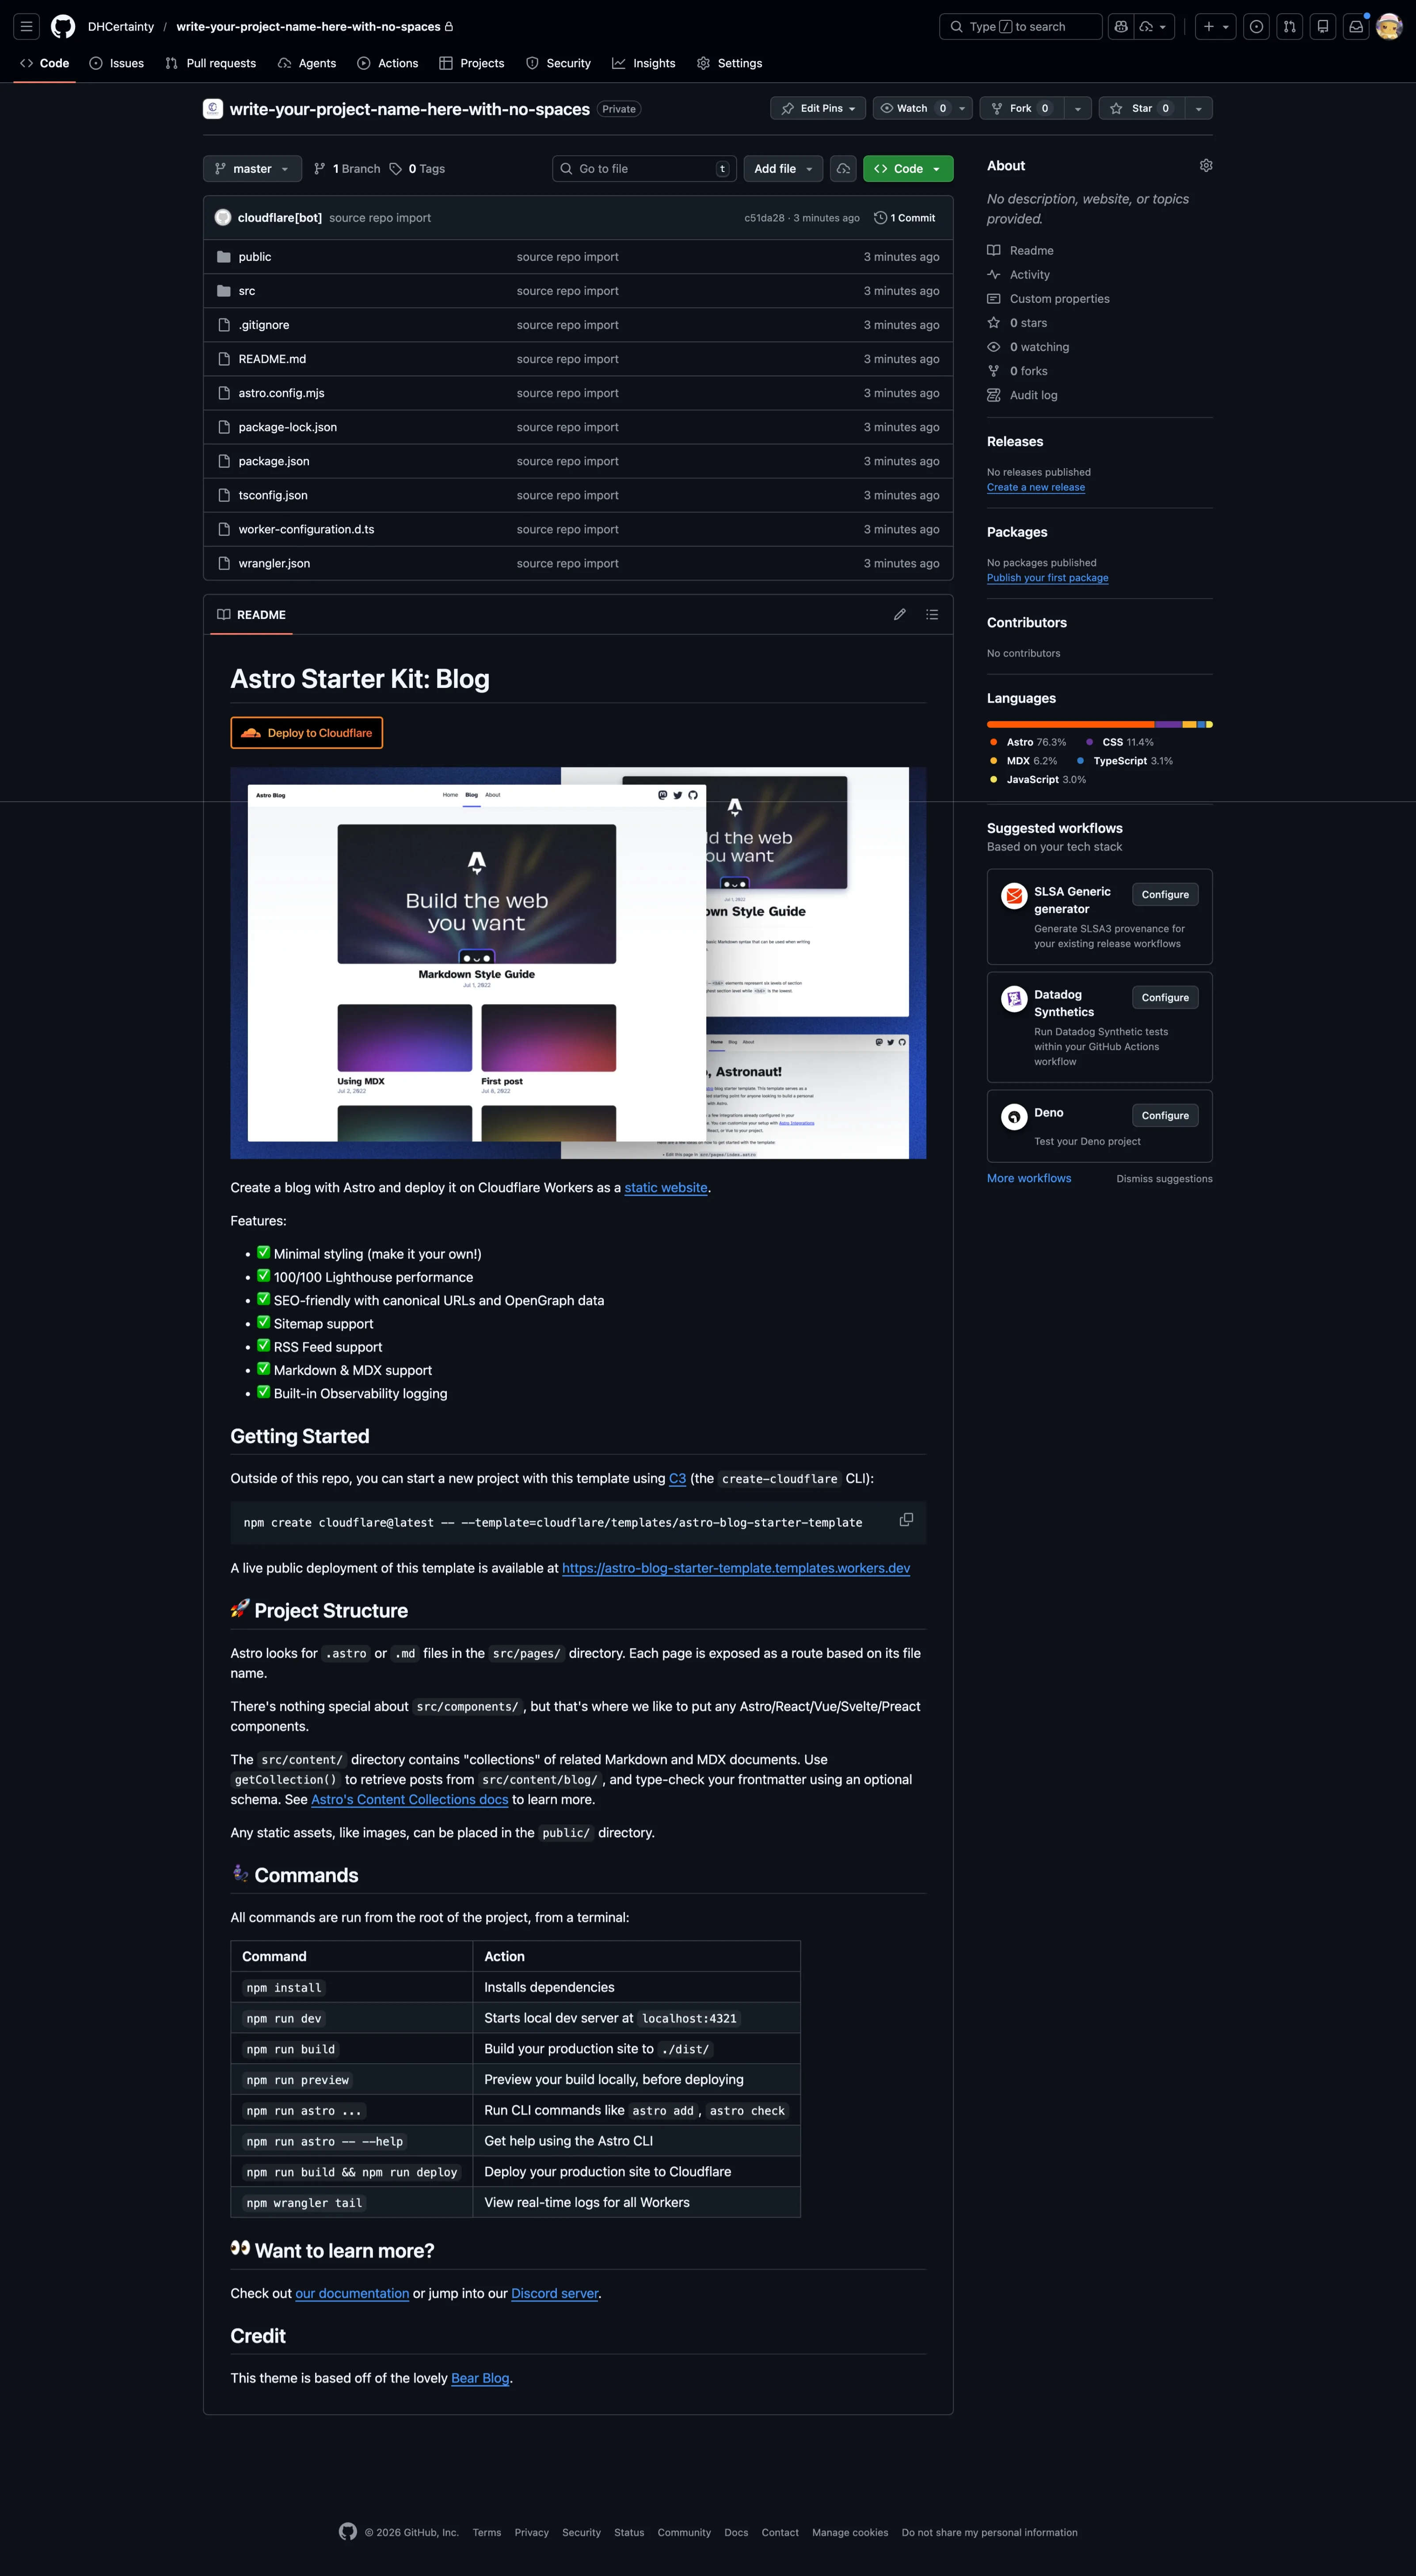
Copy the Clone URL

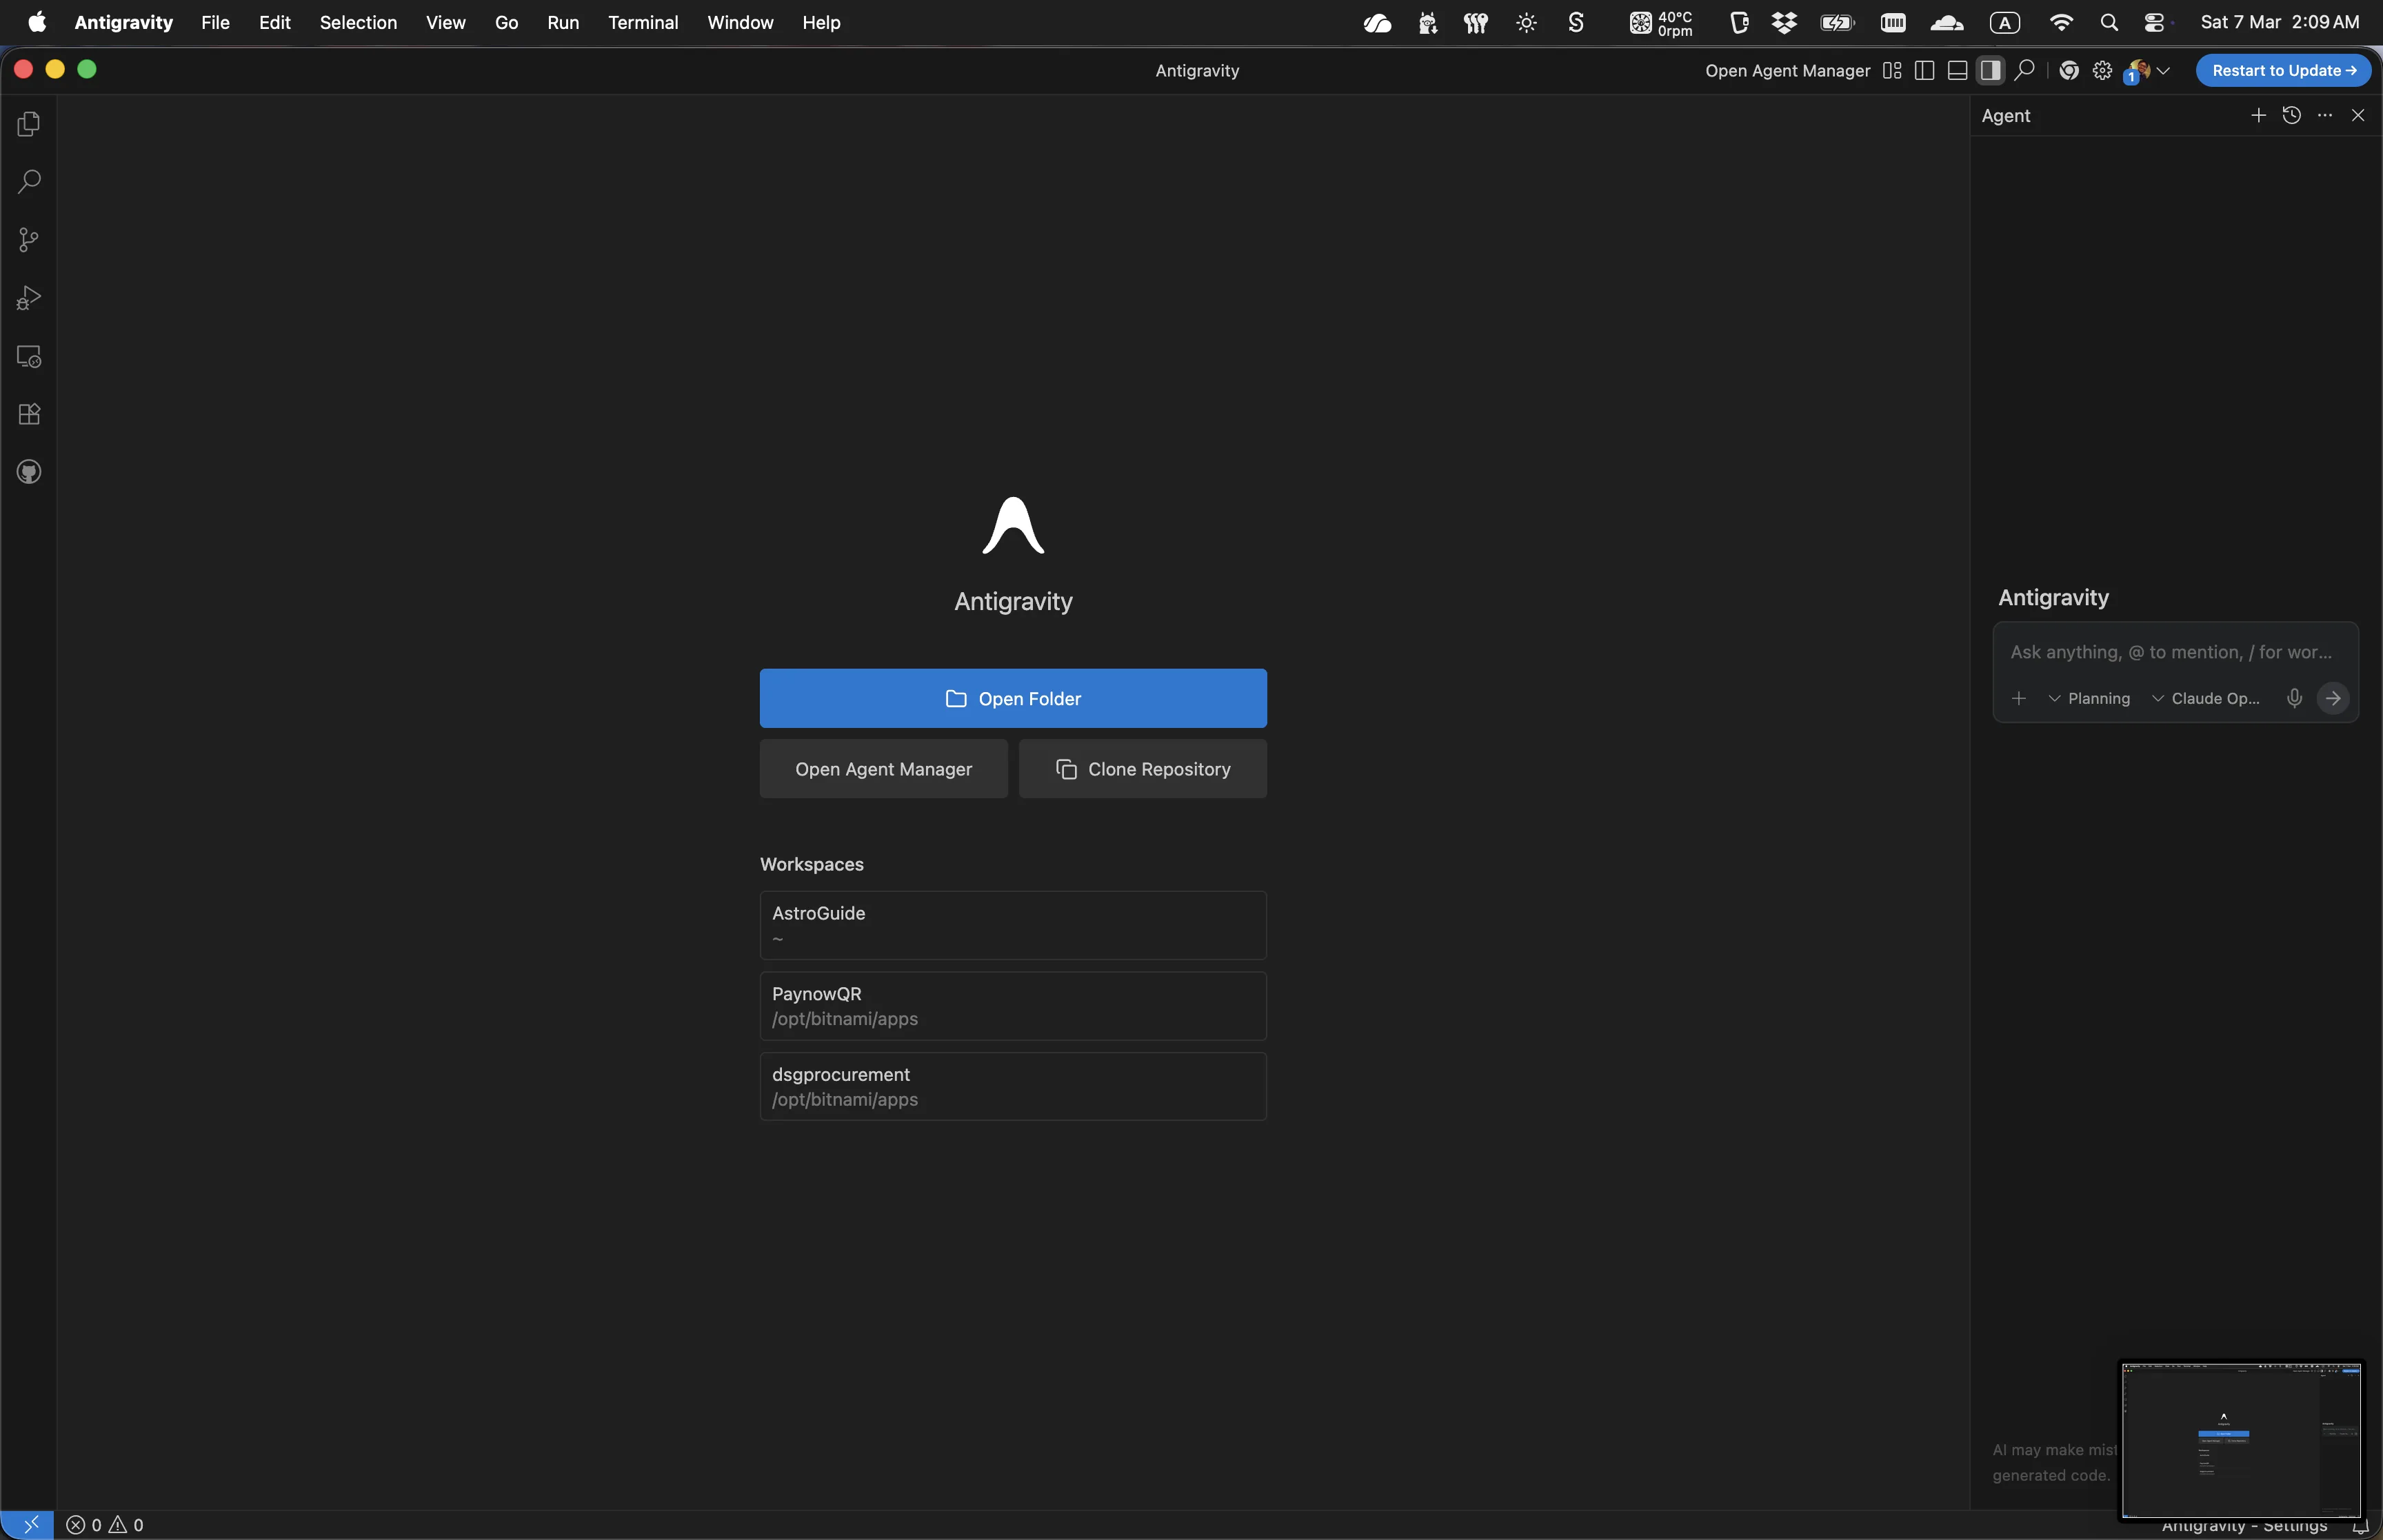
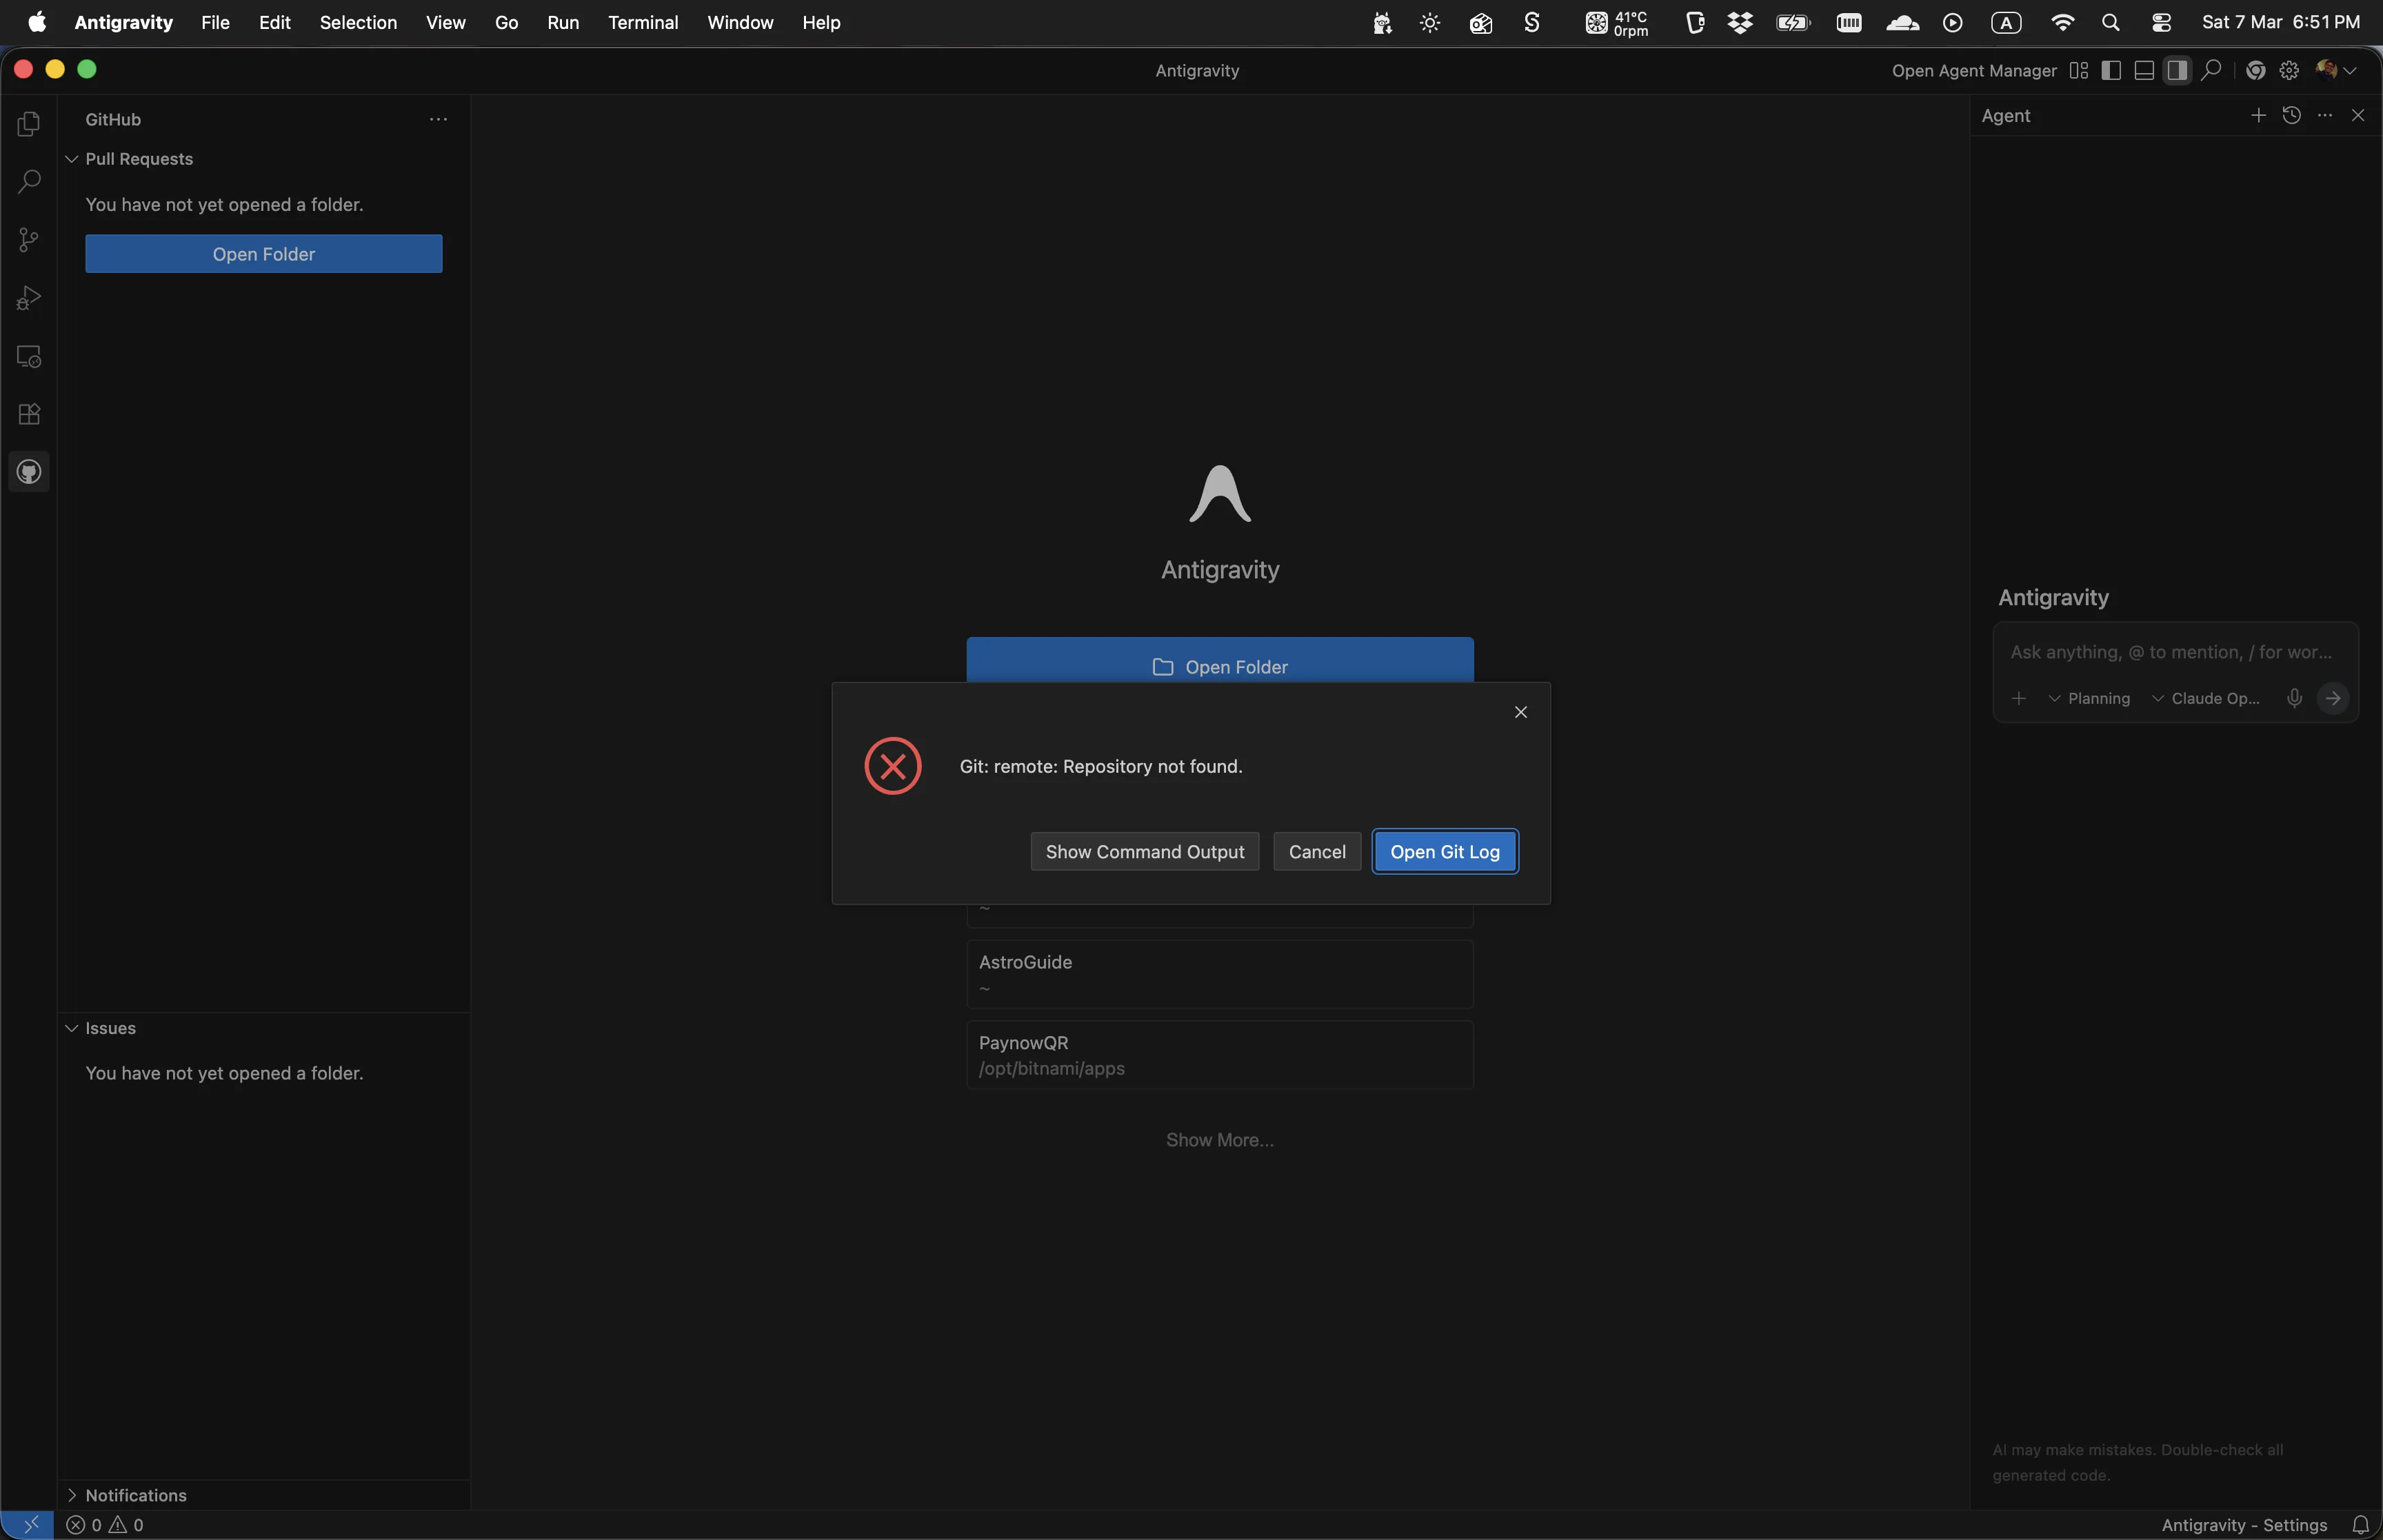
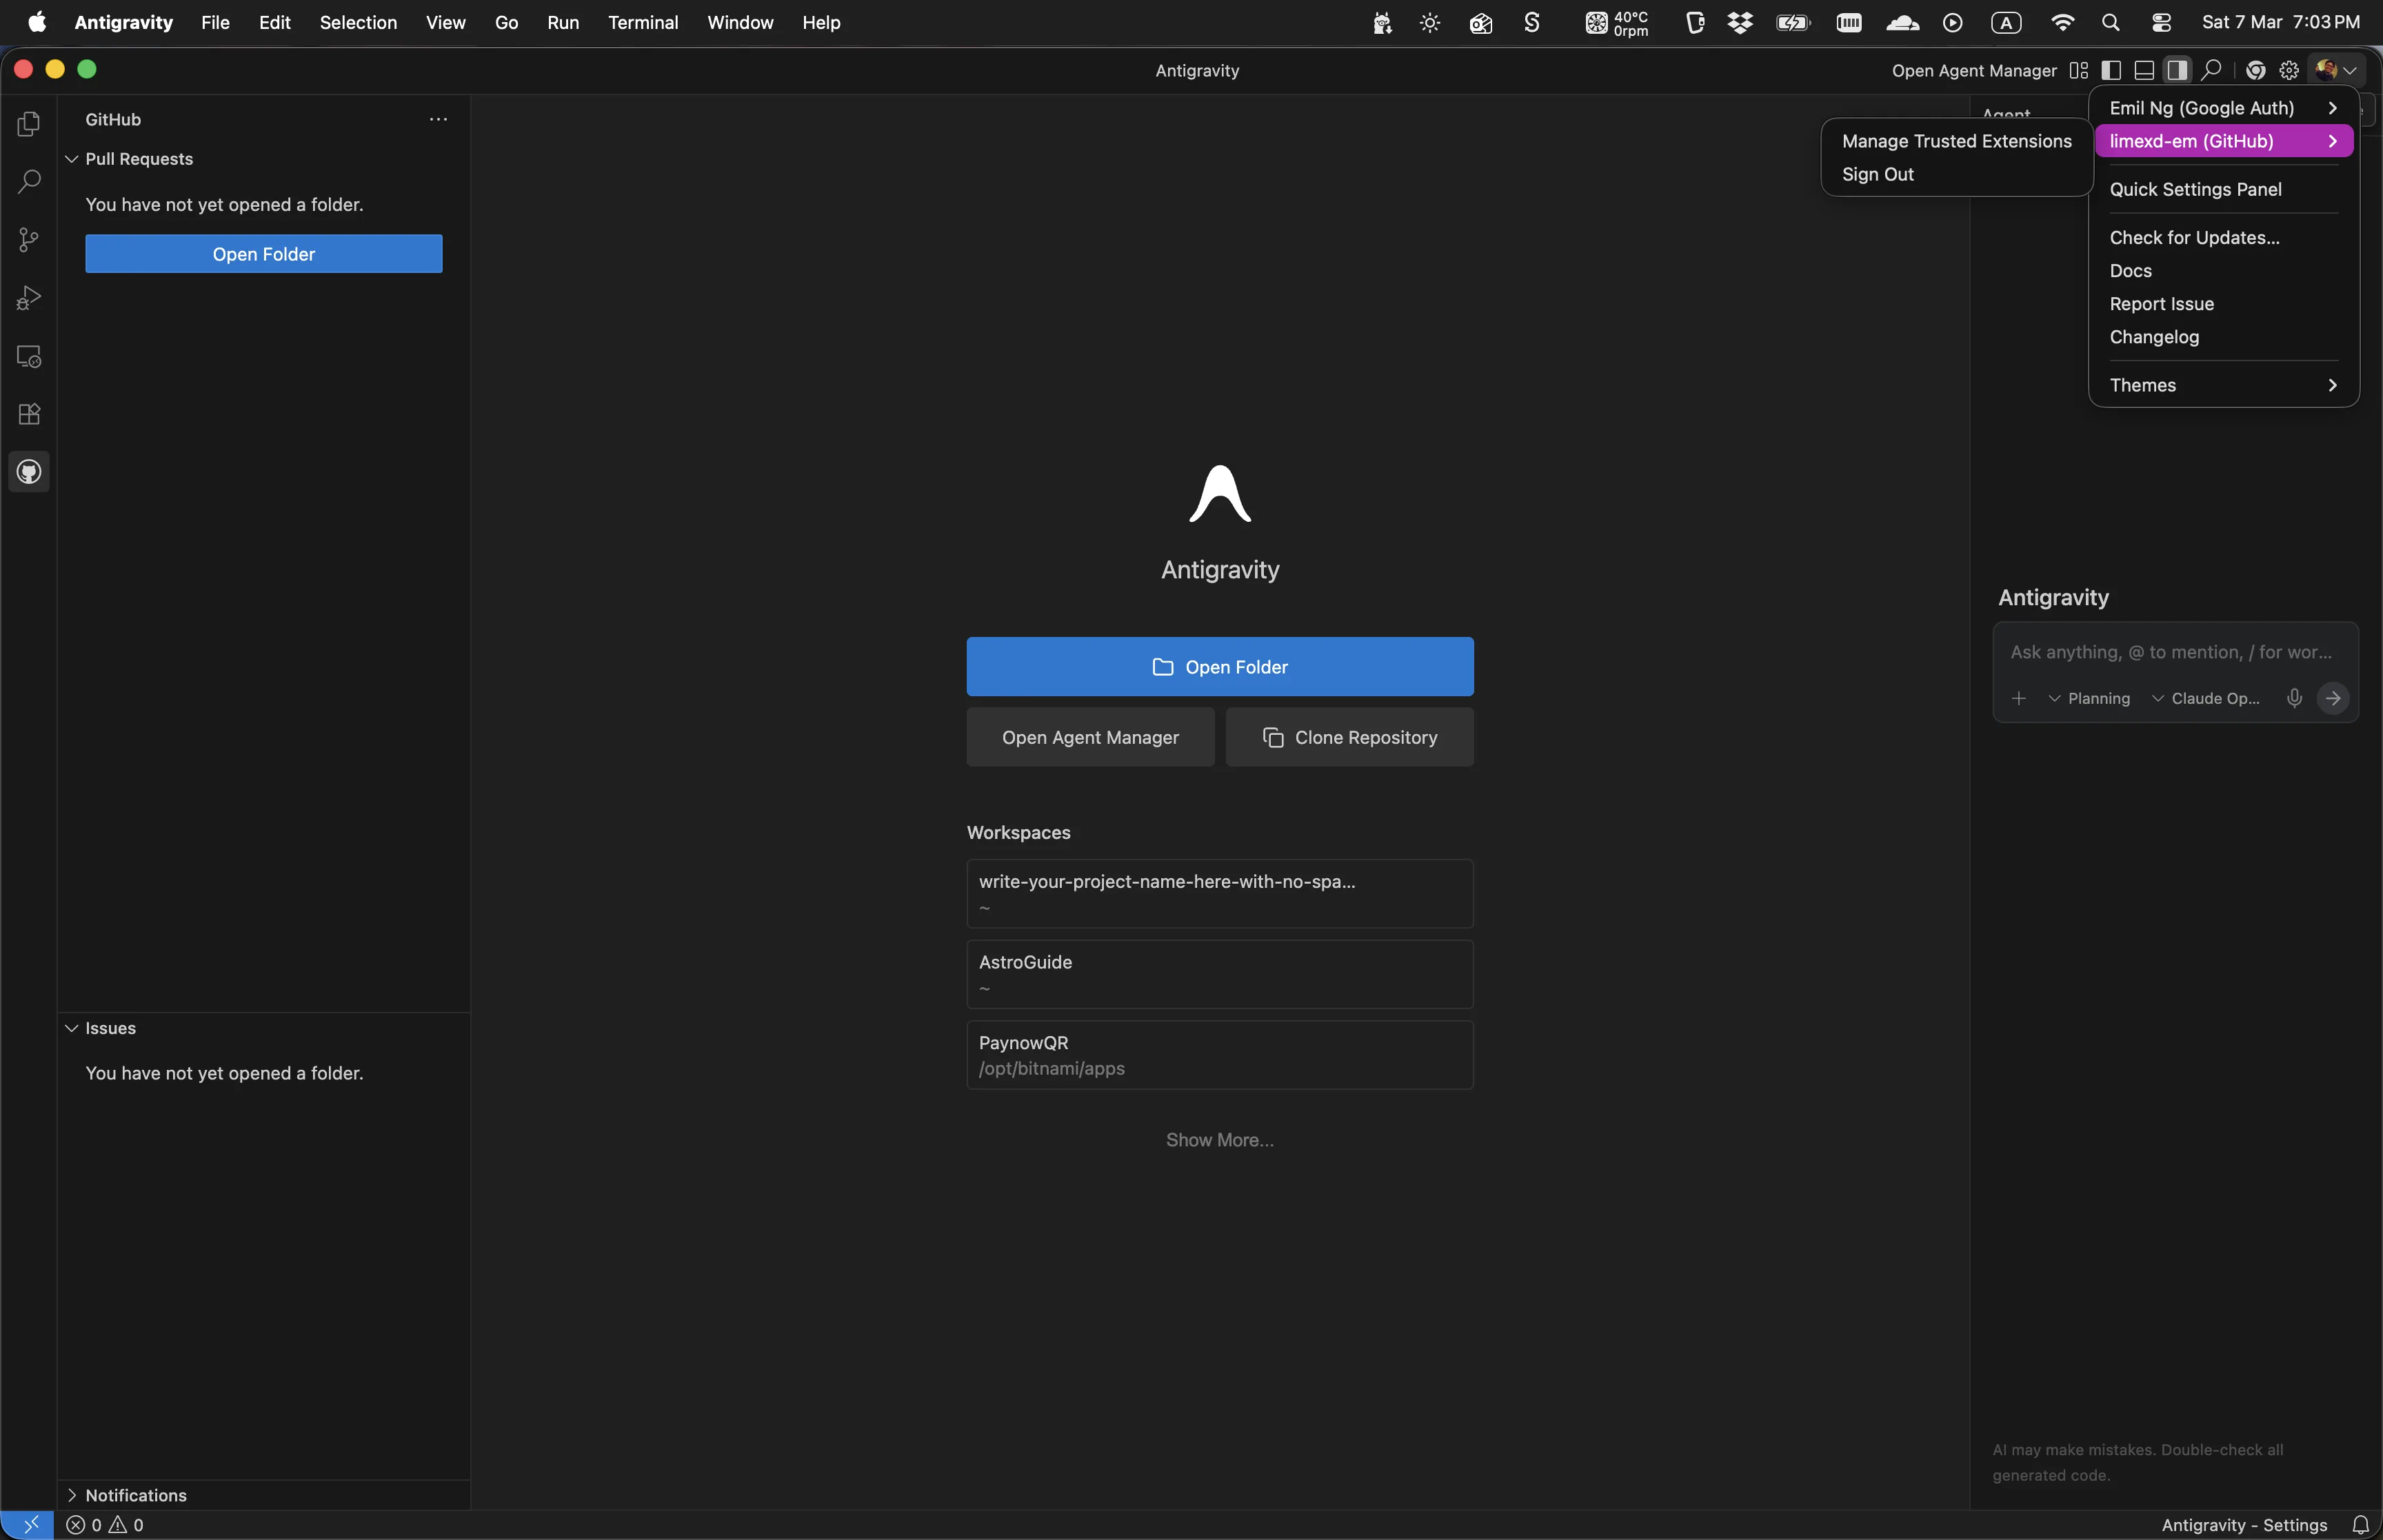
Open Antigravity
Paste the Clone URL
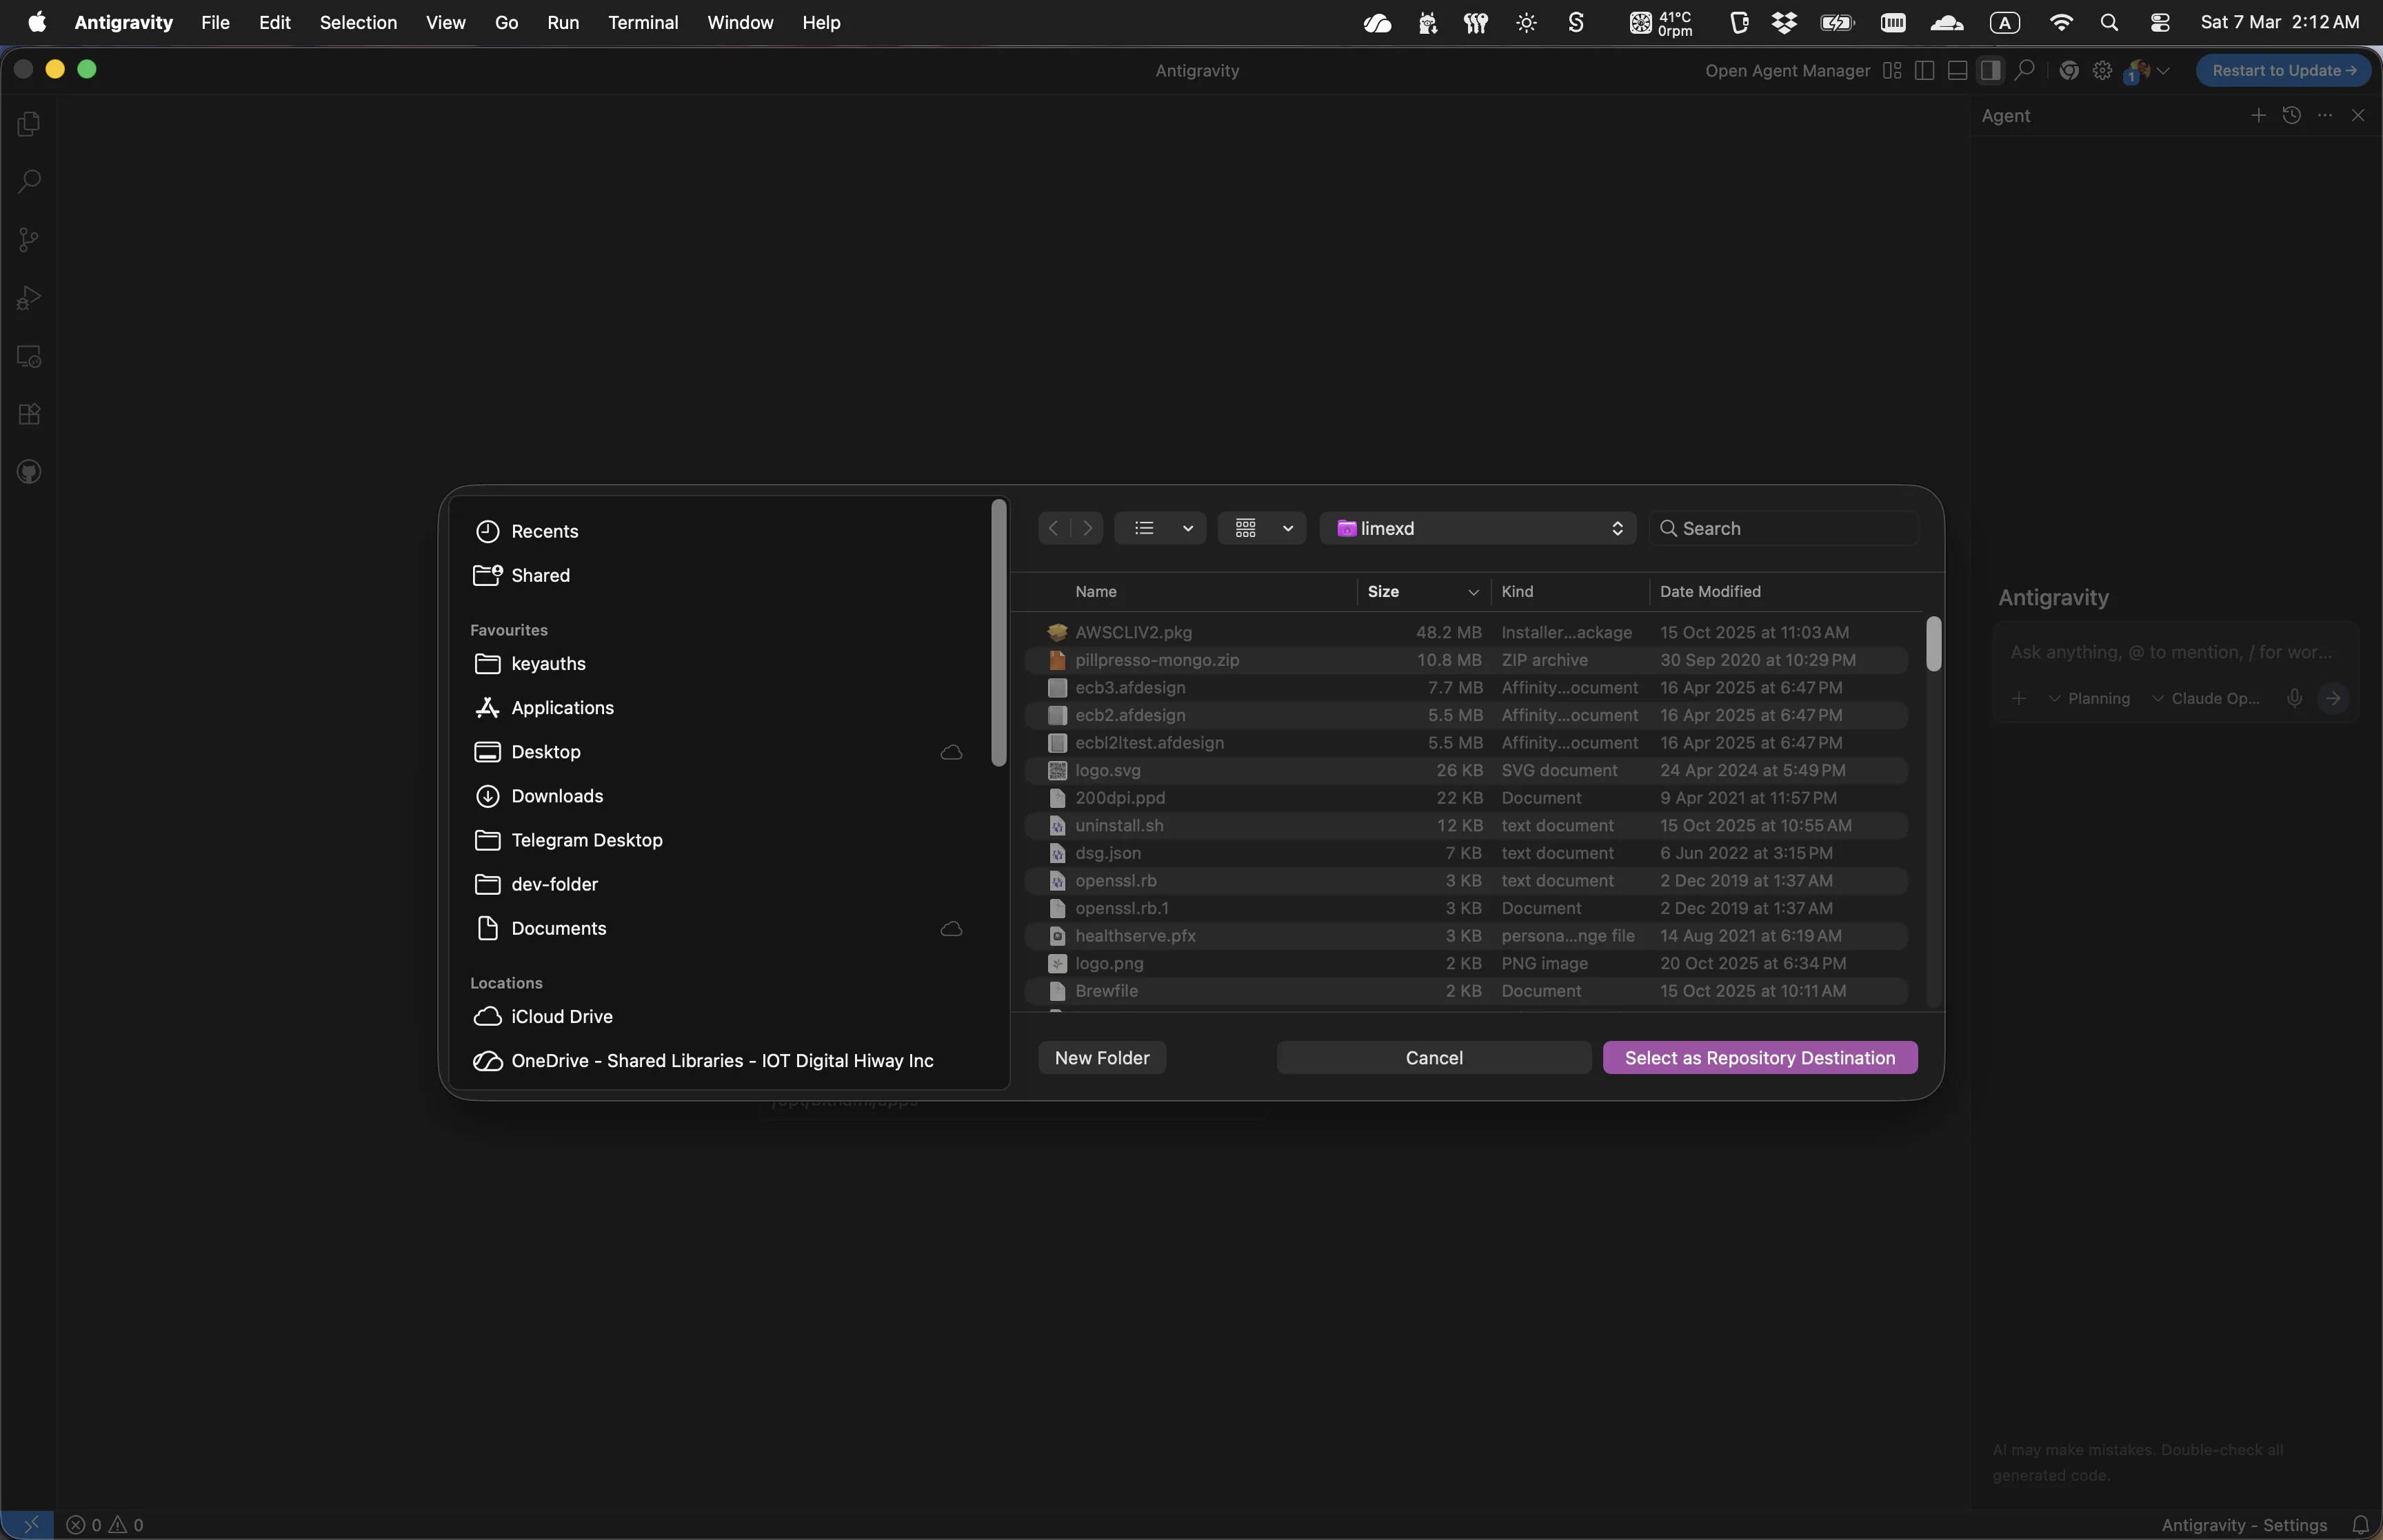
Select Repository Destination
GitHub Authorisation Prompt
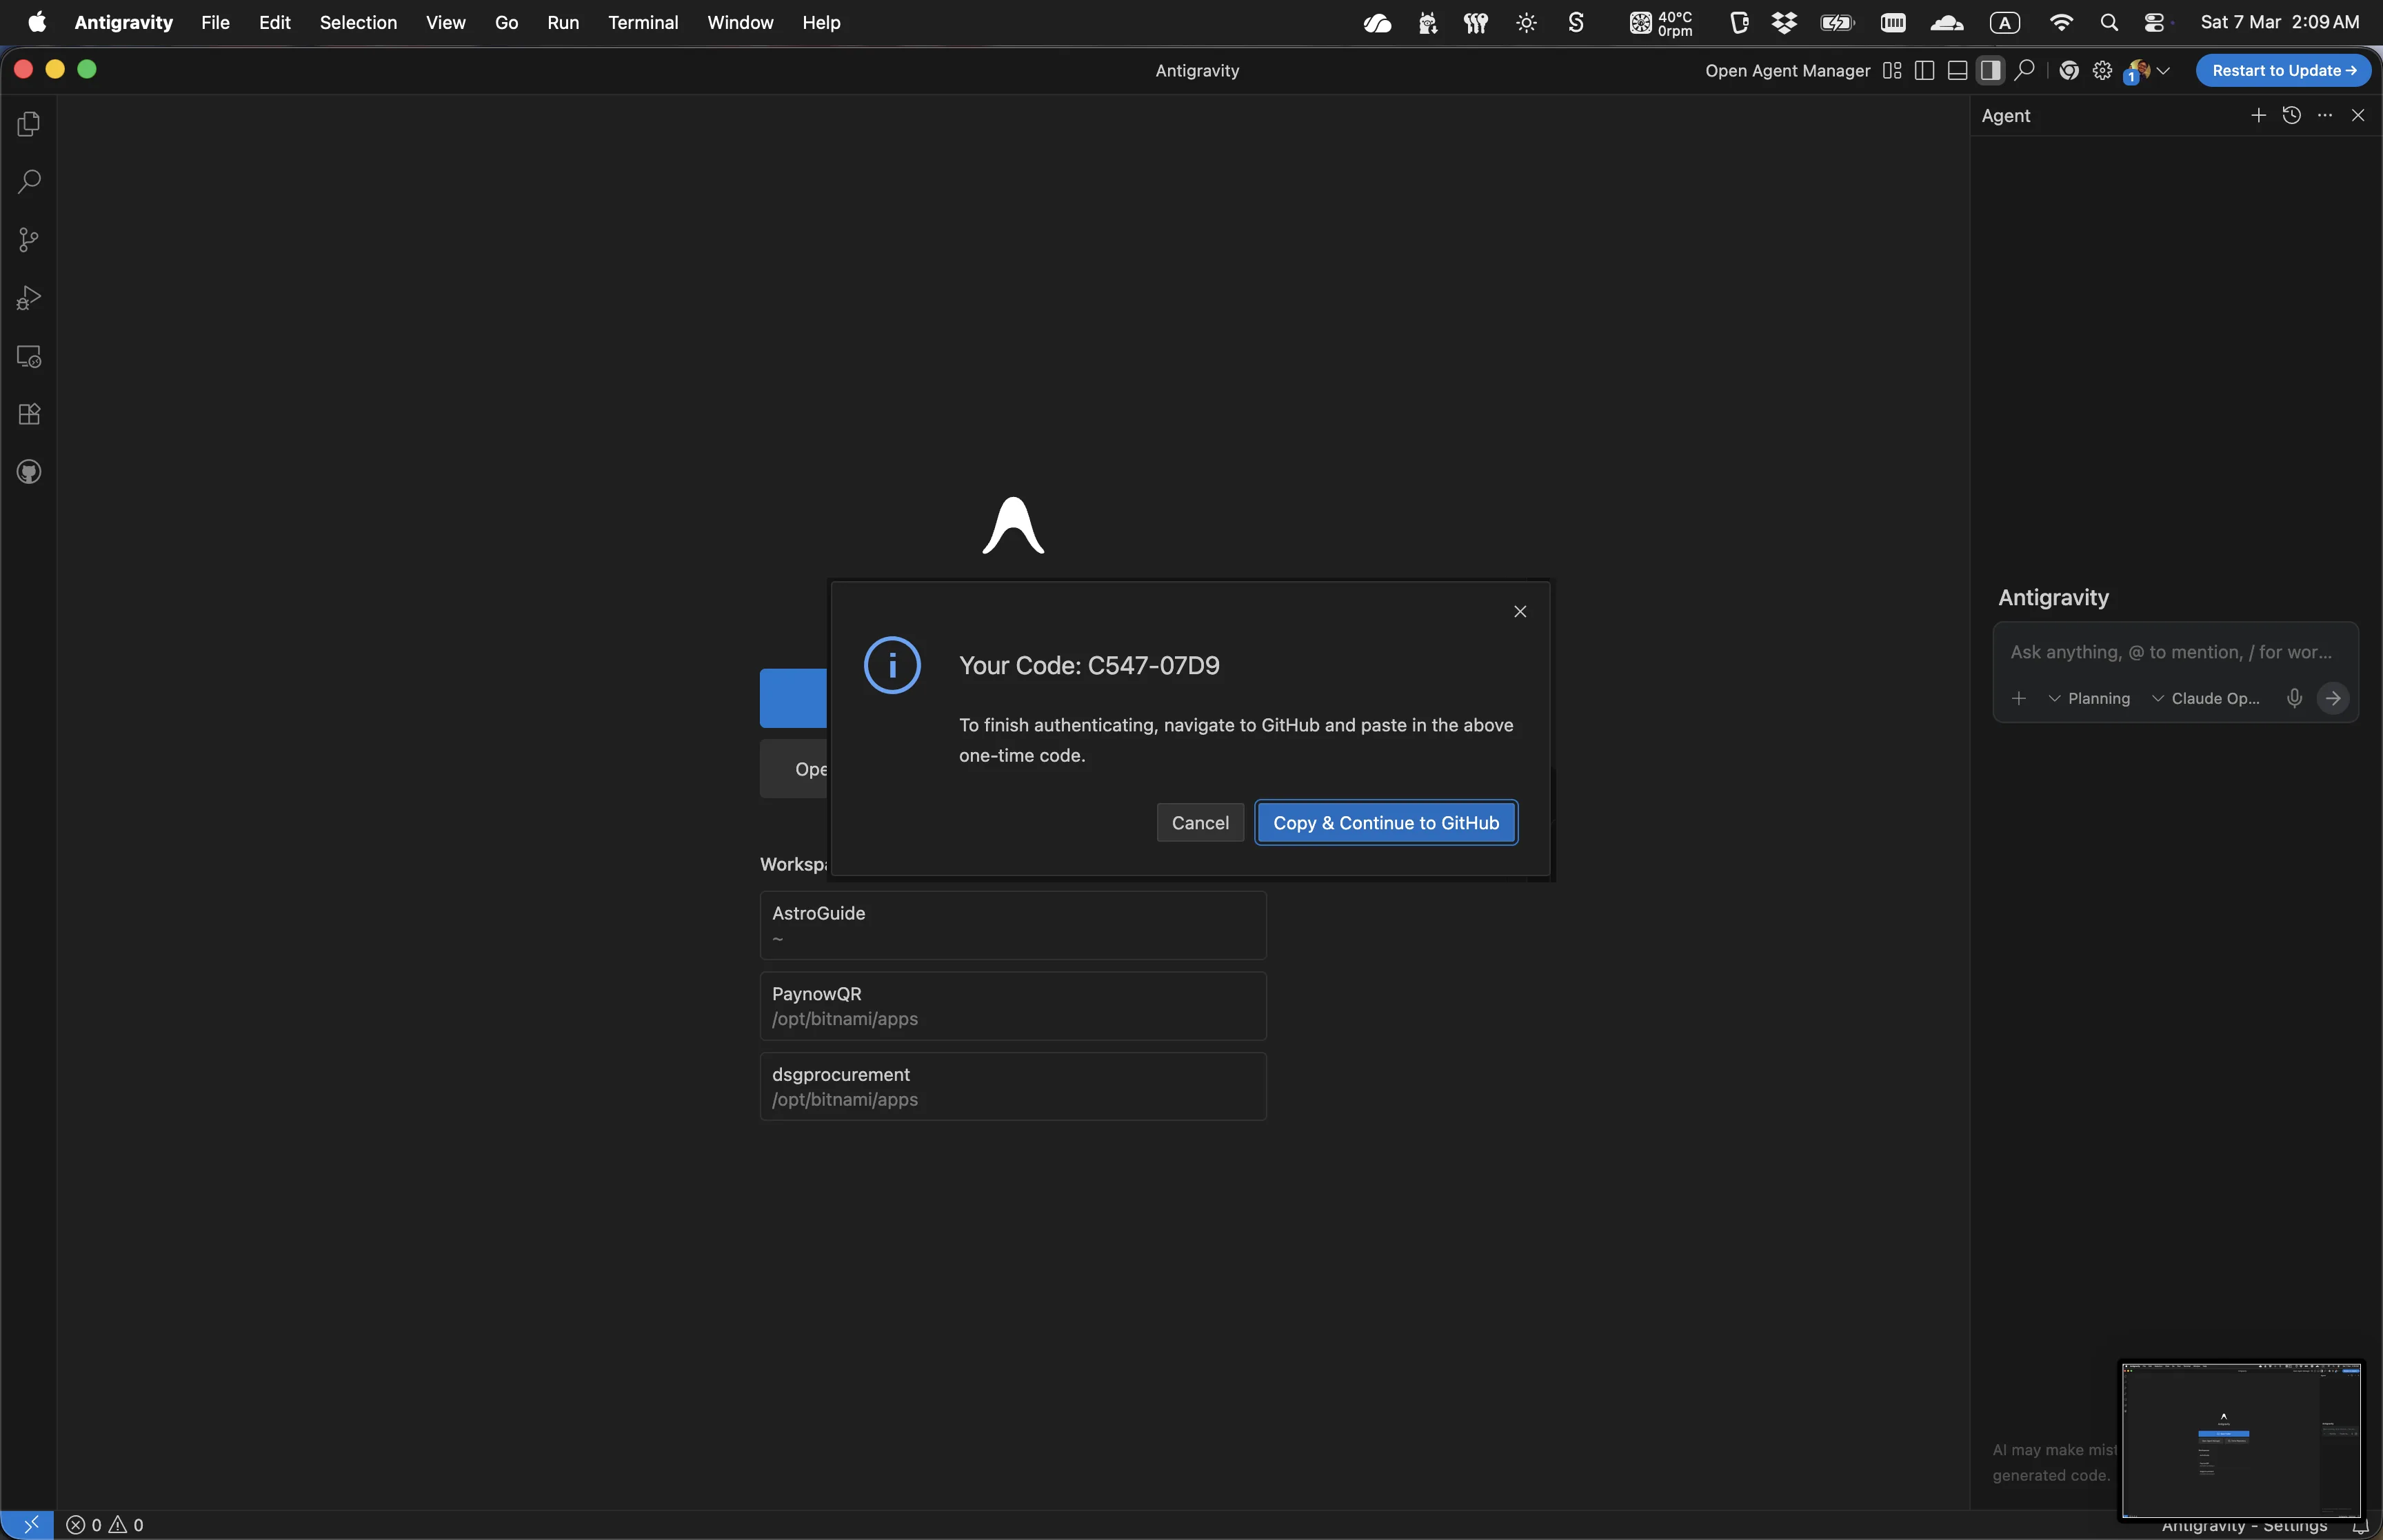
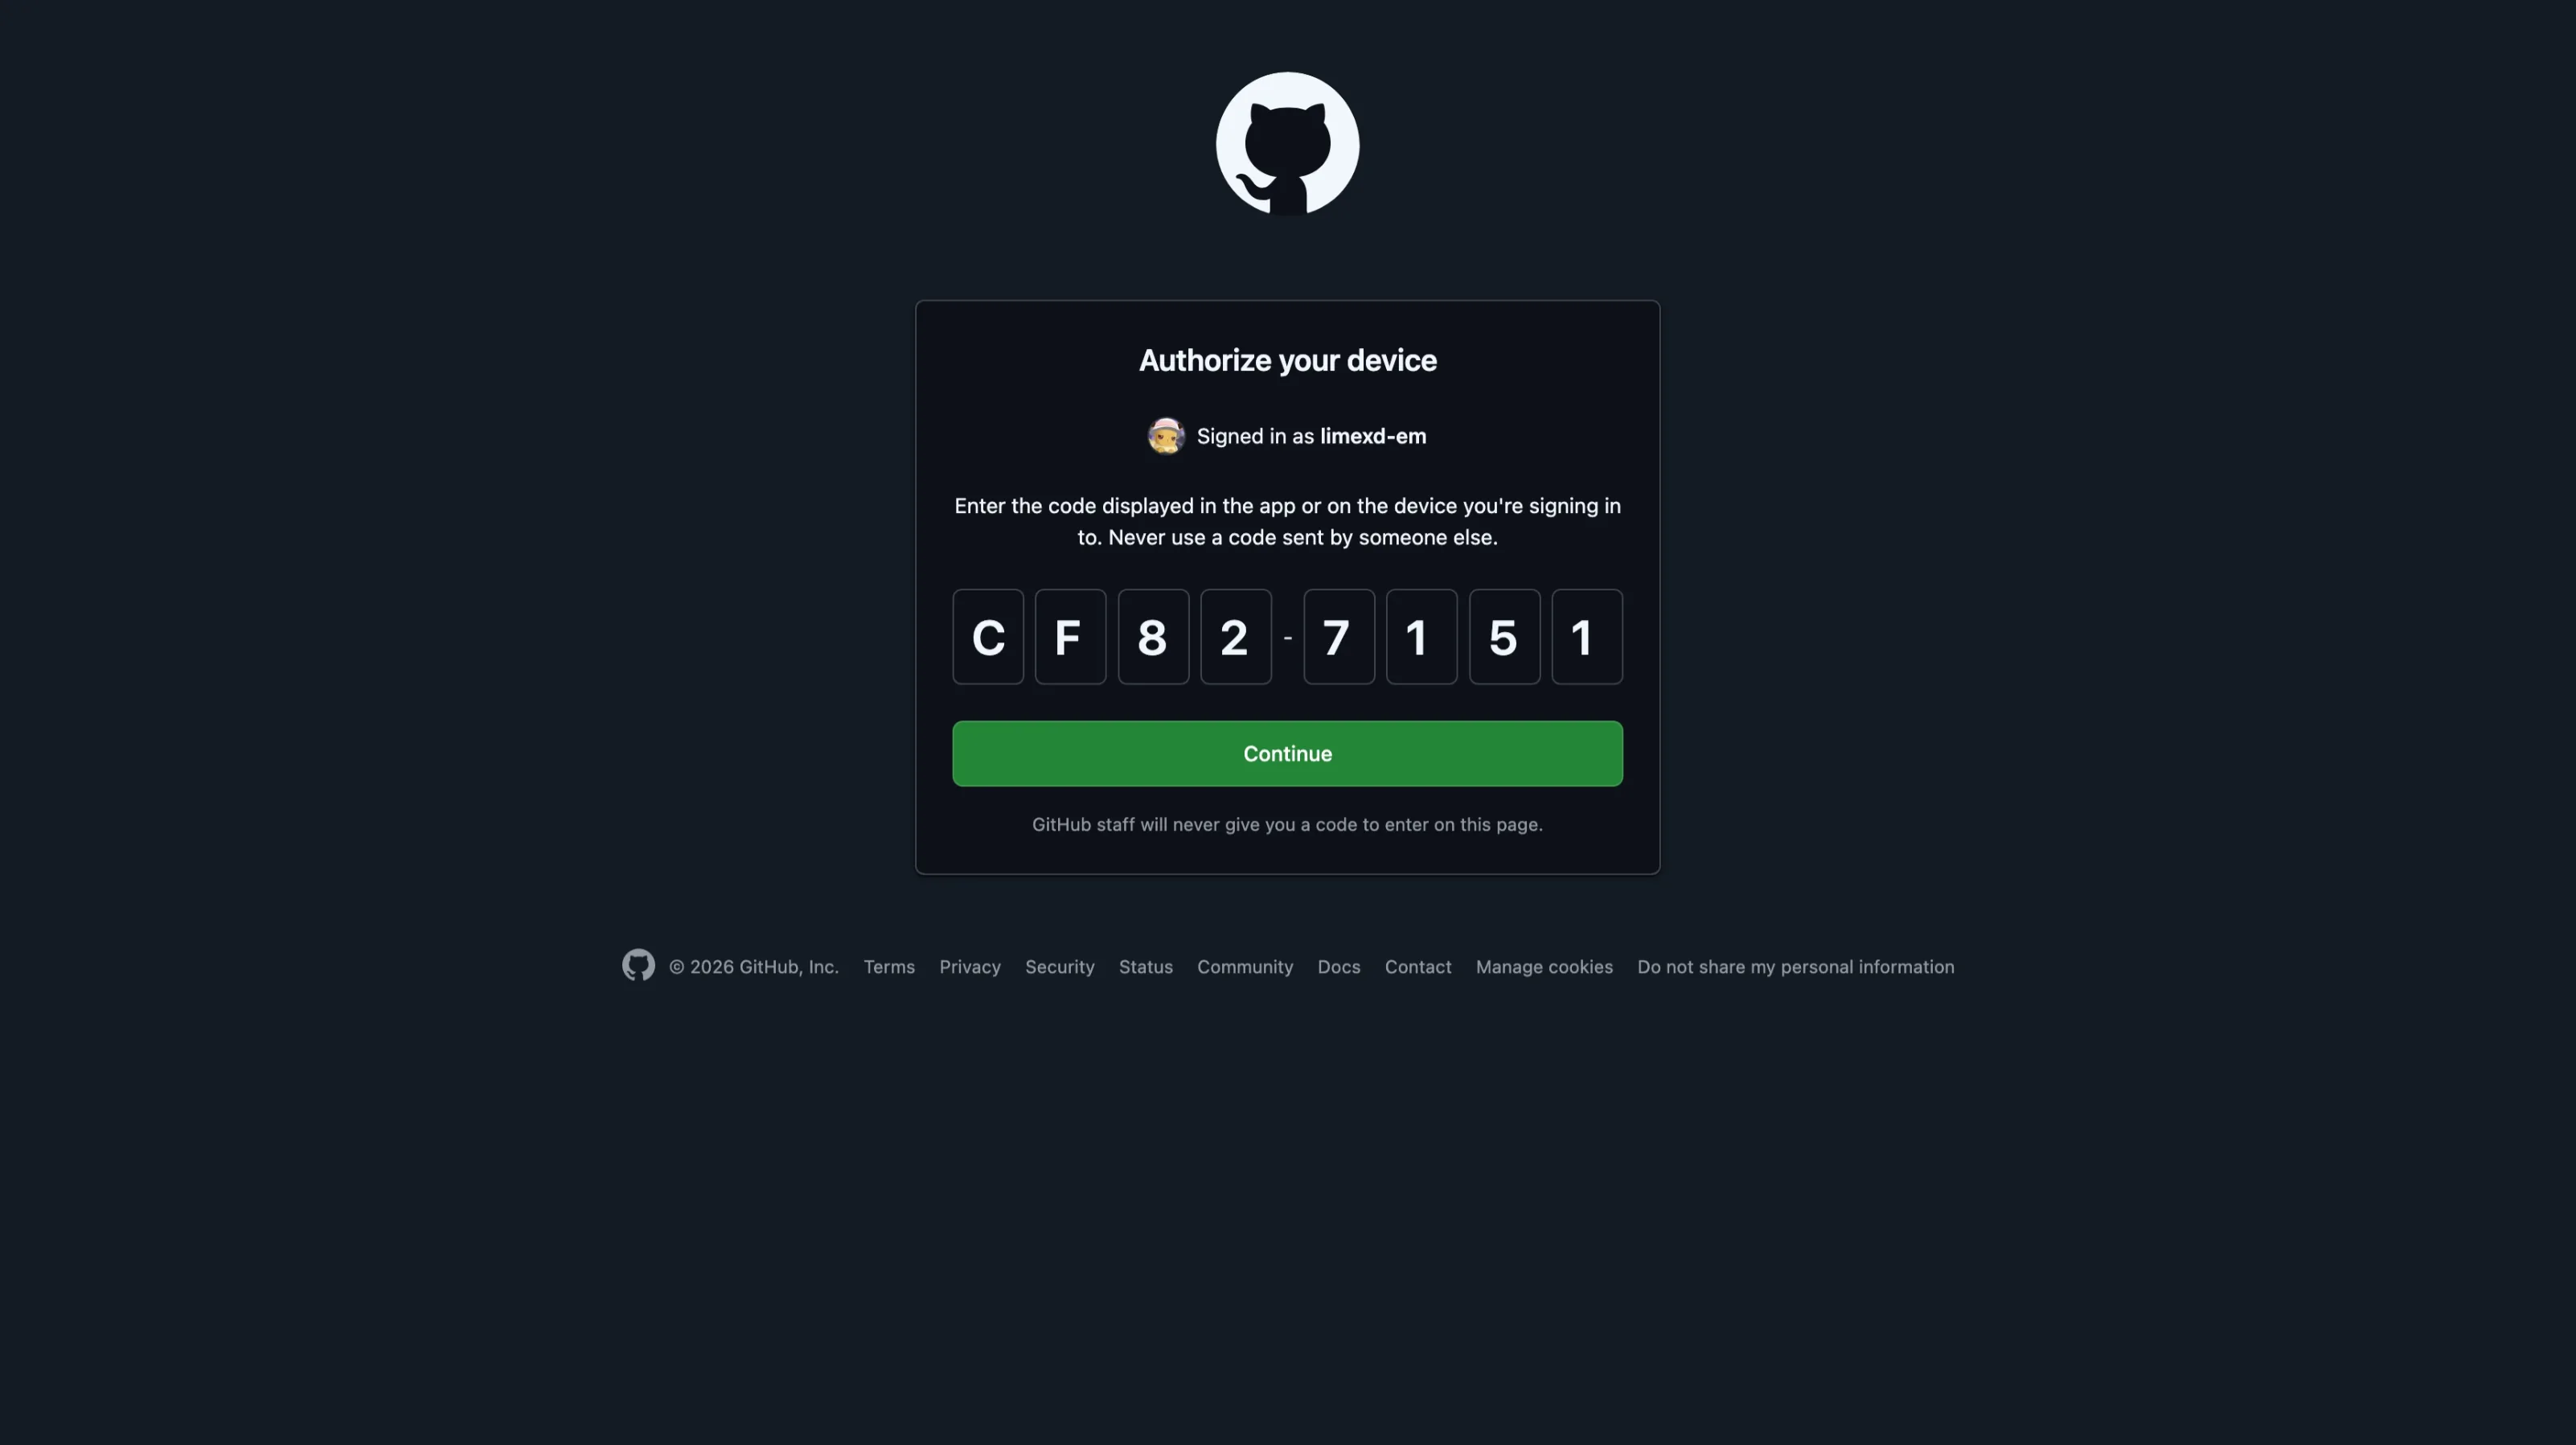
GitHub Device Activation
Authorize Your Device
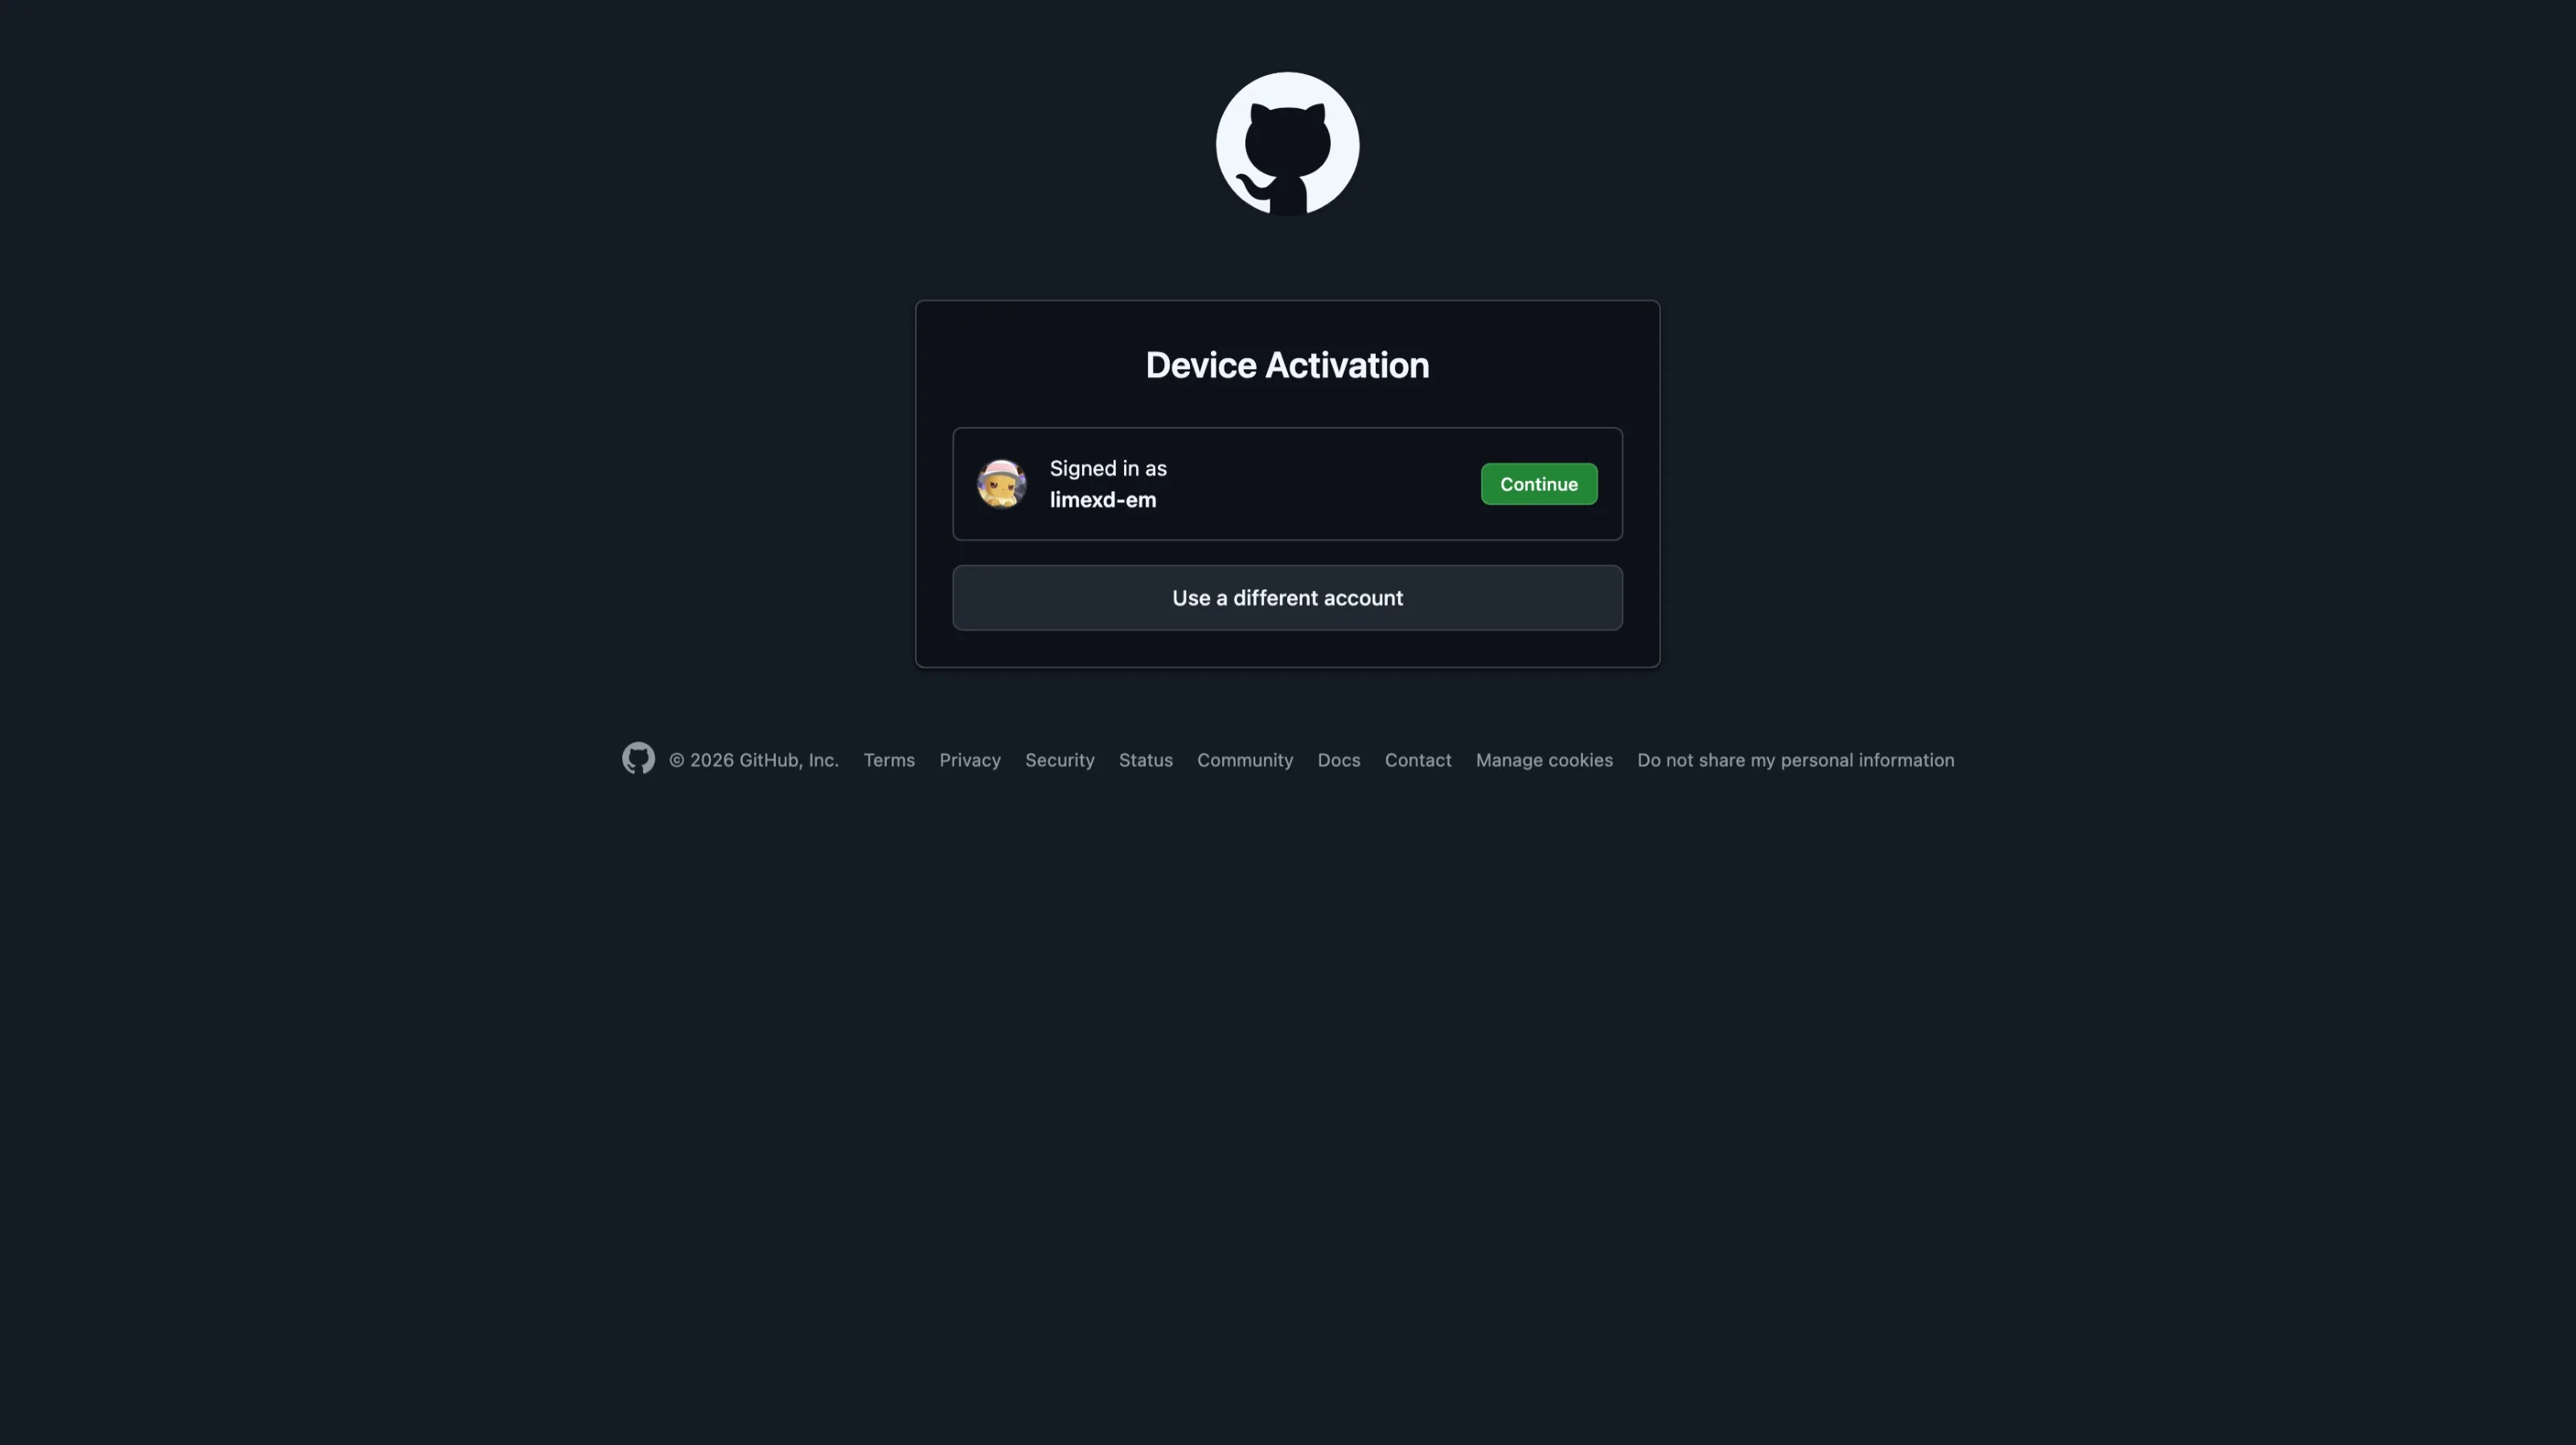
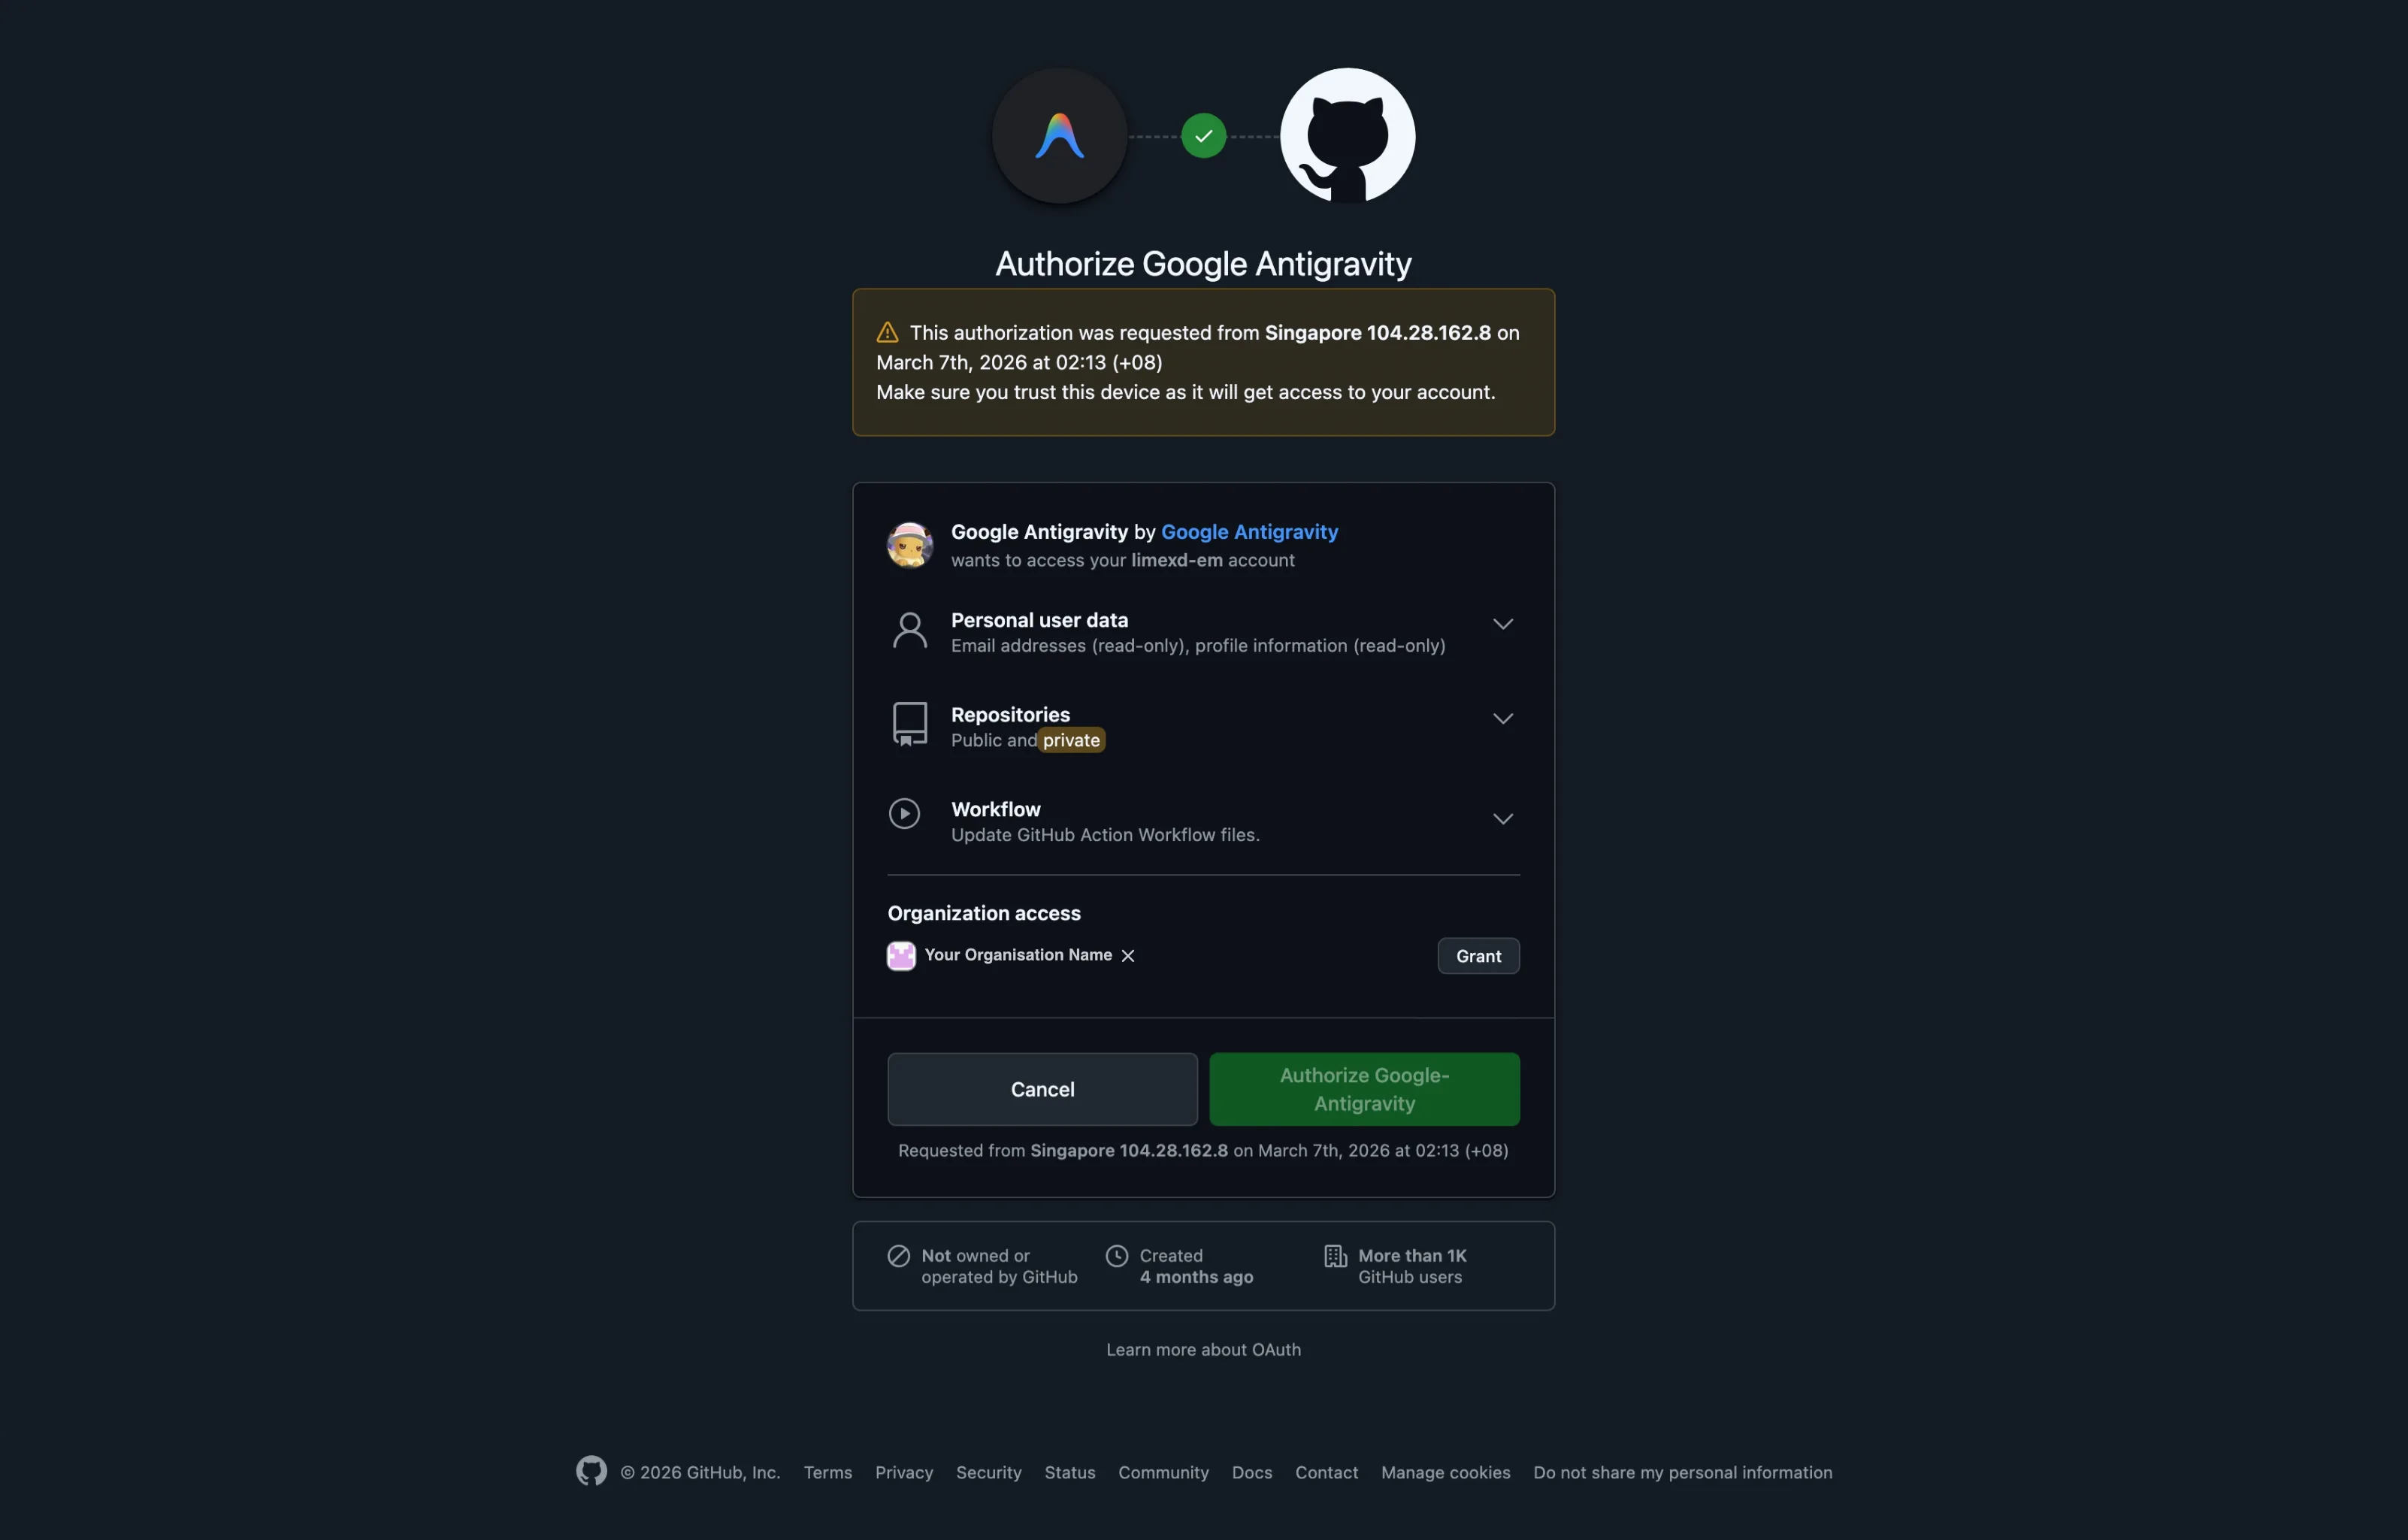
Authorize Antigravity
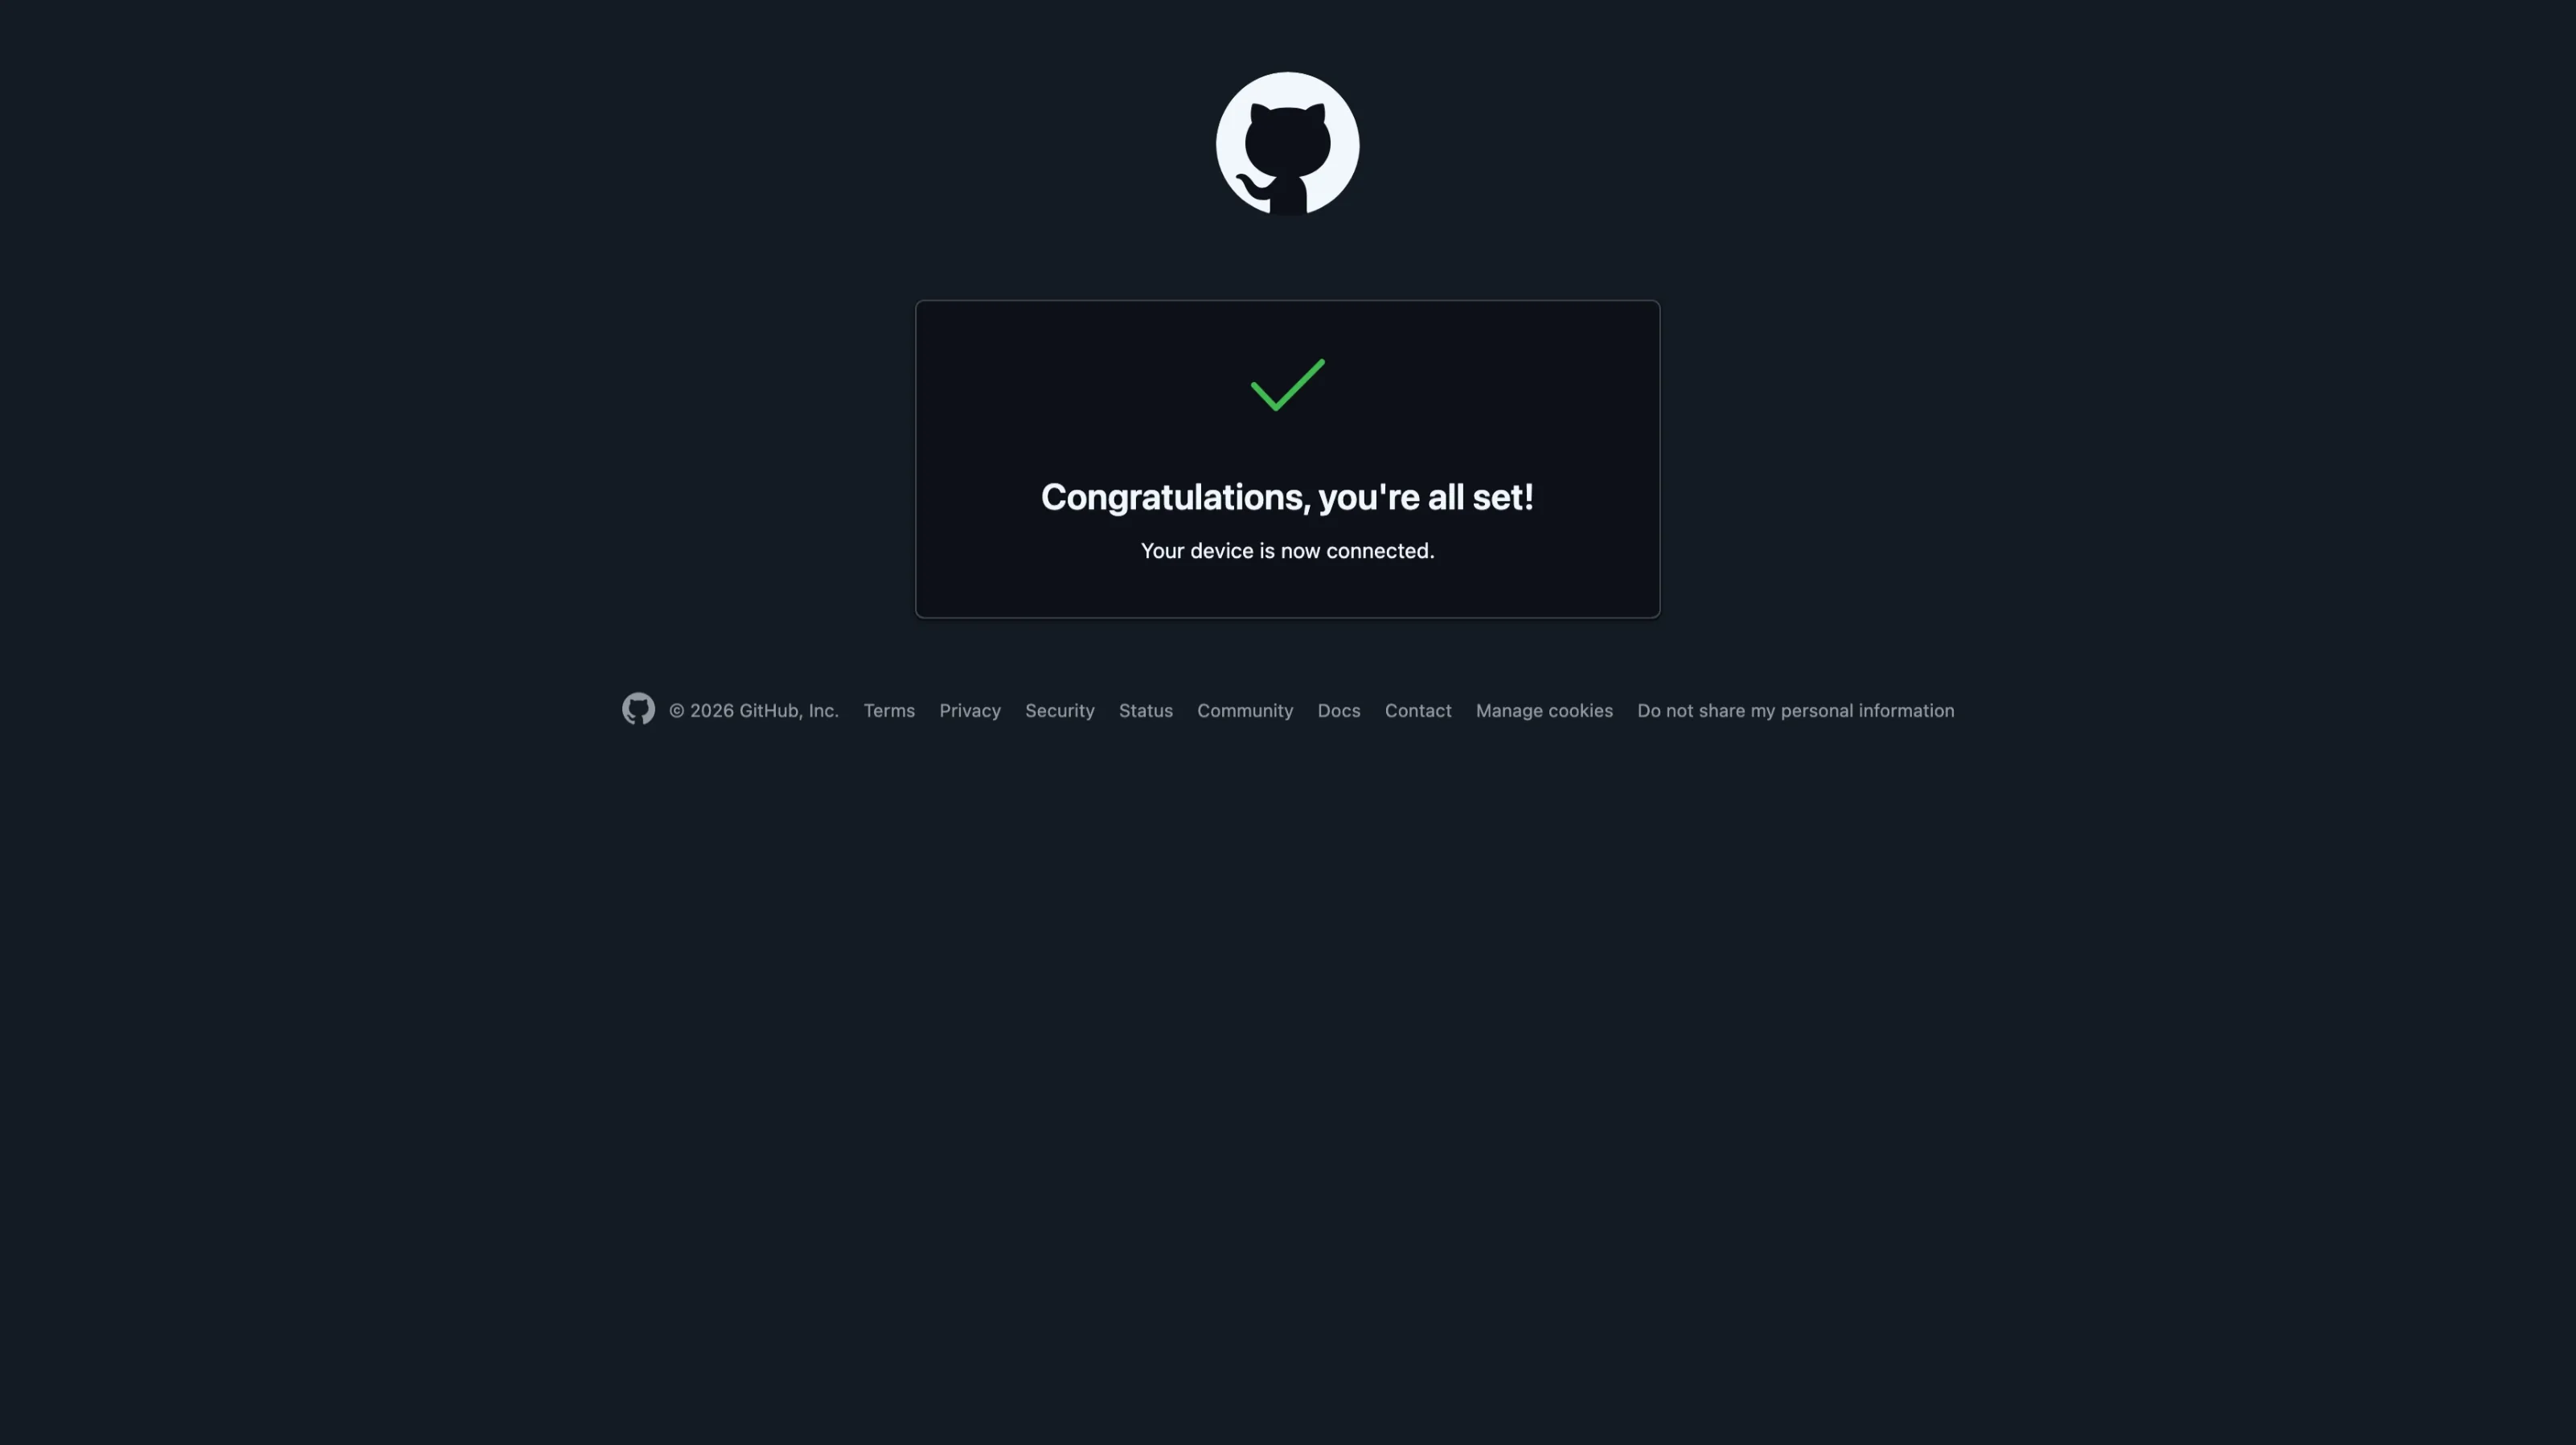
Authorization Complete
Possible Permission Error
Recover From Missing Org Permissions
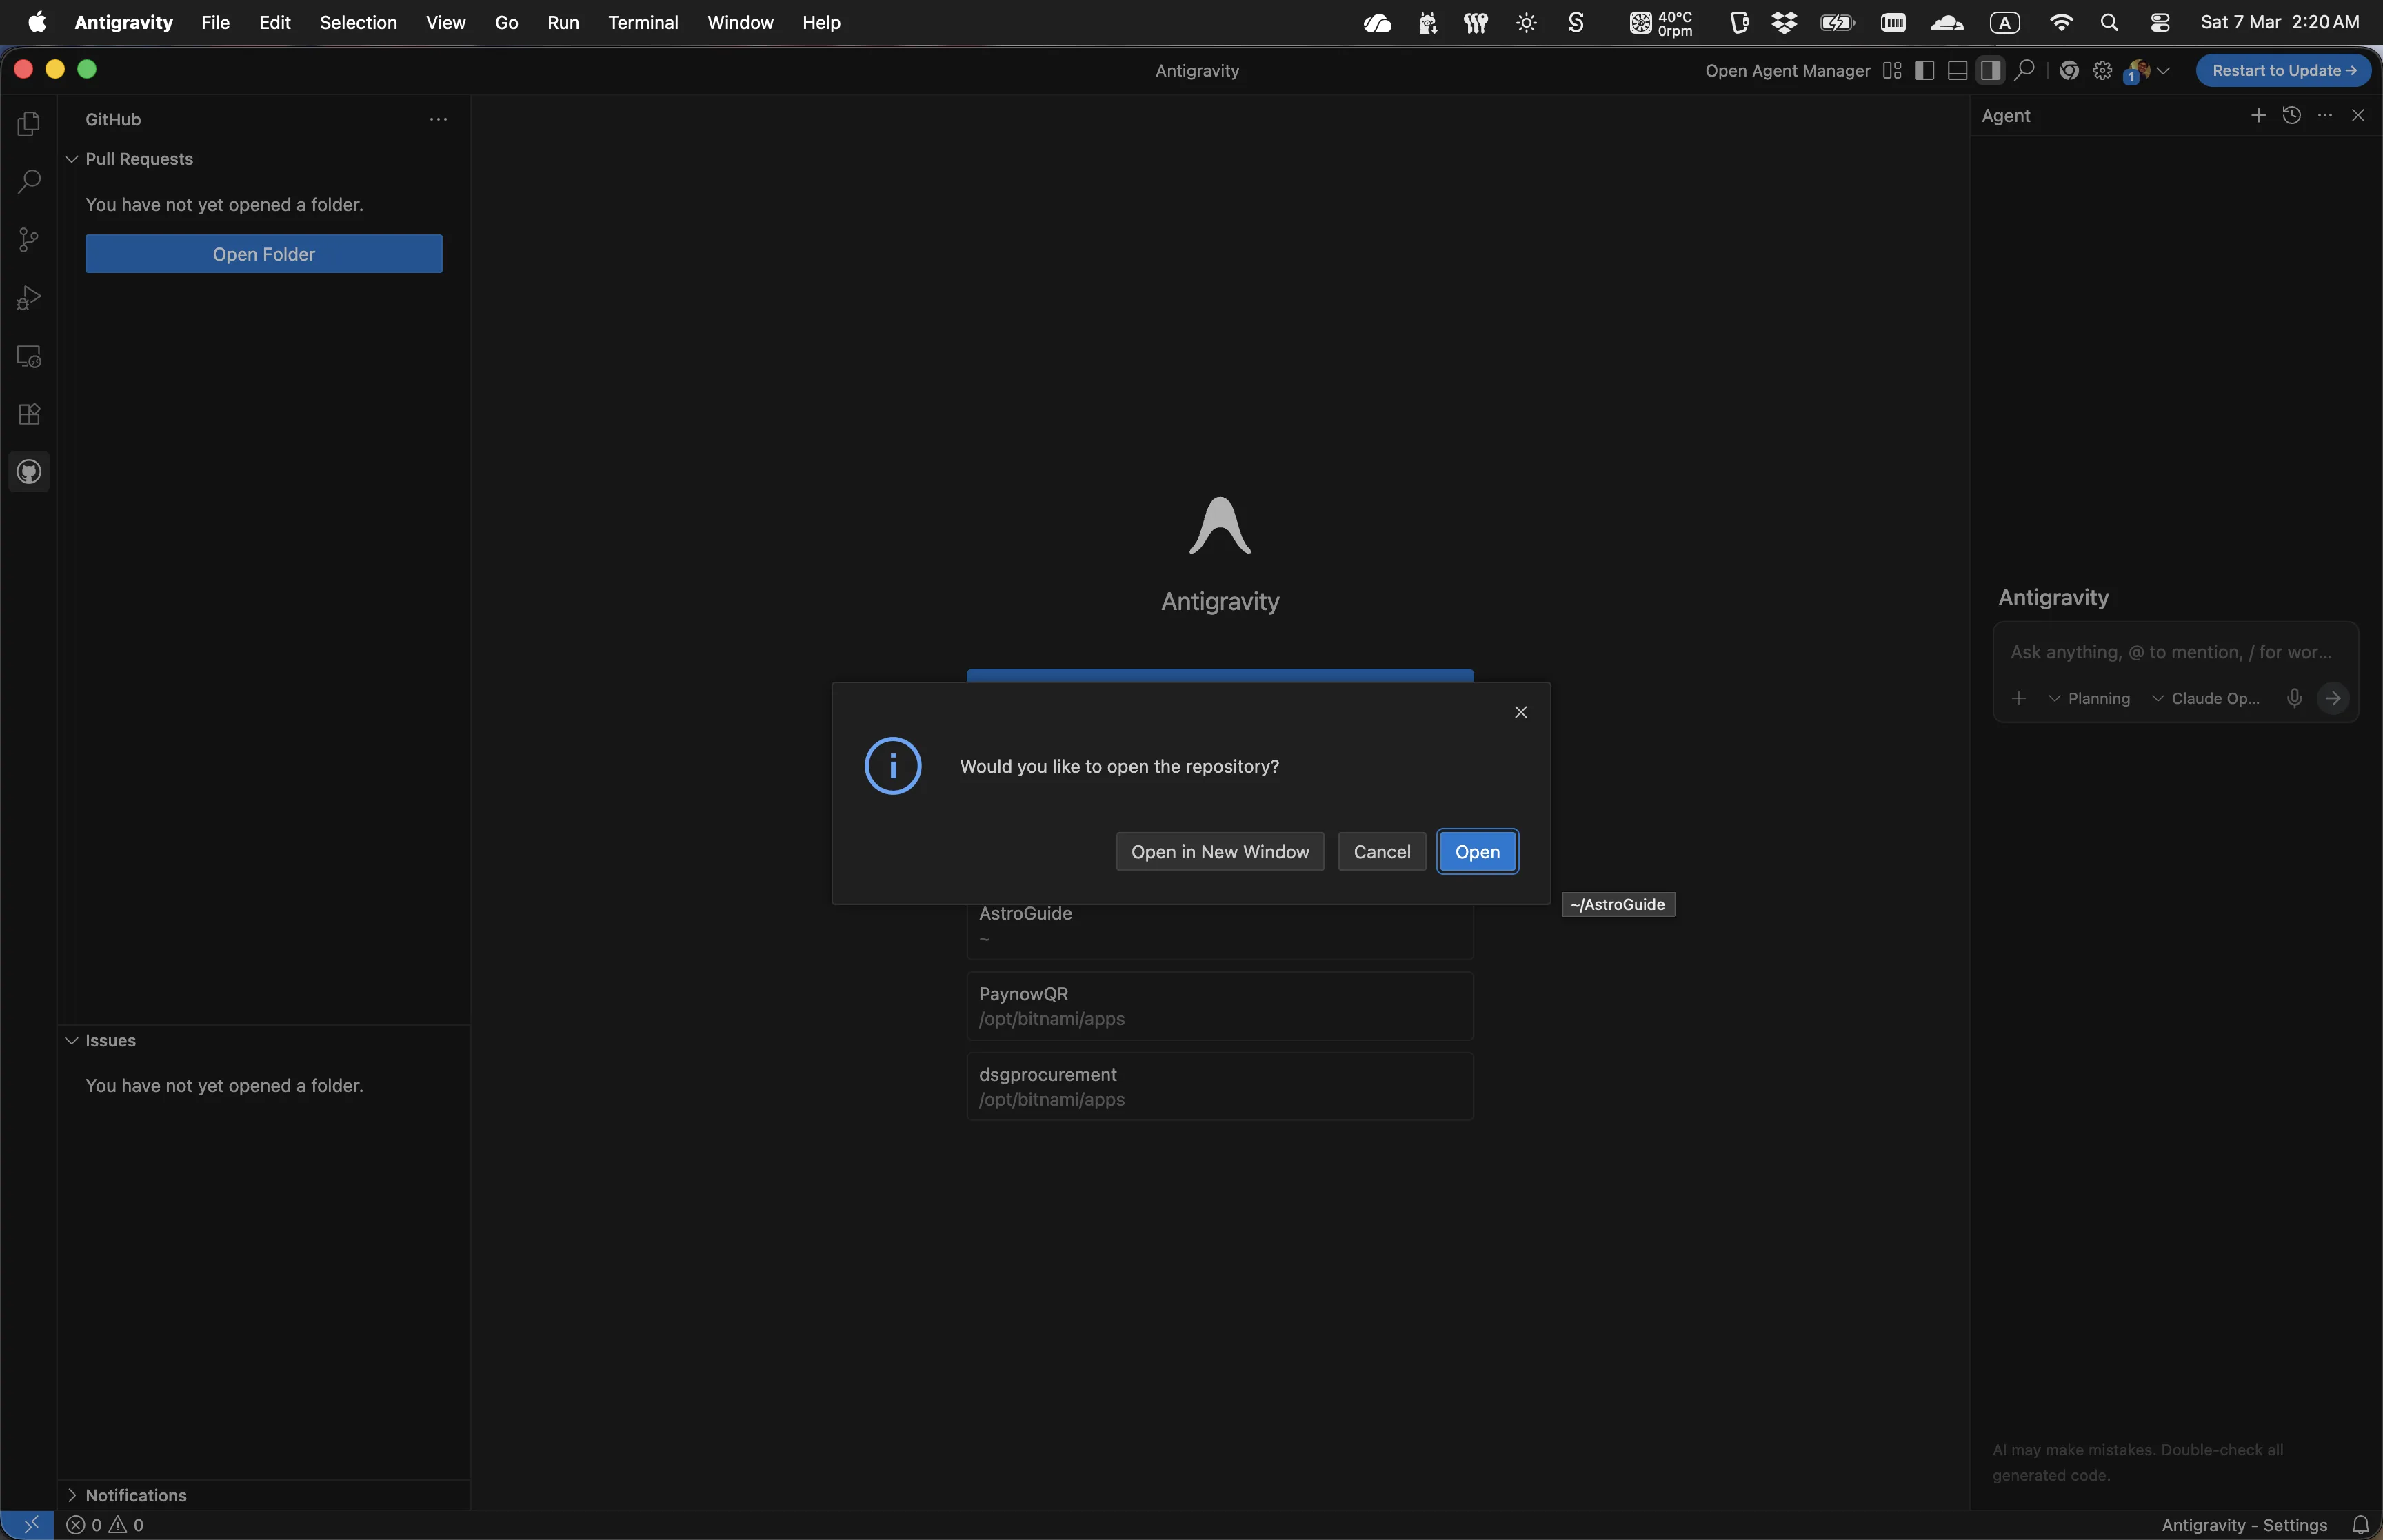
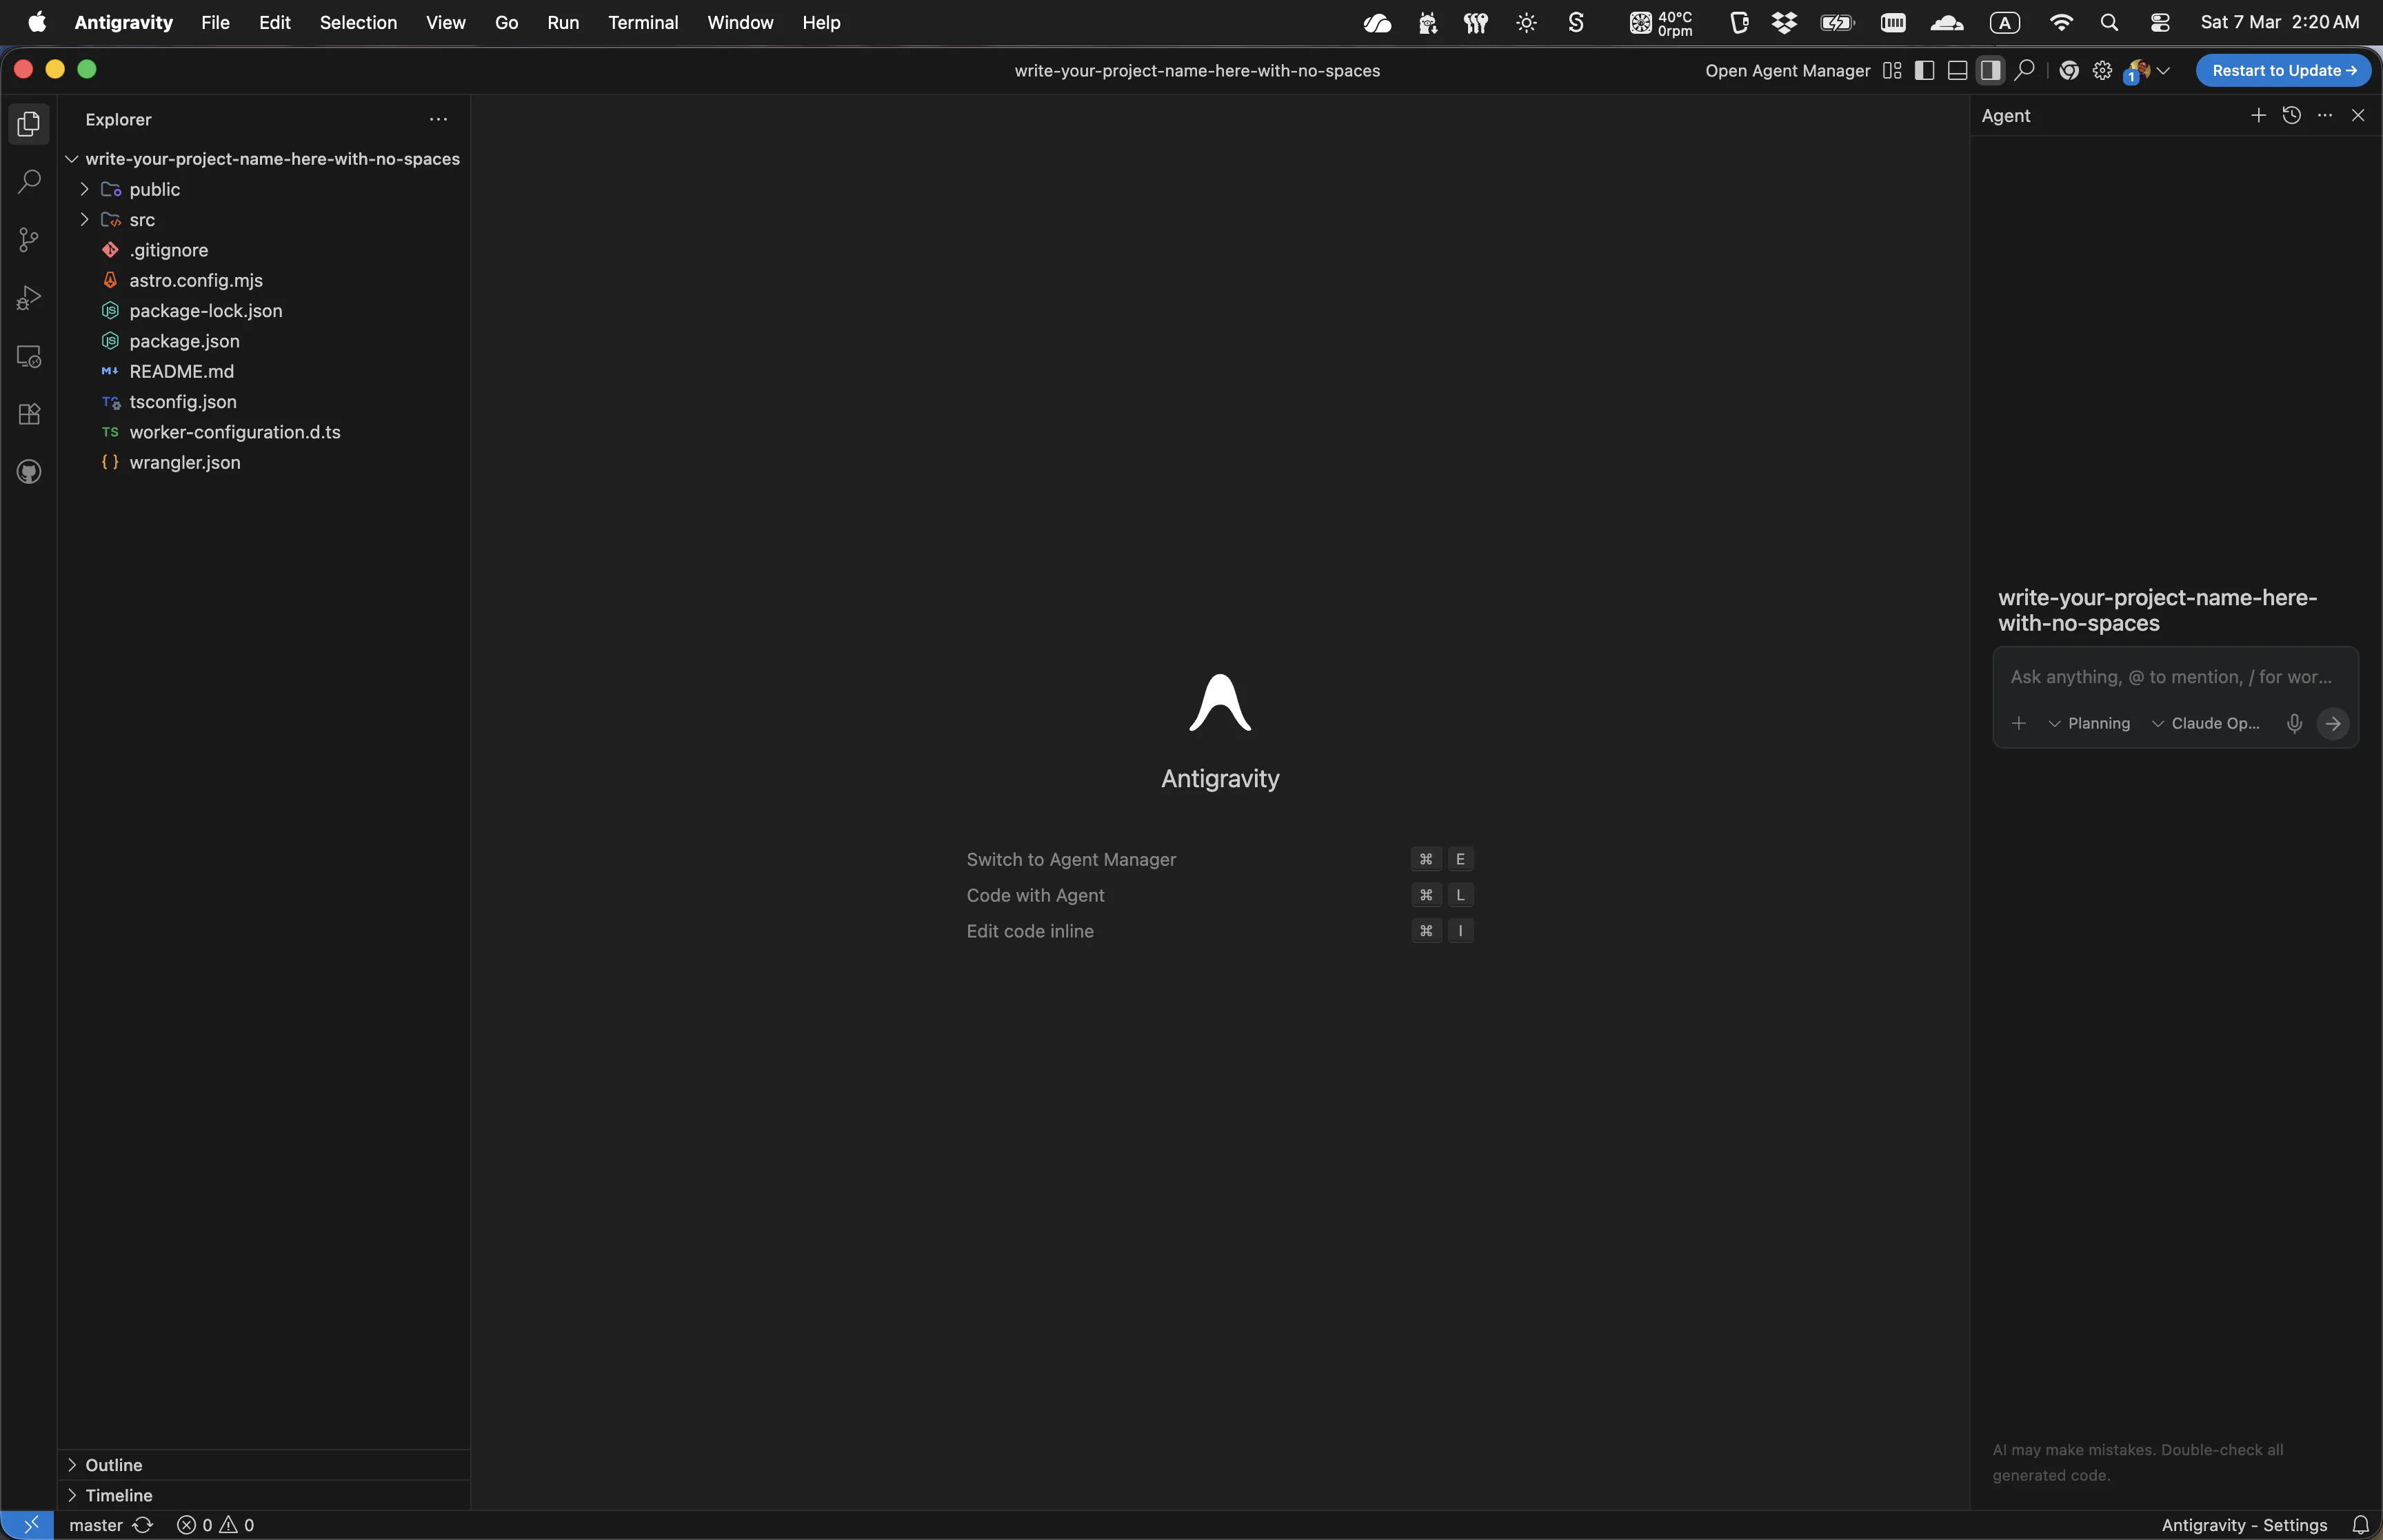
Open the Repository
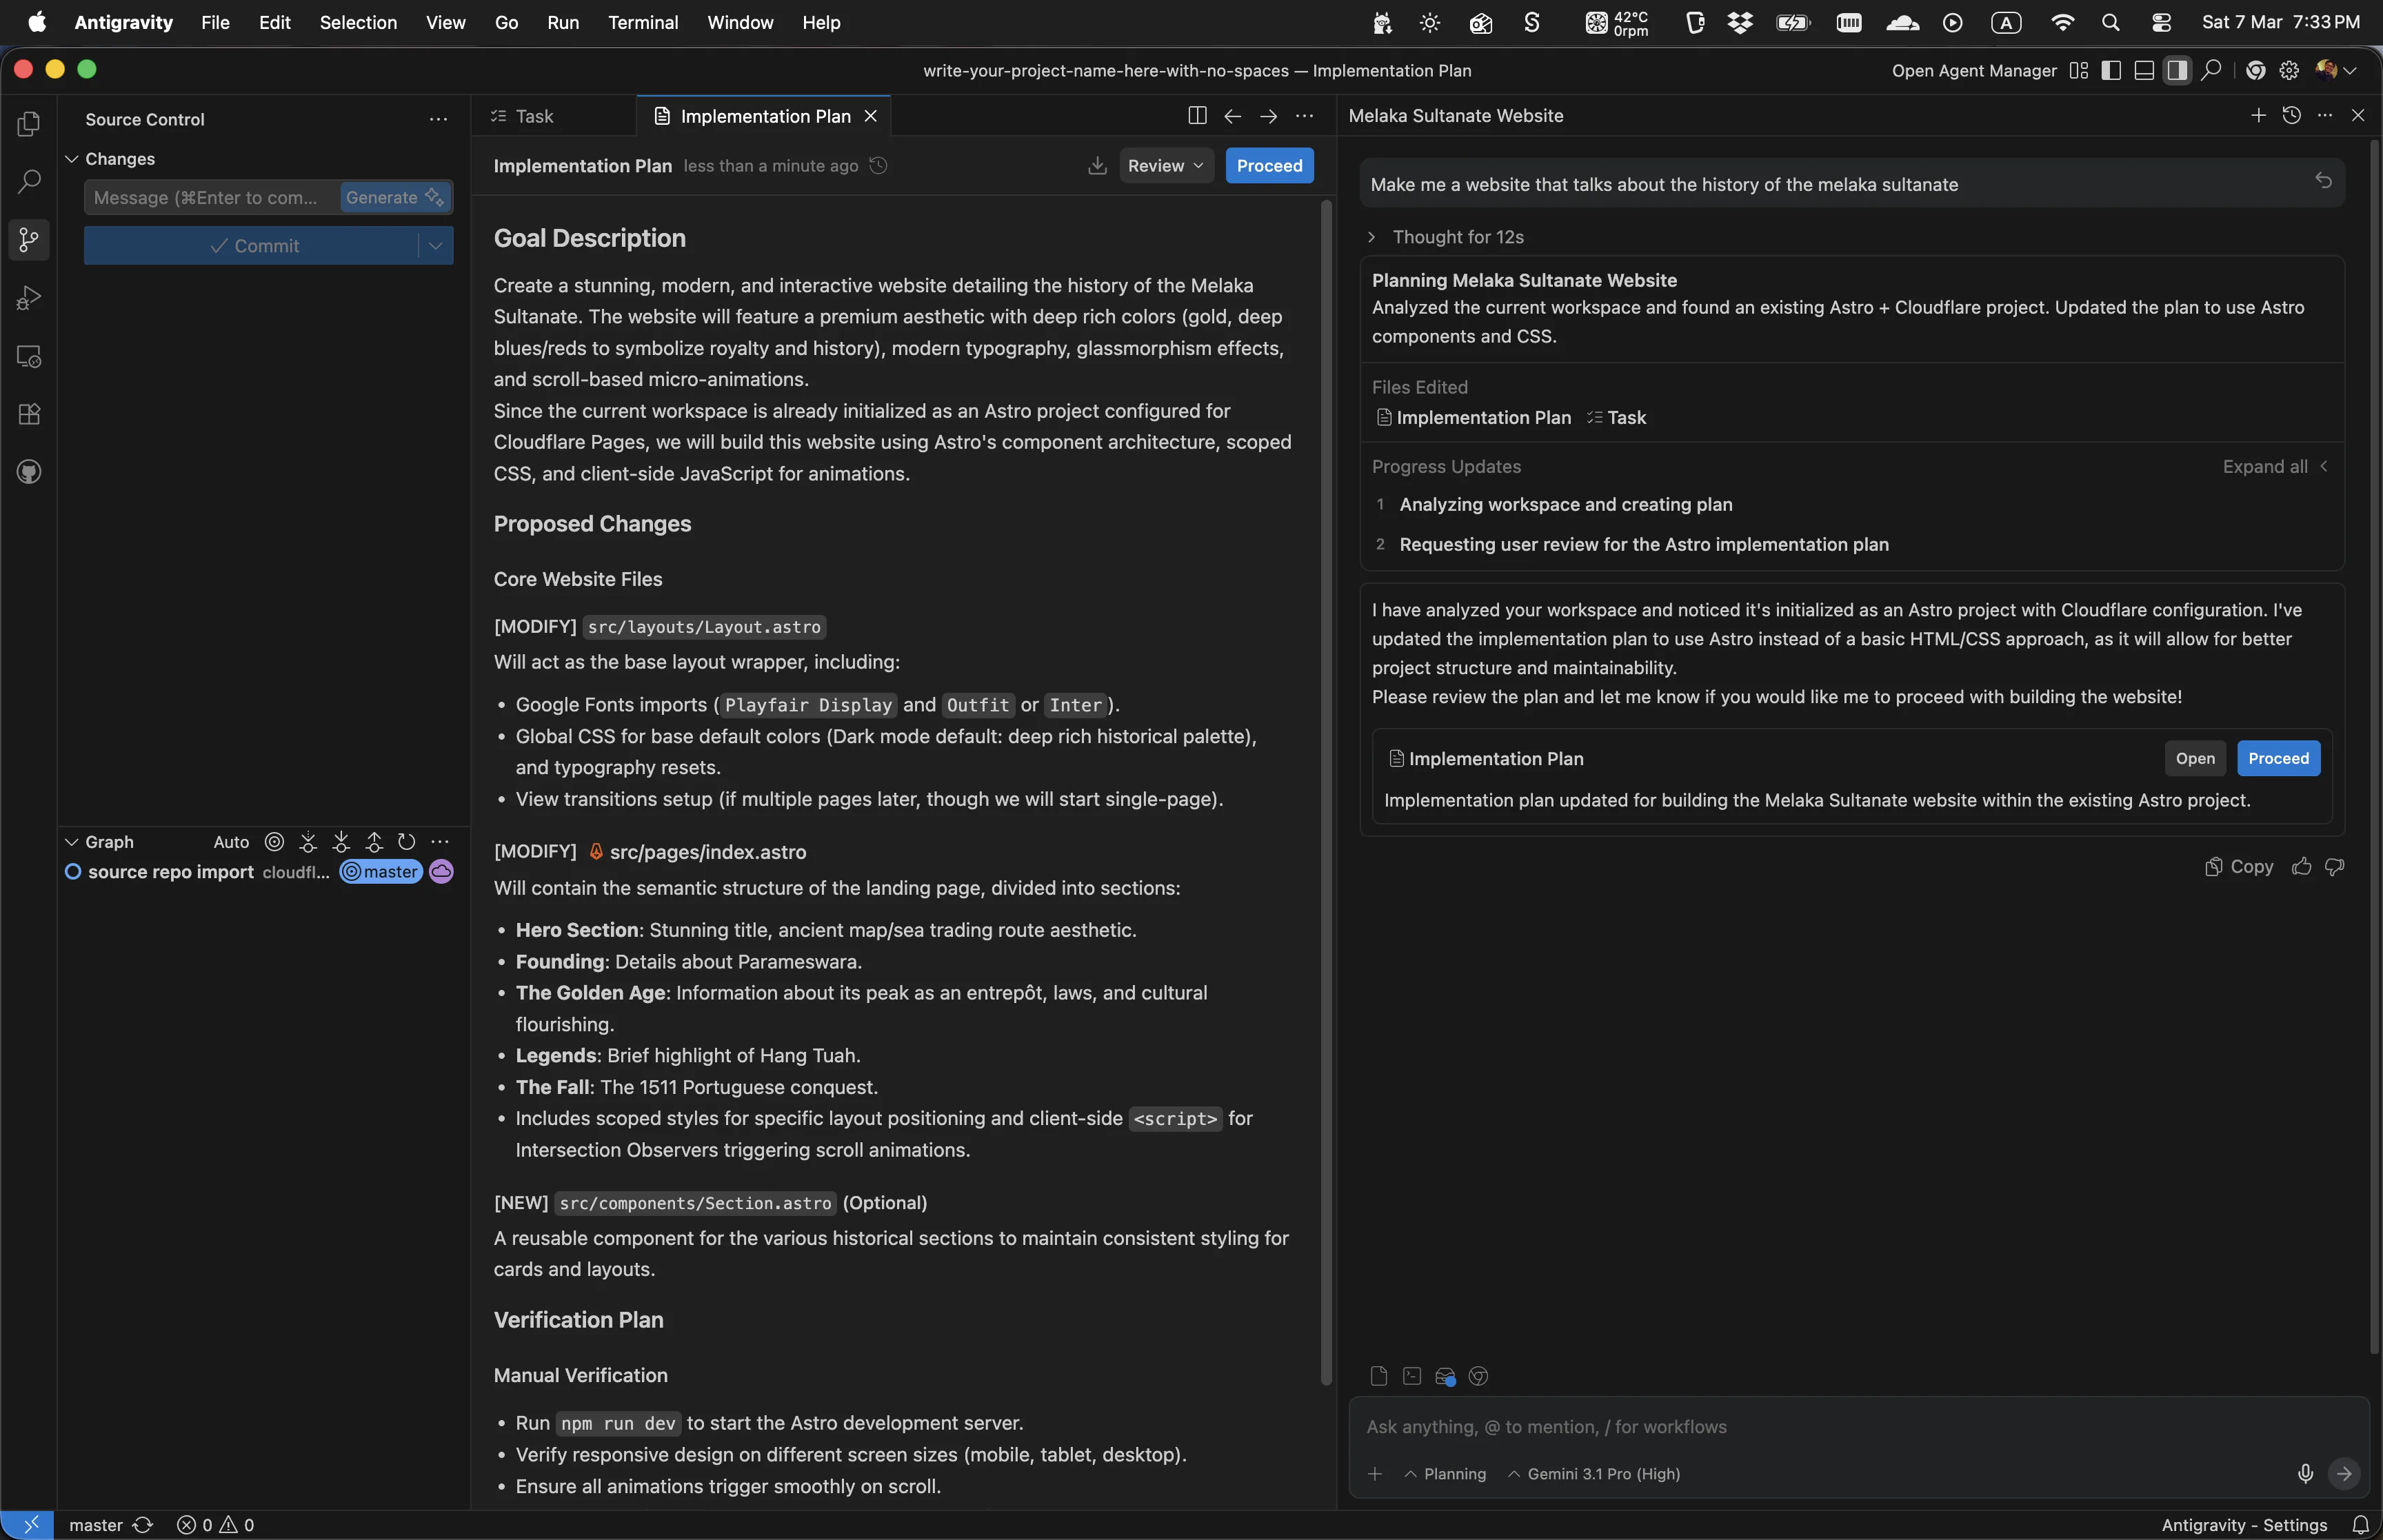
Describe What You Want
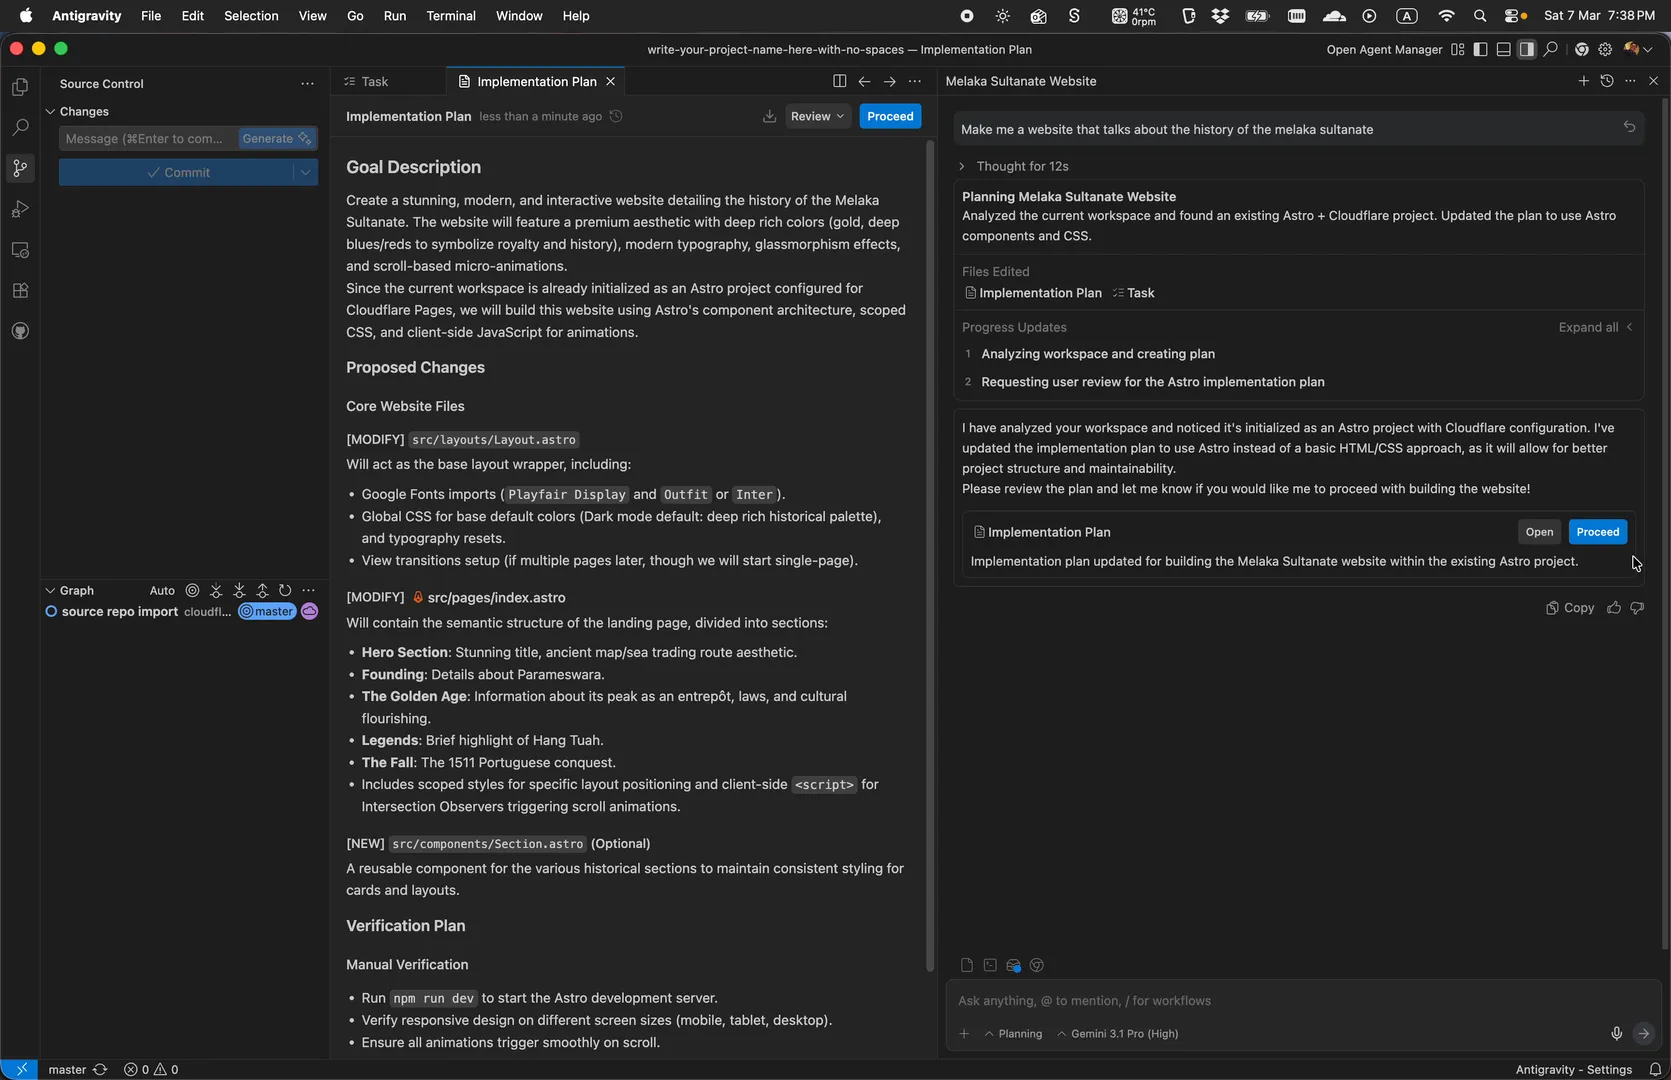
Review the Plan
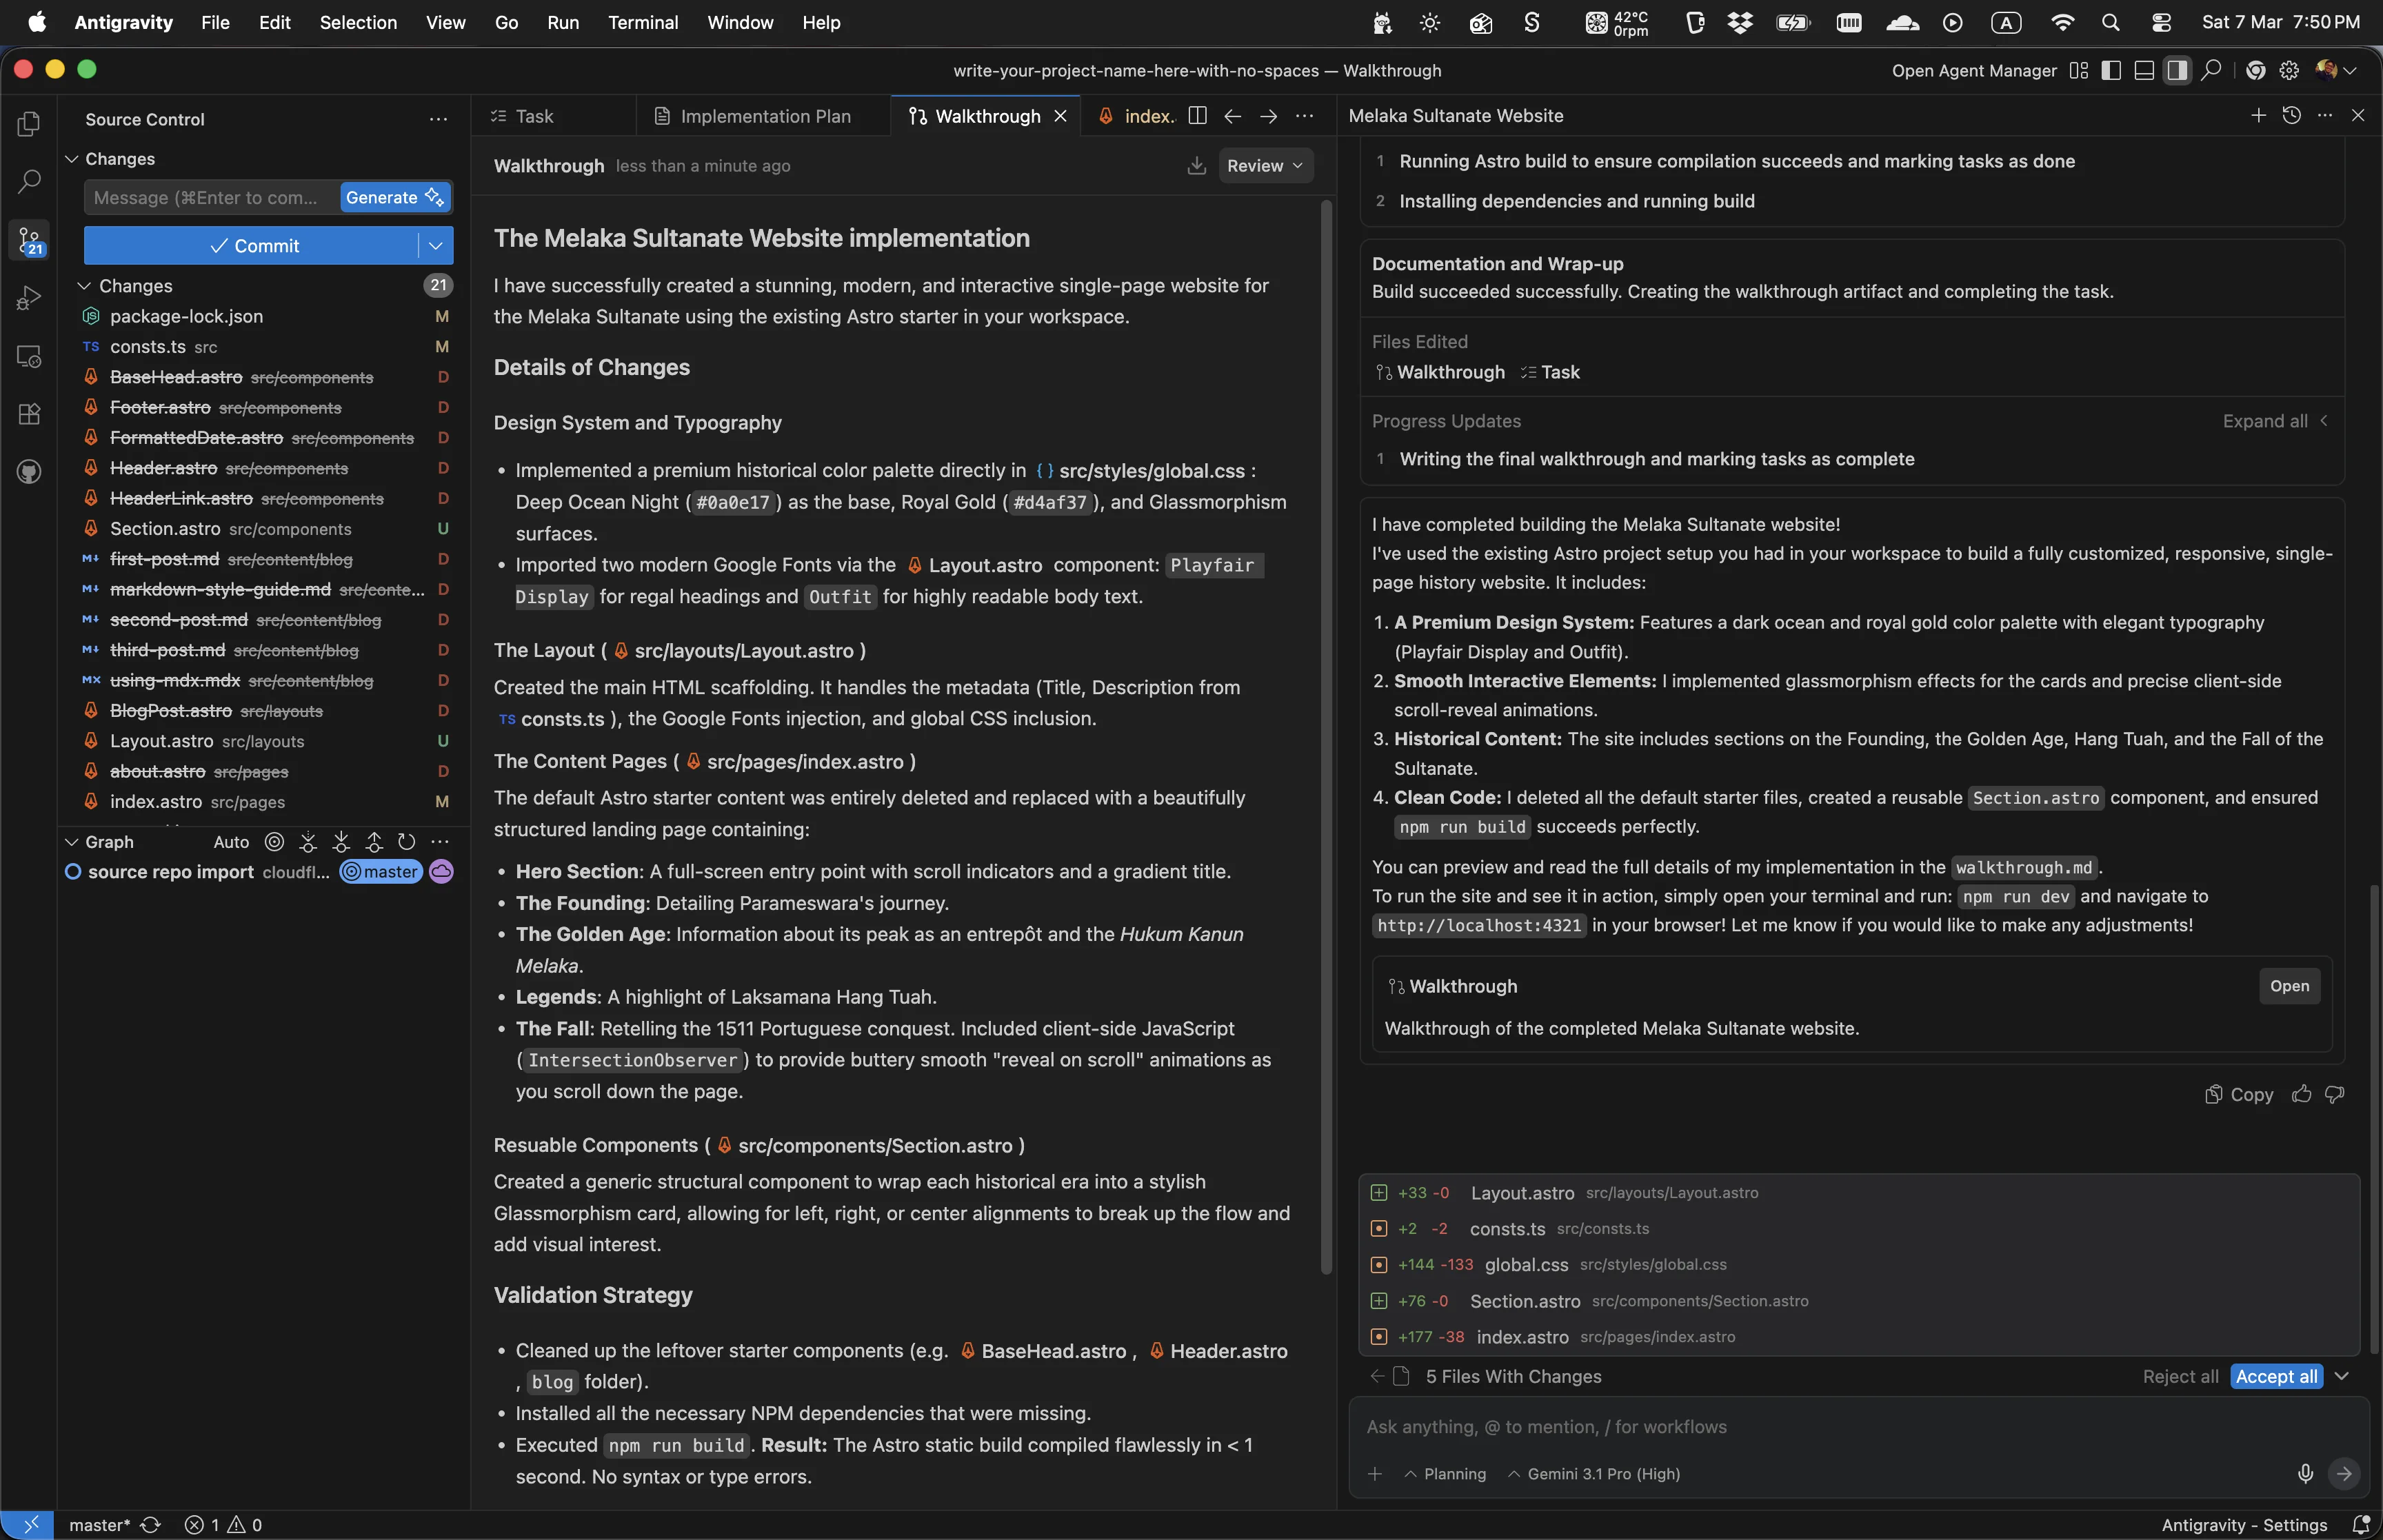
Watch the Agent Code
Read the Walkthrough
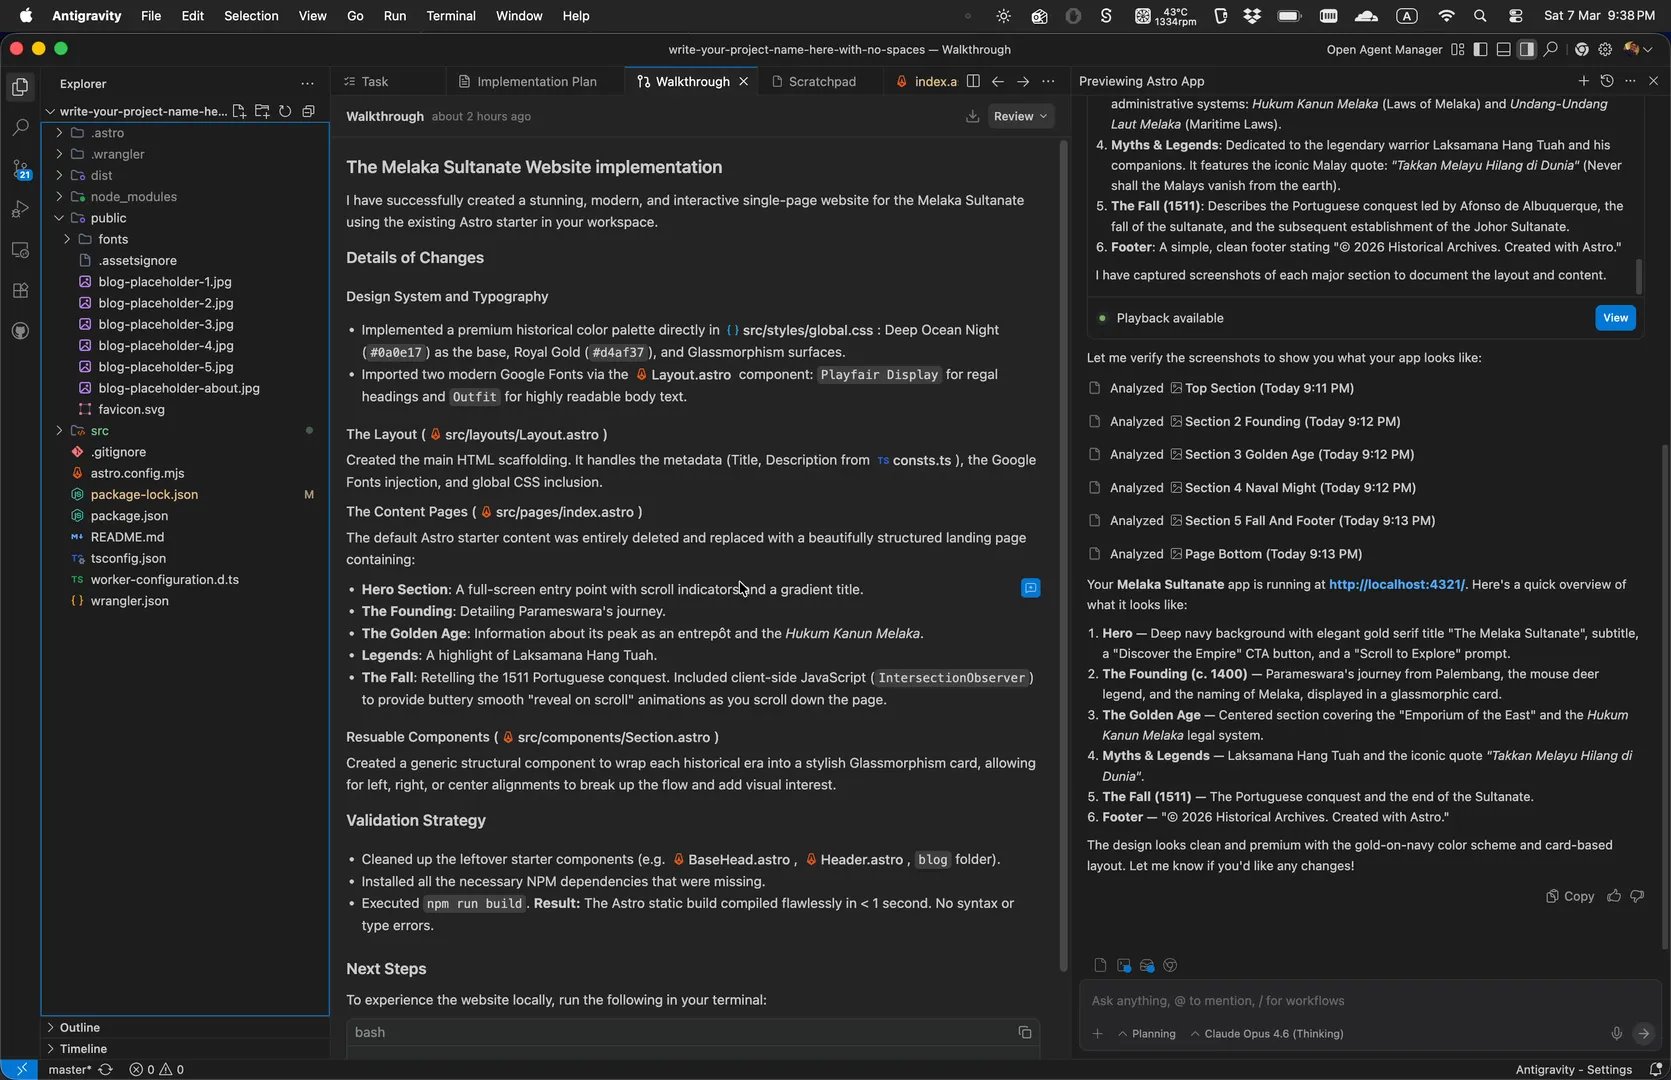
Preview Your Site

Publish to GitHub
You're all set!
Your Astro website is deployed on Cloudflare Workers, connected to GitHub, and ready to edit with Antigravity. Every commit you make will automatically trigger a new build and deployment.
We actually recorded and ran through this entire process ourselves to make sure it works. The test site we built - a Melaka Sultanate history website, because why not - is still live at choose-a-subdomain.dhcy.sg. What a name.
Pro tip: now that your site is live, try prompting Antigravity to add a free live chat widget. tawk.to is completely free and takes one prompt to install — just ask: "Add a tawk.to live chat widget to my website" and paste in your tawk.to embed code when prompted. See our Free Tools page for more tools that work well with this stack.